I recently found myself in the position of getting married (more on this another time). In the course of being in this position, I was reminded that tradition dictated that I present my 3 groomsmen with a token of appreciation. I appreciated the heck out of these guys, so I wanted to do something really special for them that wasn't a tie clip or cufflinks. So naturally, I decided to build a customized original Gameboy (often referred to as “DMG” or “Dot Matrix Gameboy”, to distinguish from later models) for each of them.
-
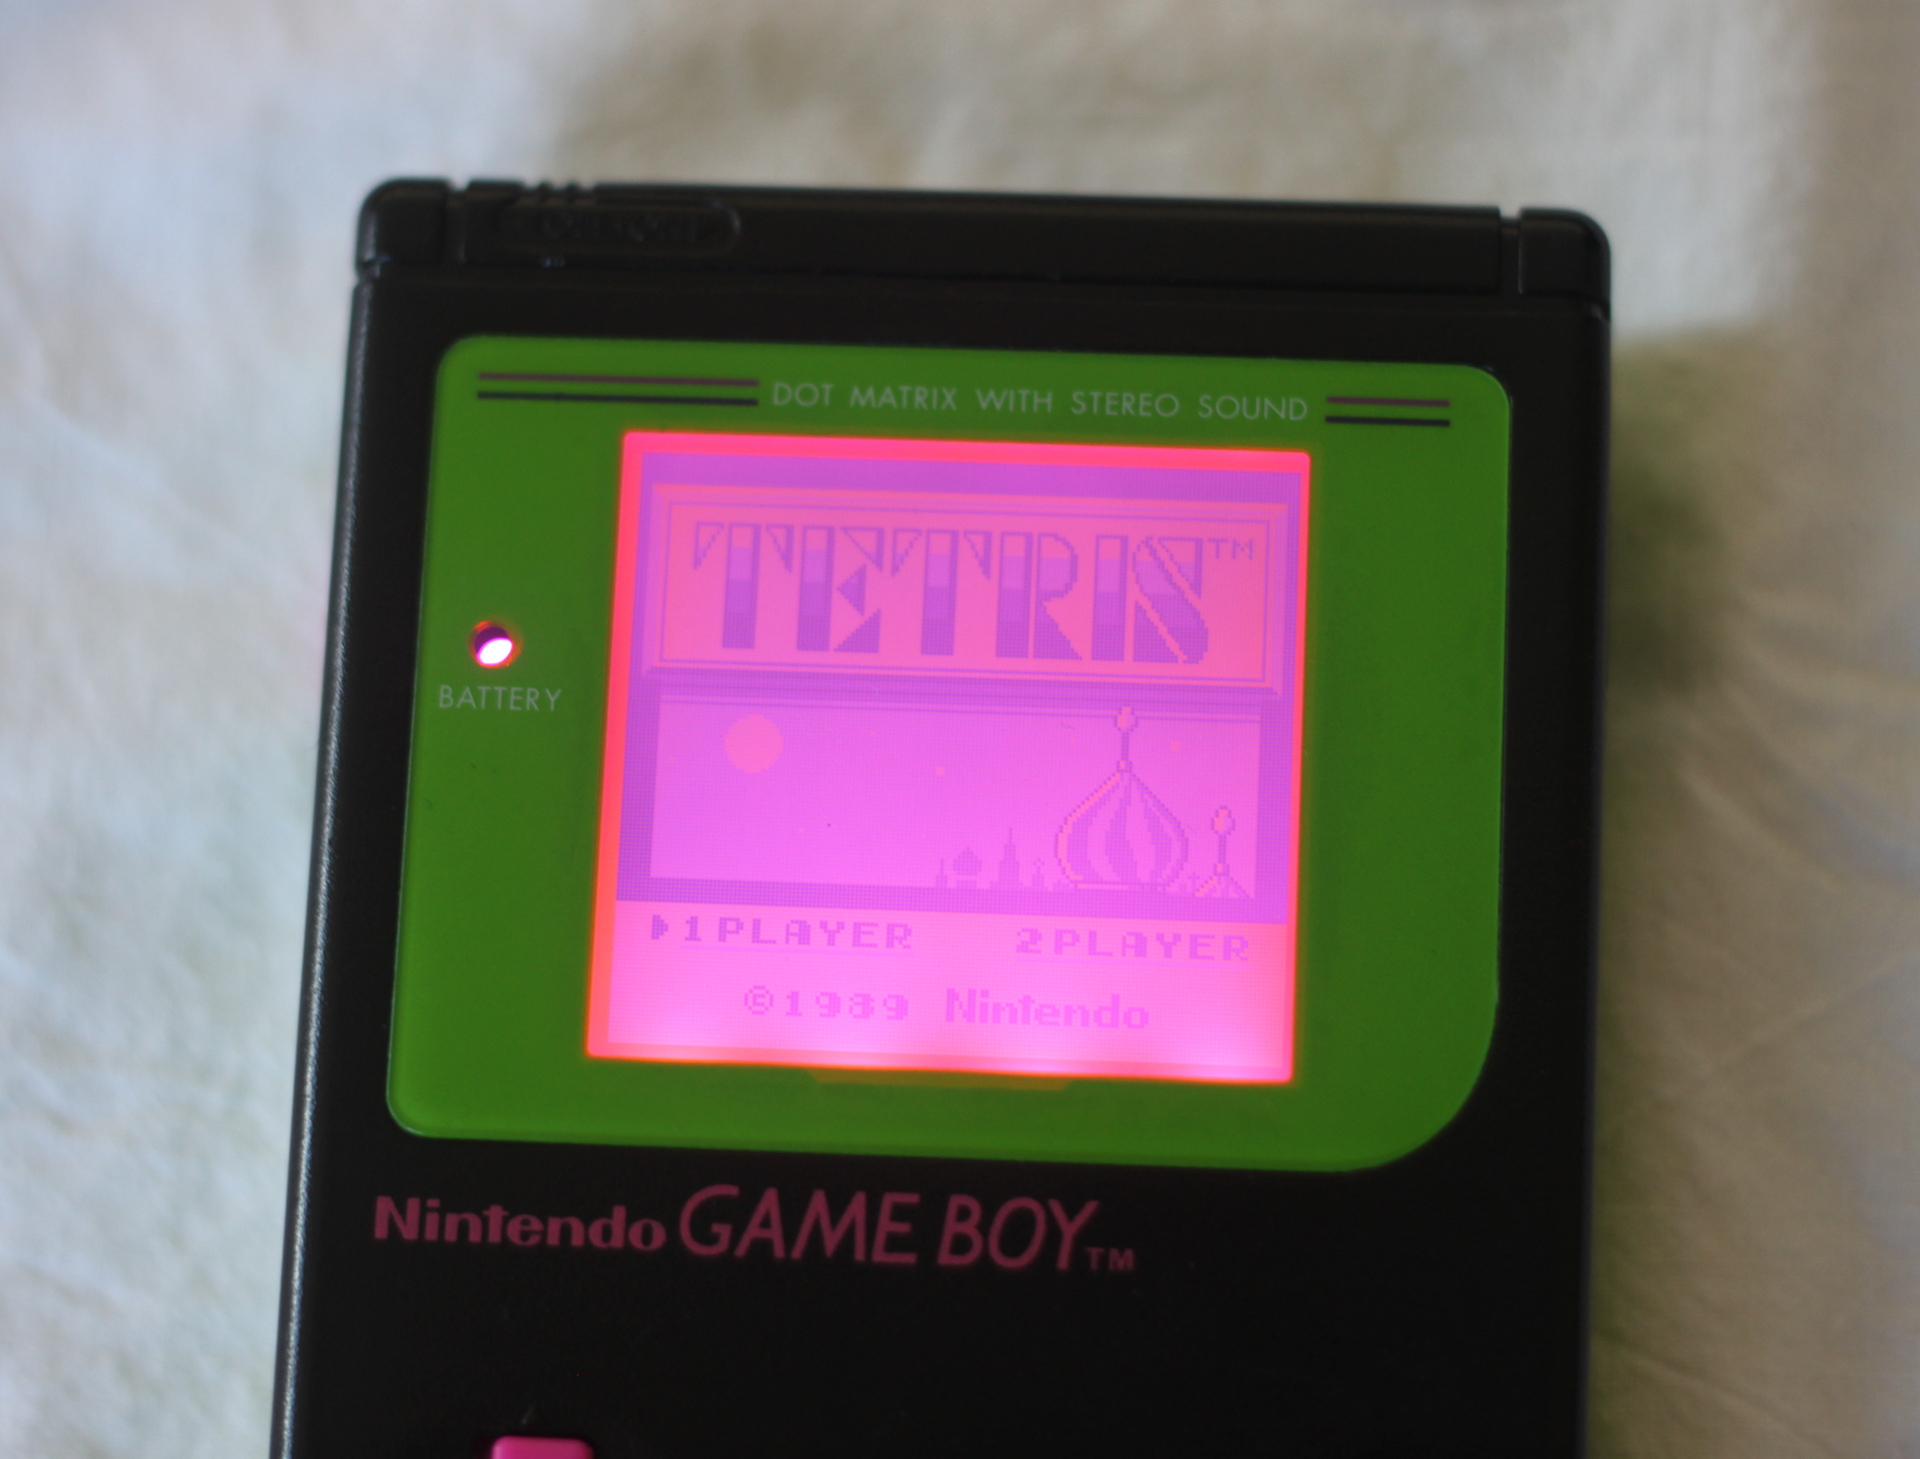
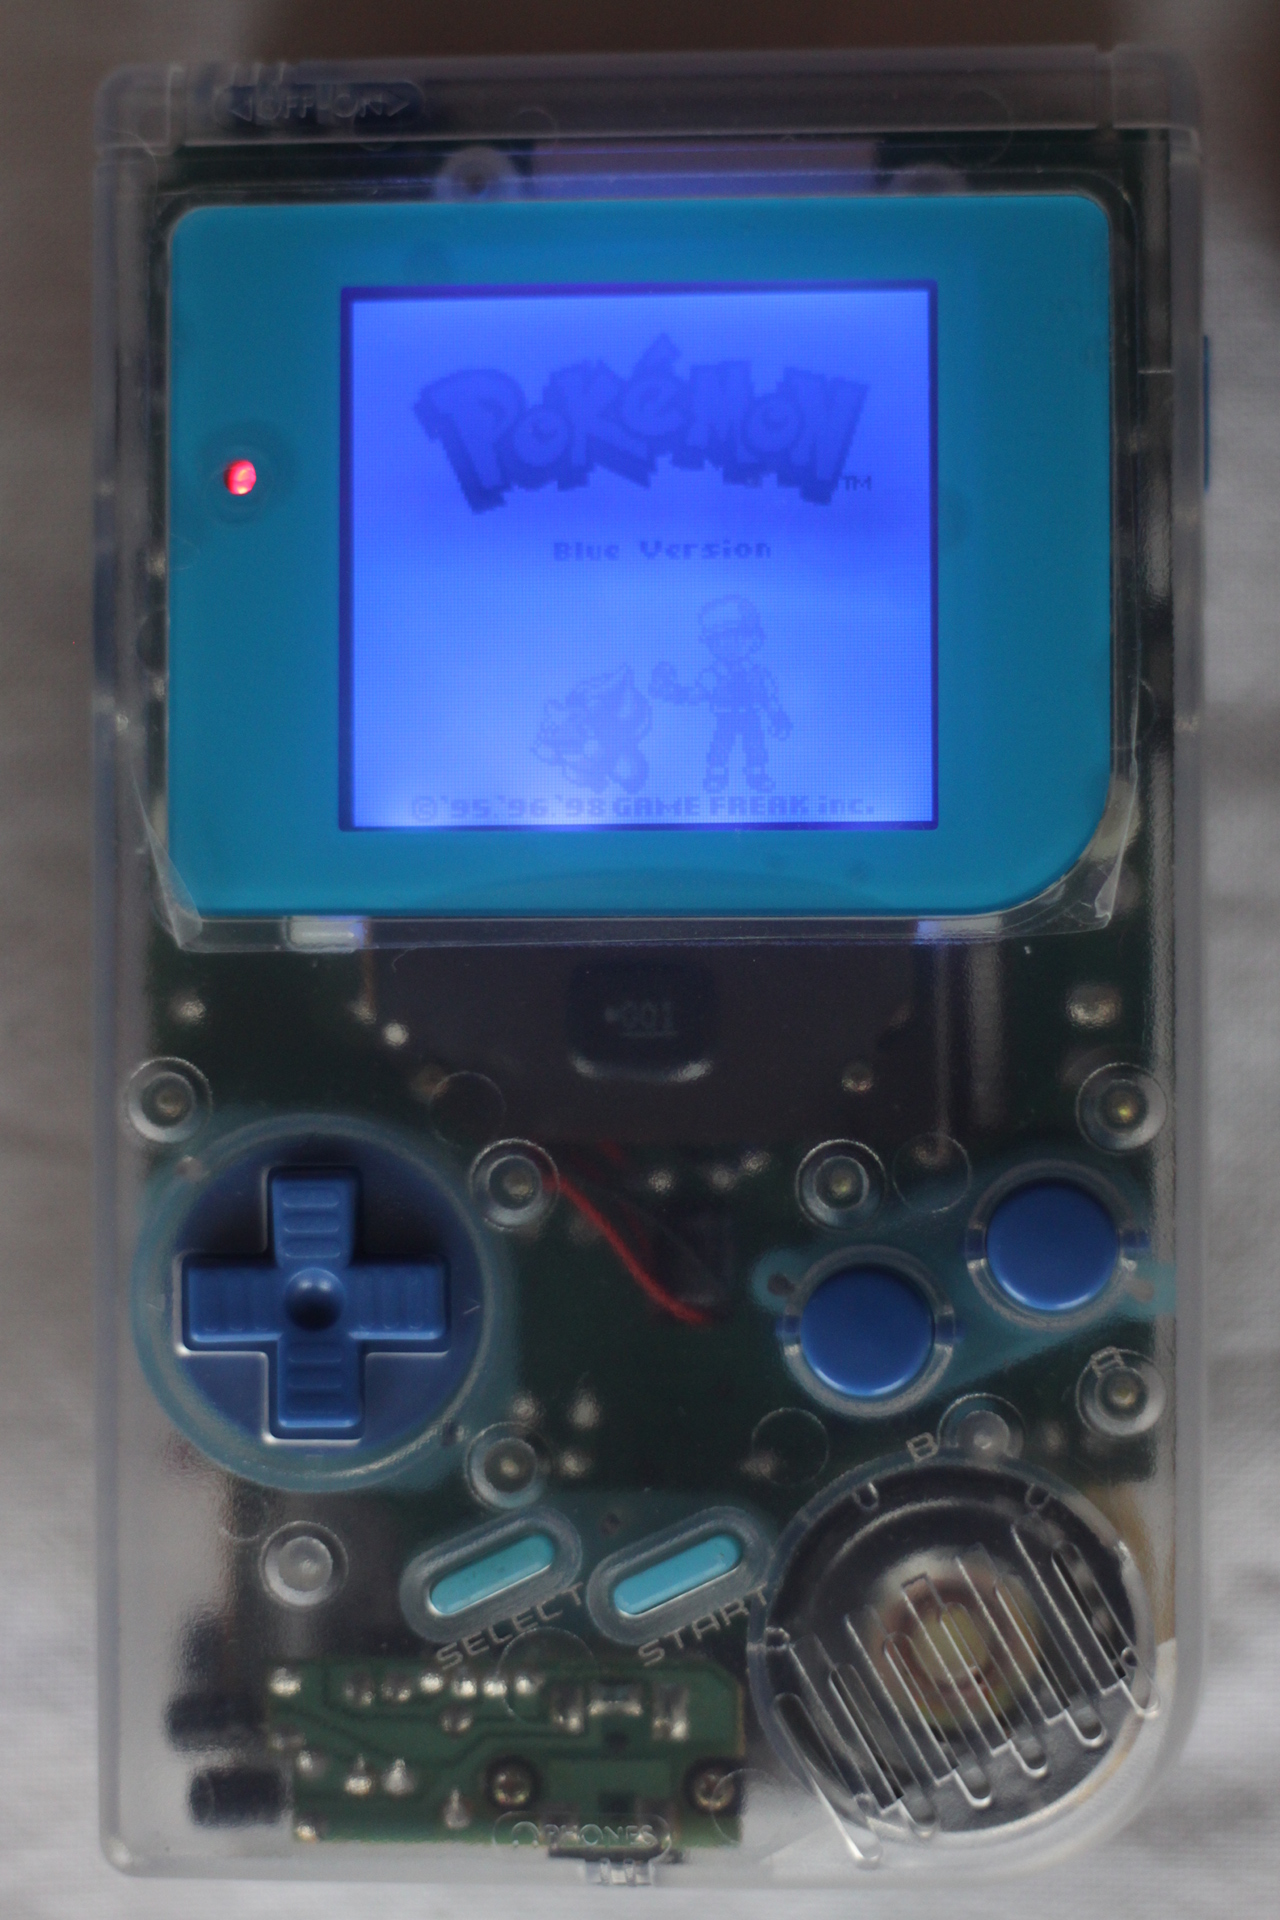
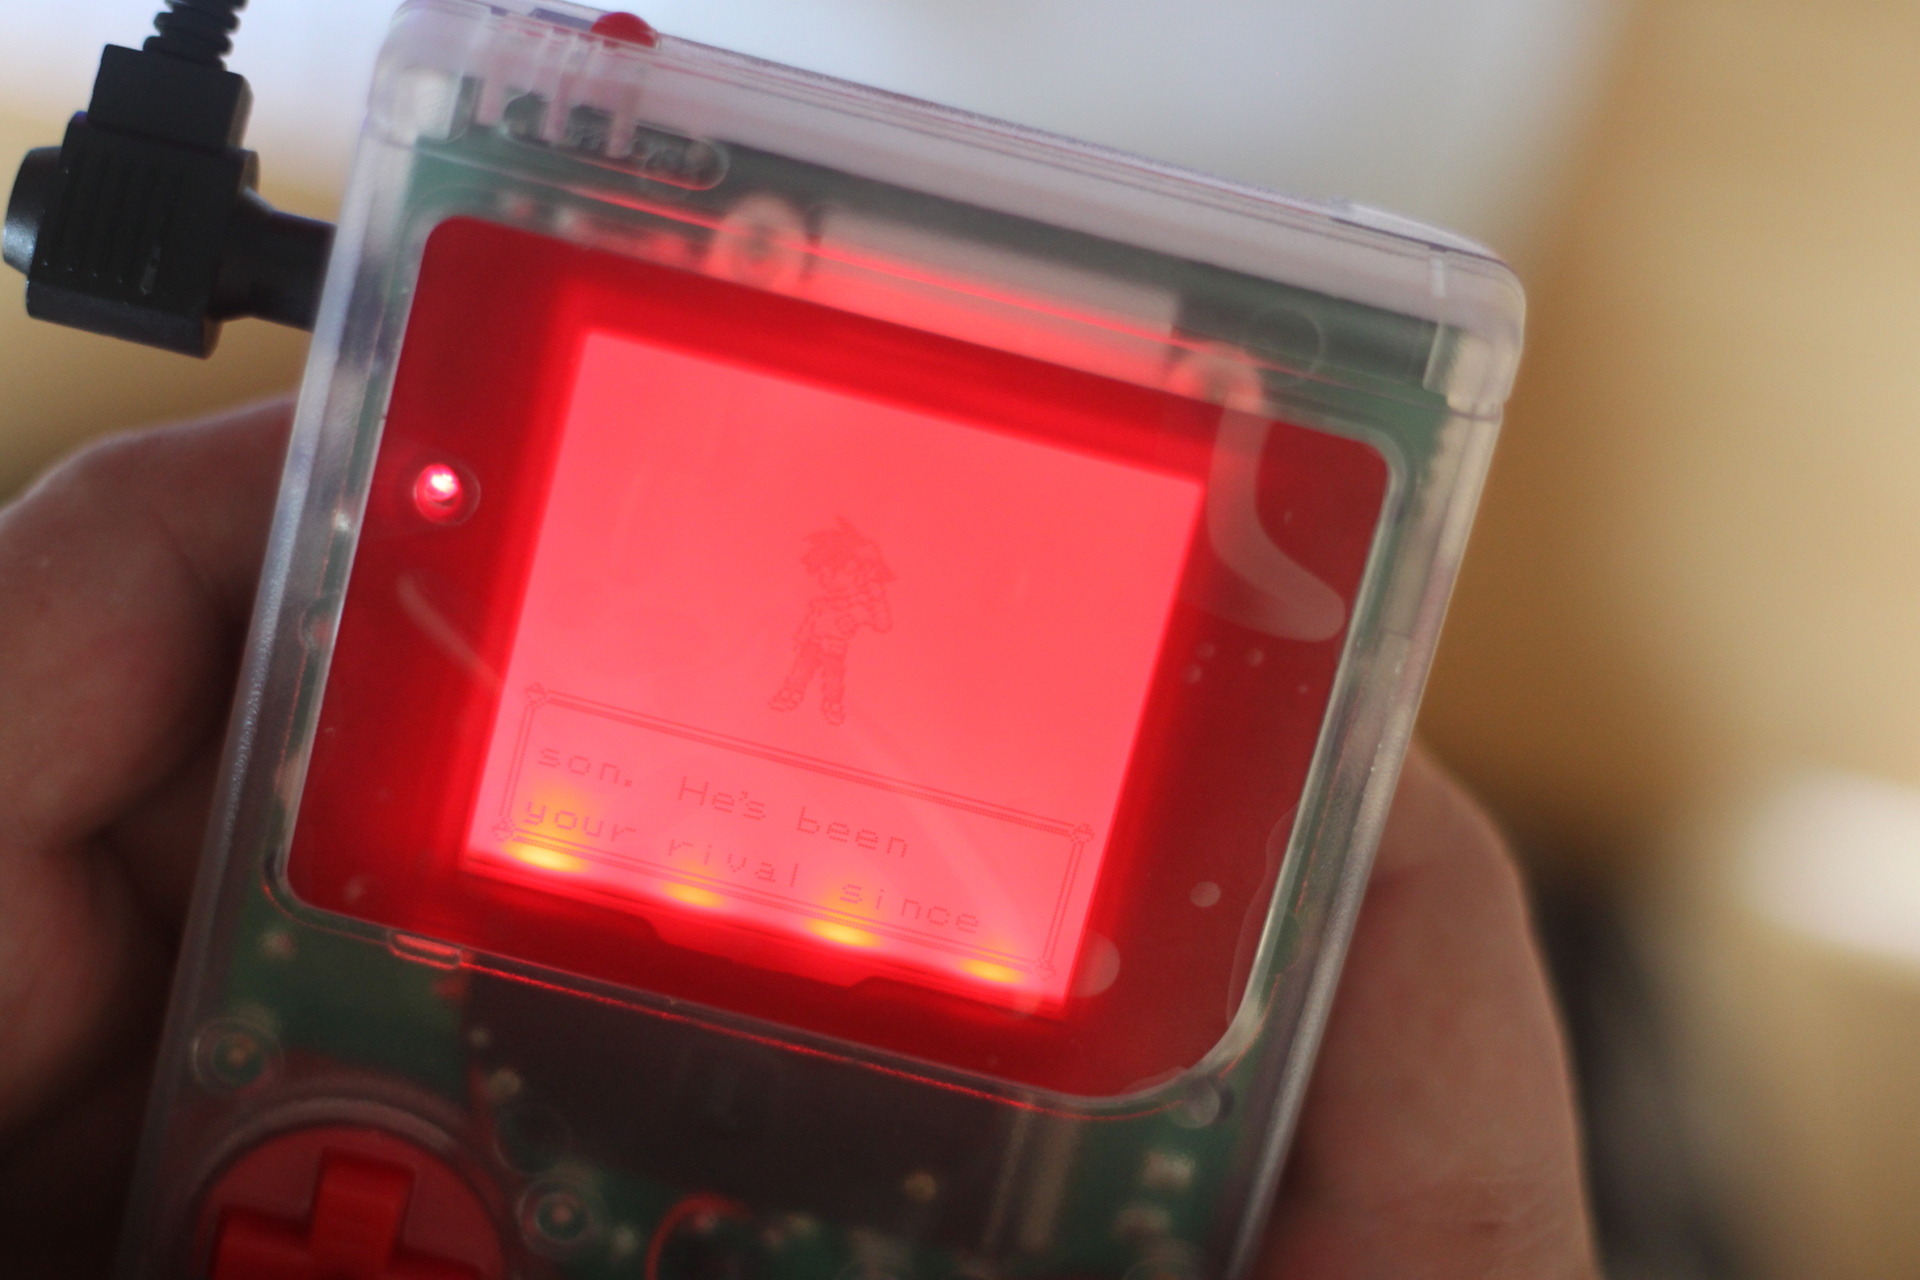
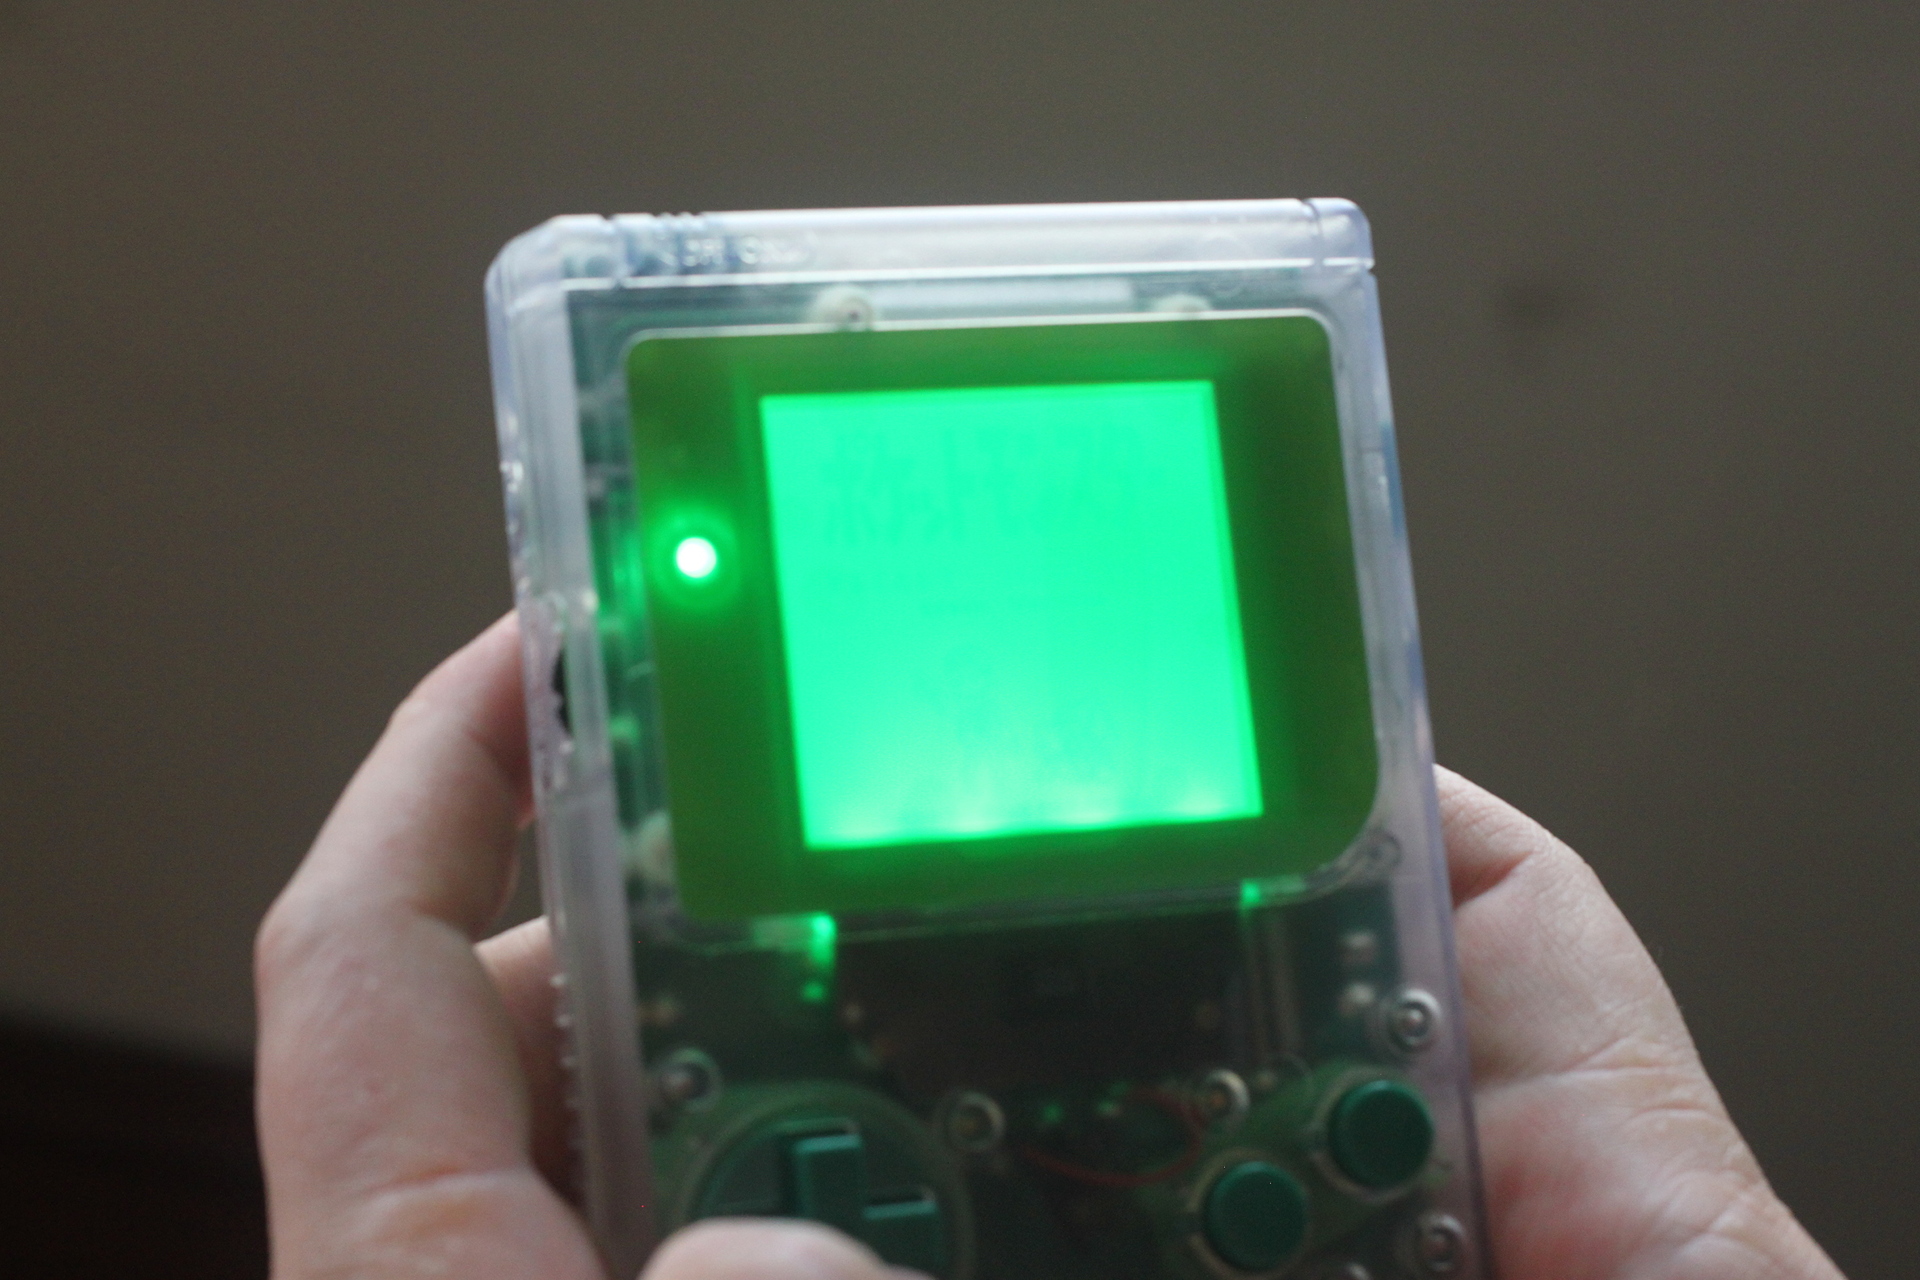
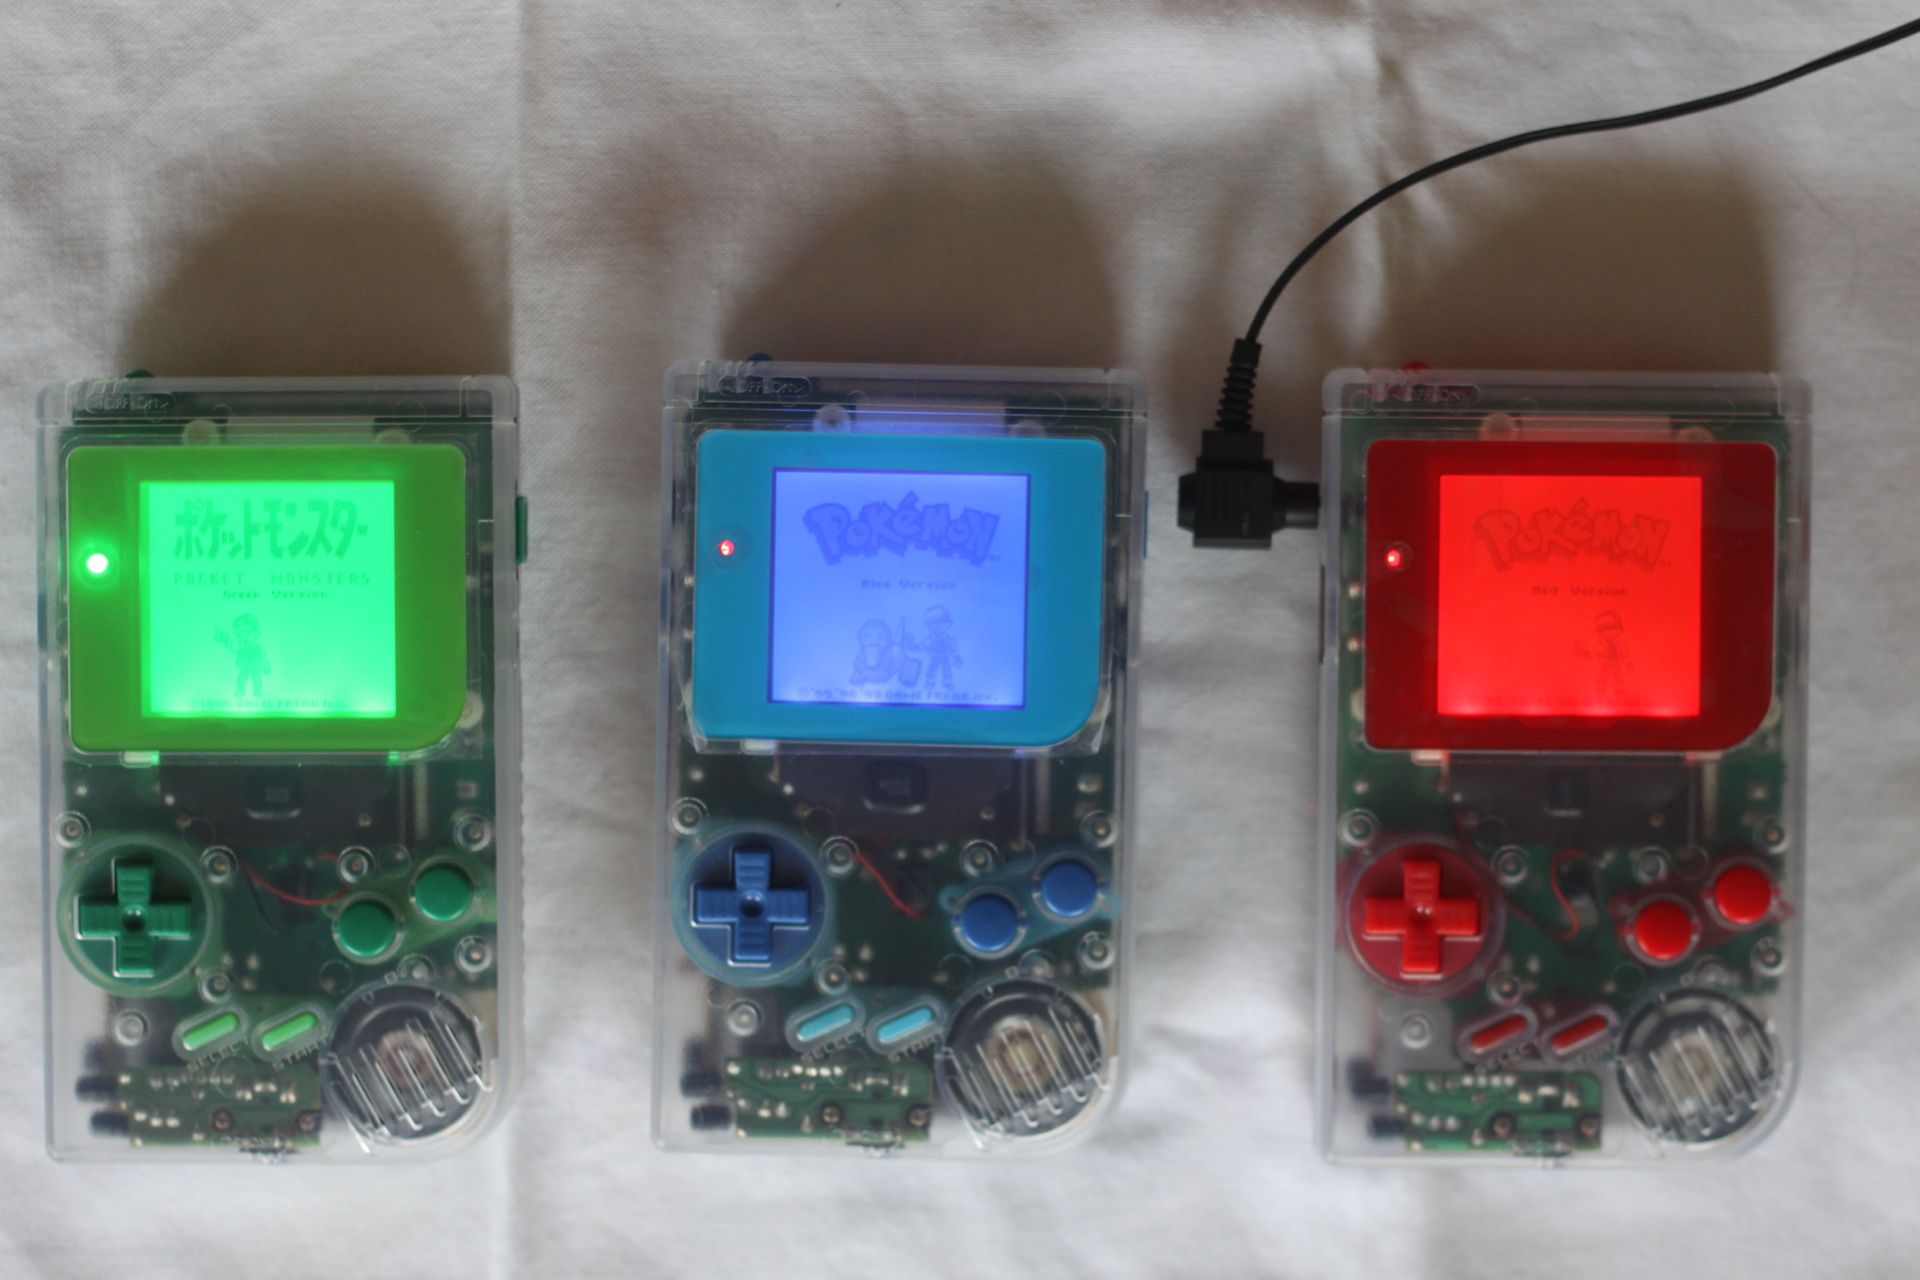
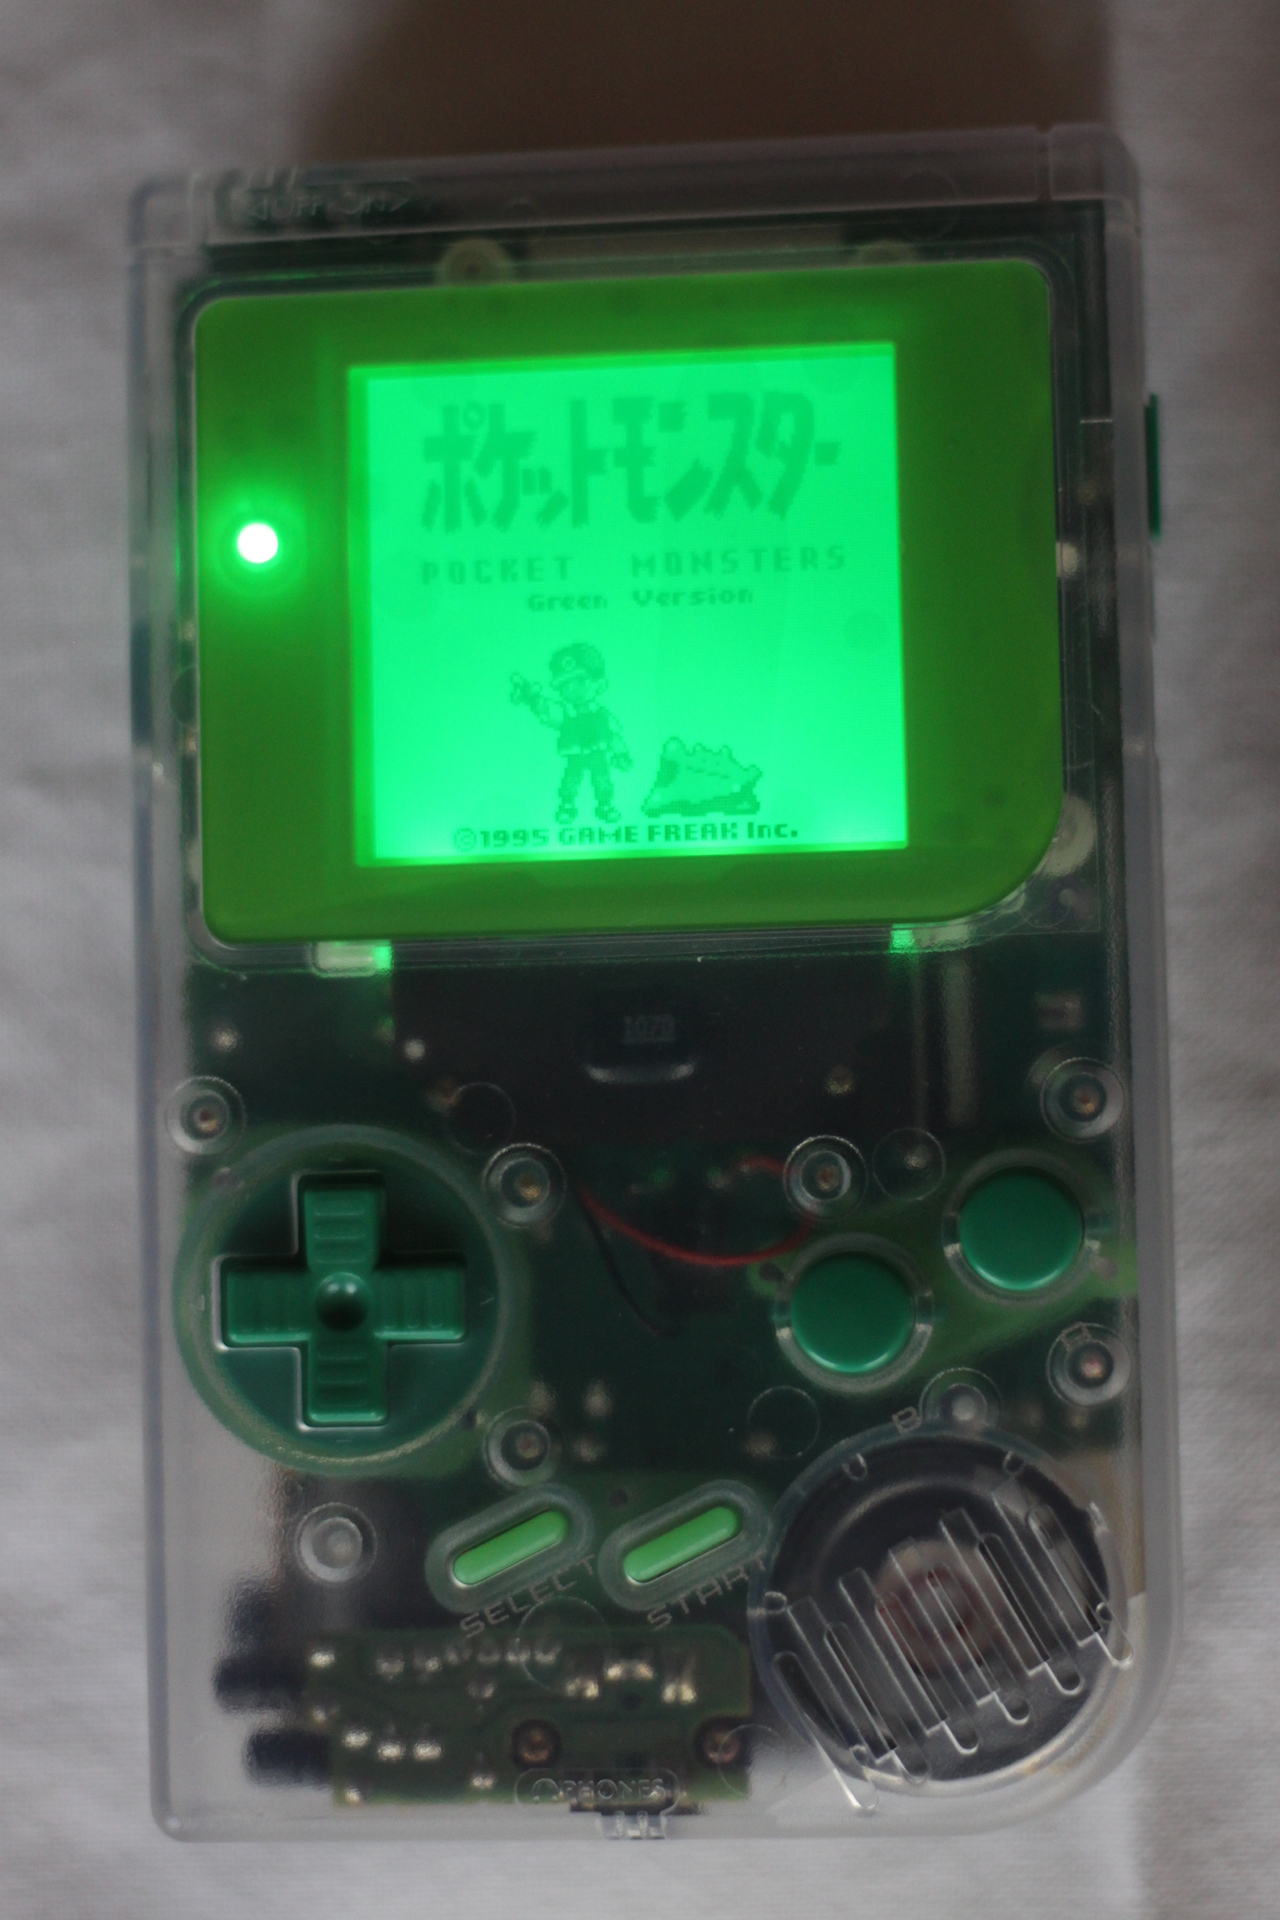
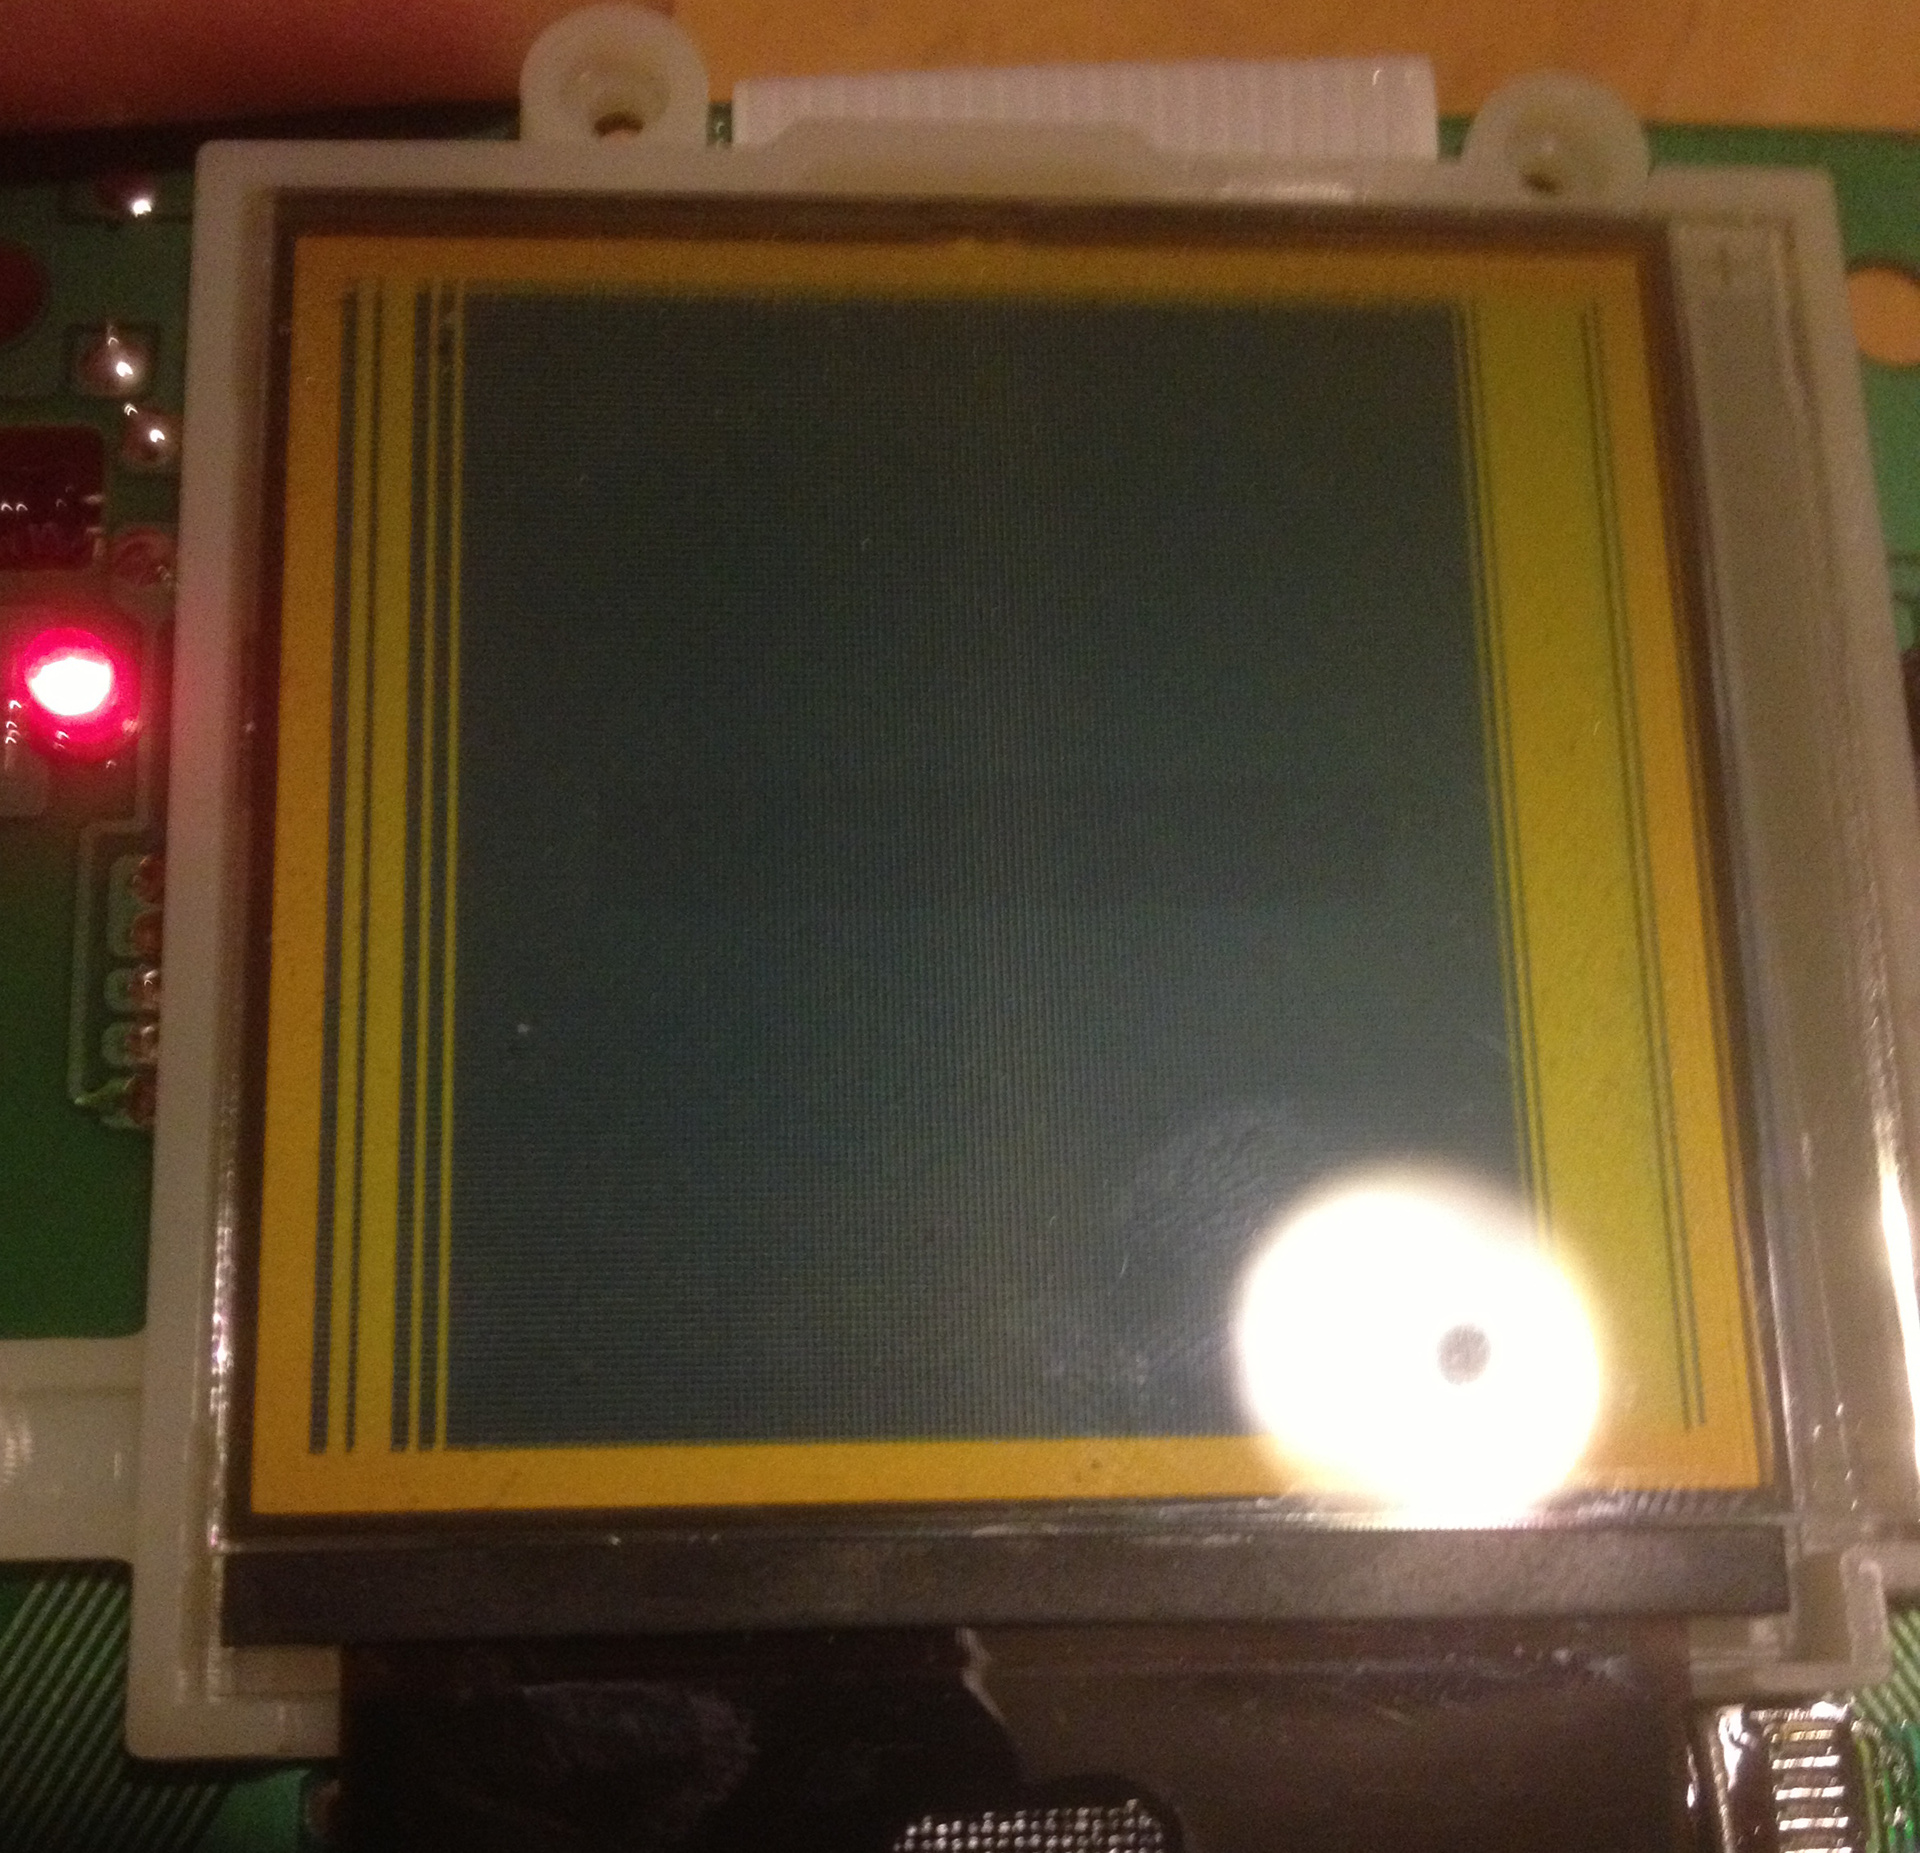
Unfortunately, the screens don't photograph as well when backlit, but do look much better in person.
-
Also, the screens still have a protective film on them, so there's some bubbles on the screen that aren't present when it Is removed.
-
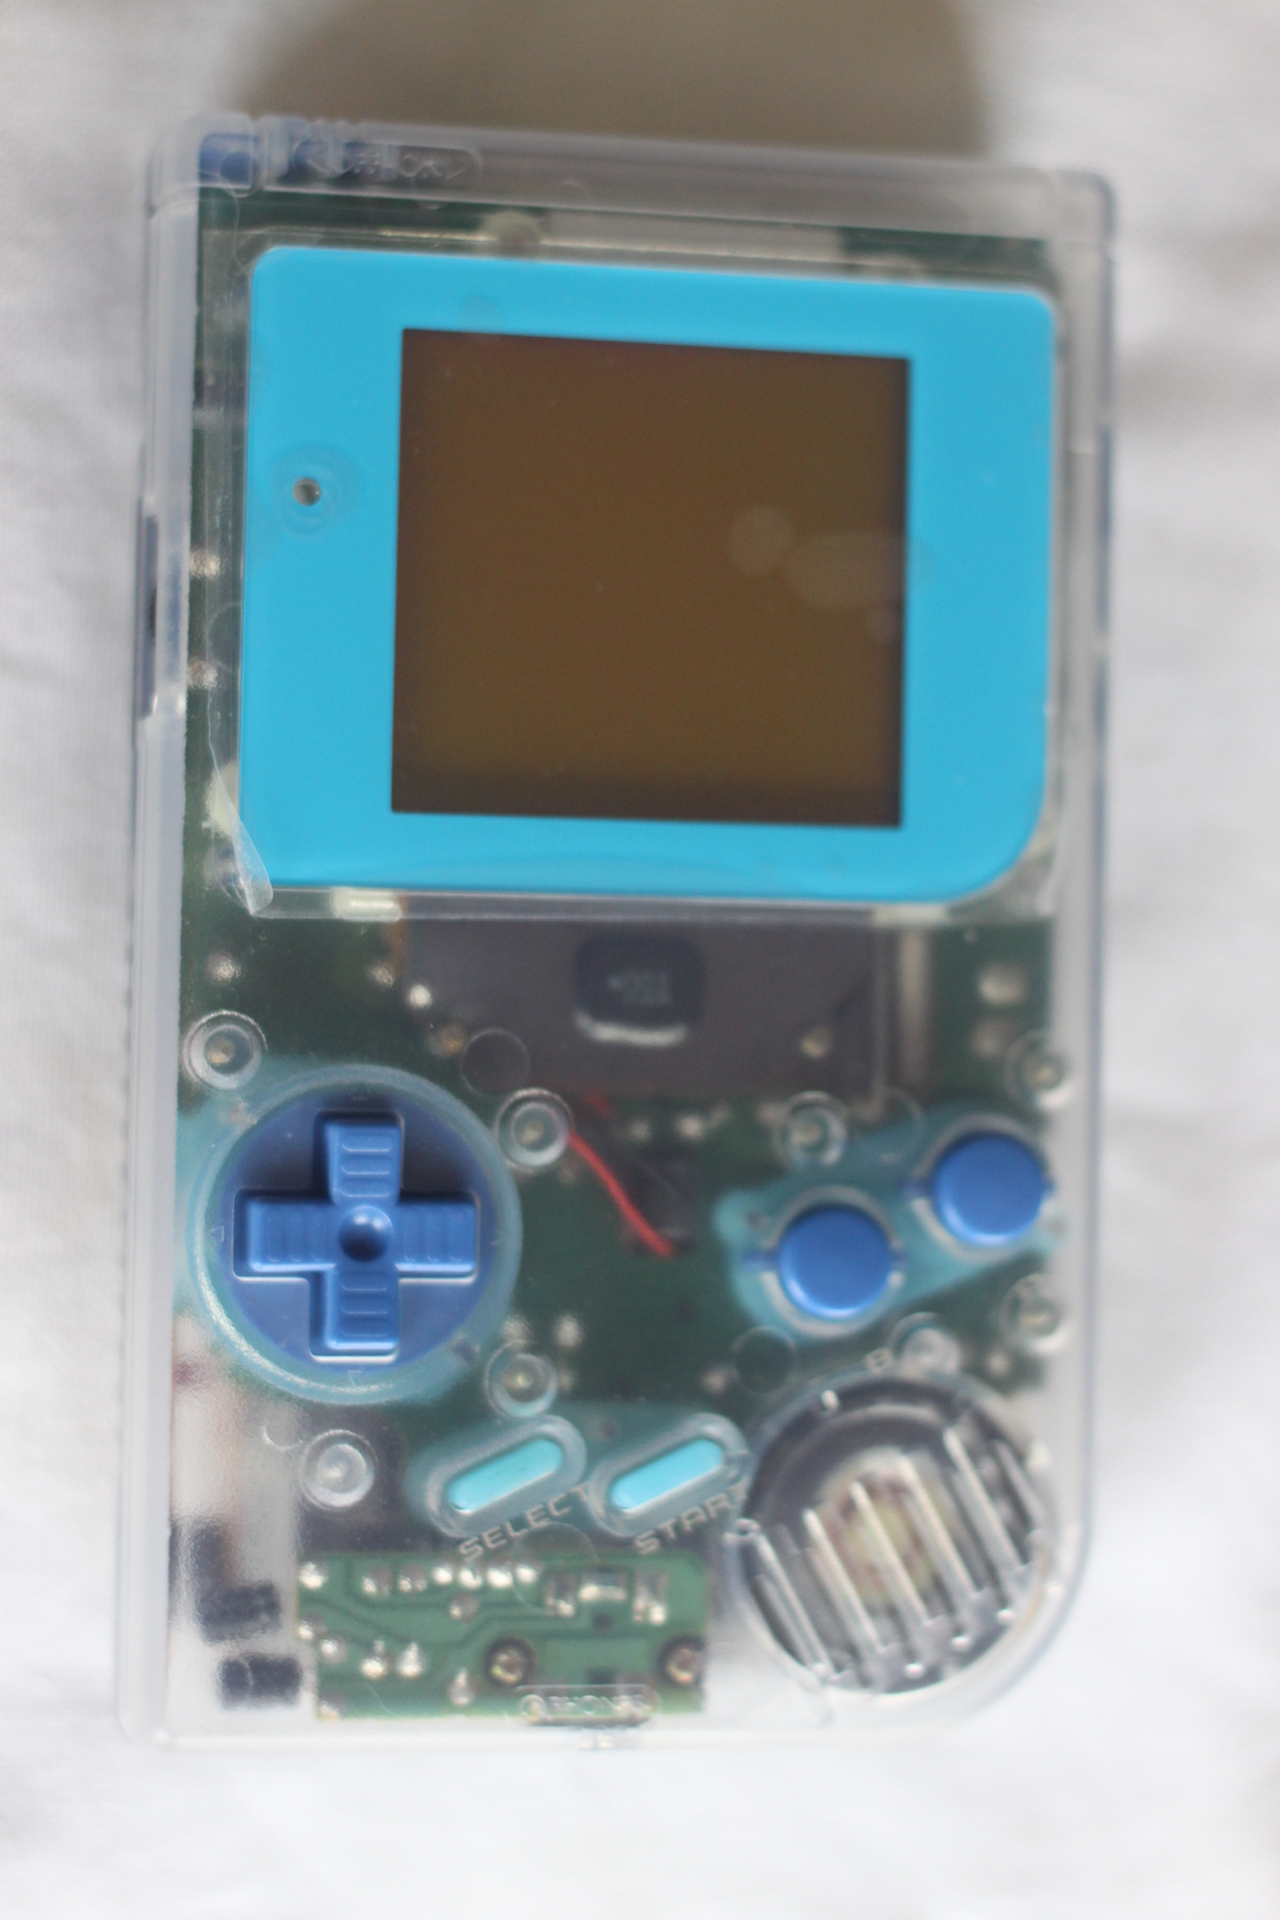
I replaced the blue Gameboy's LED after these photos were taken, so it still has the stock LED.
- More photos are at the bottom of this post.
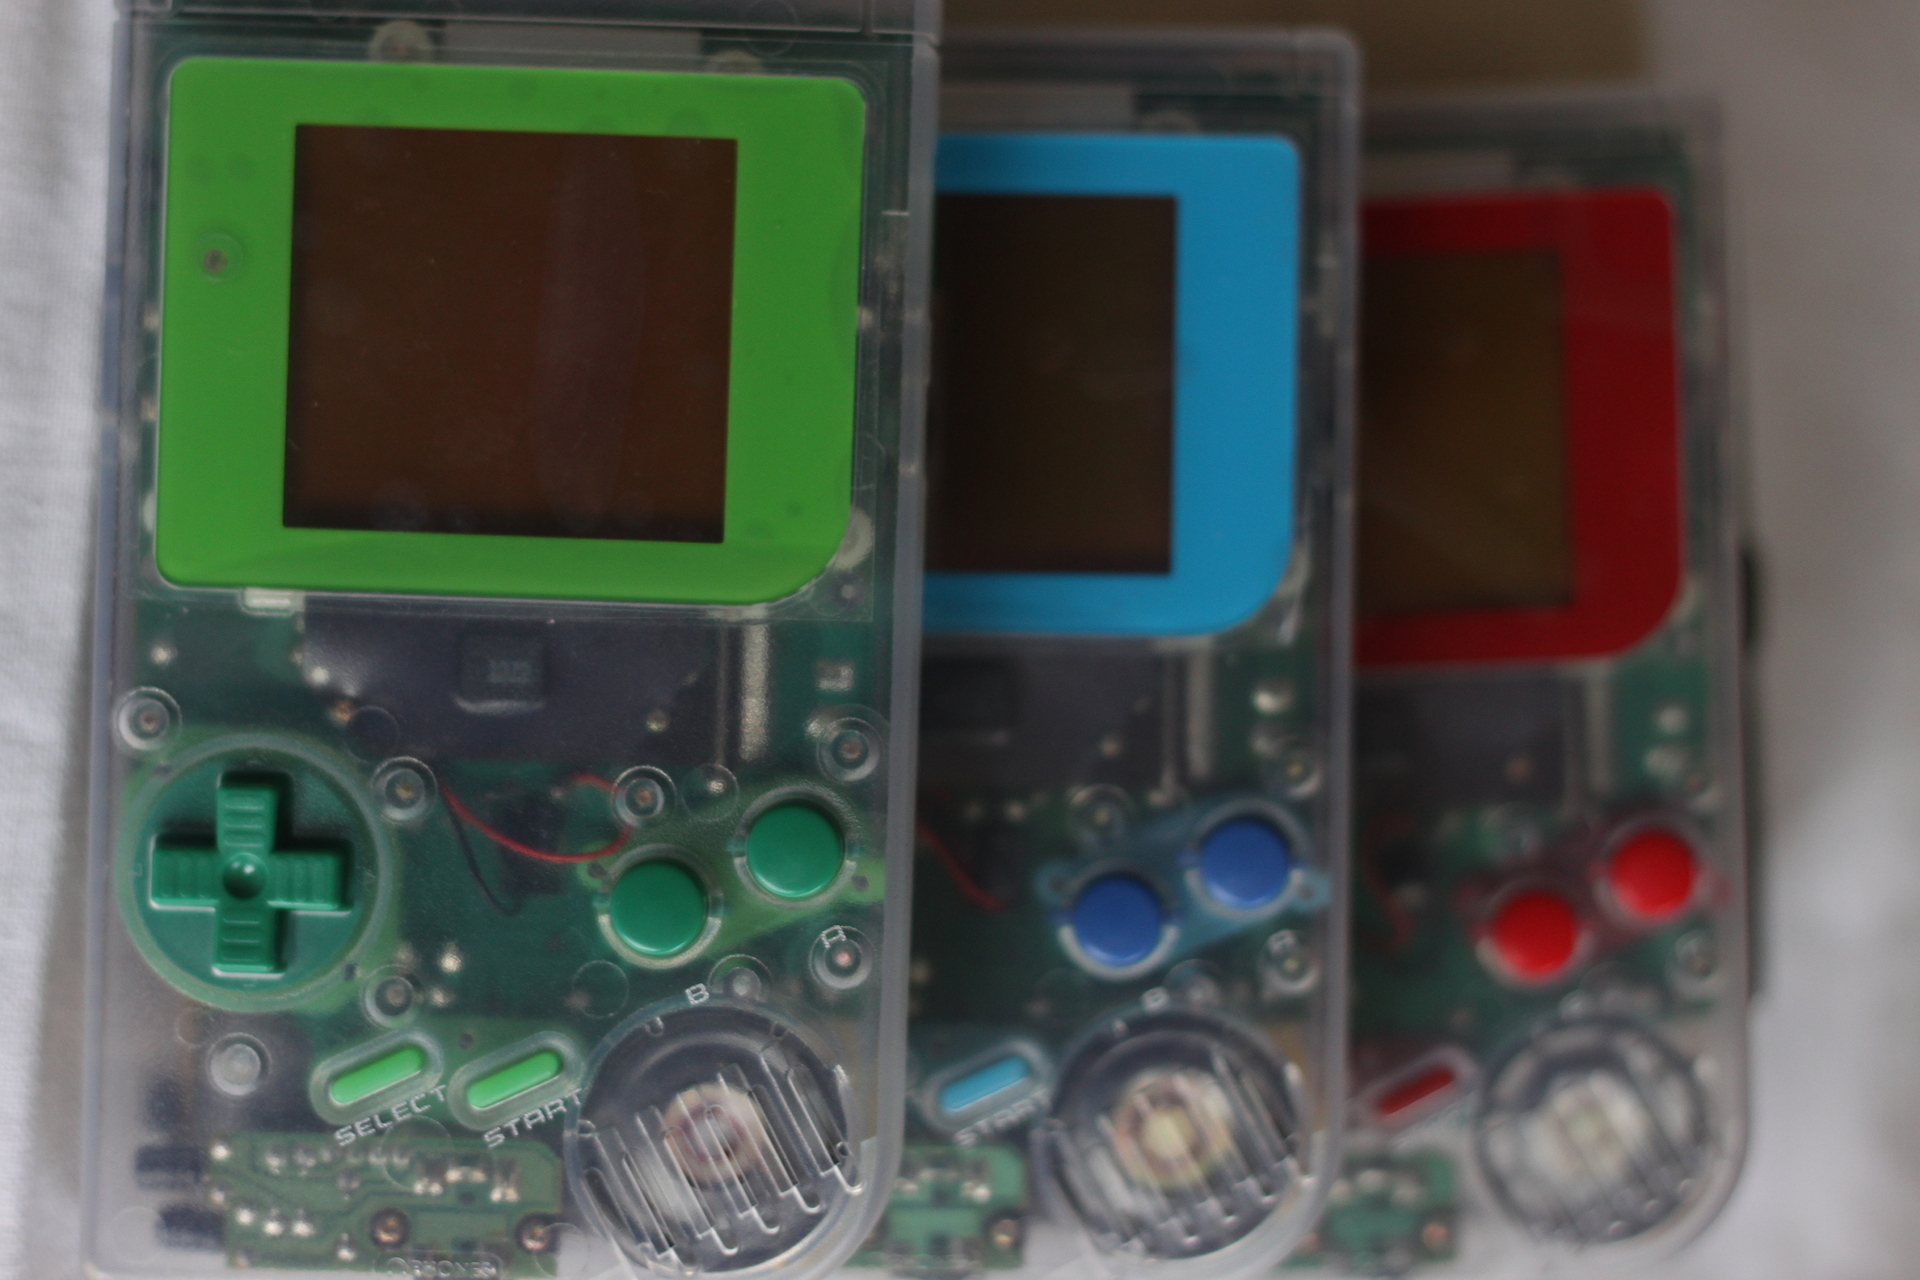
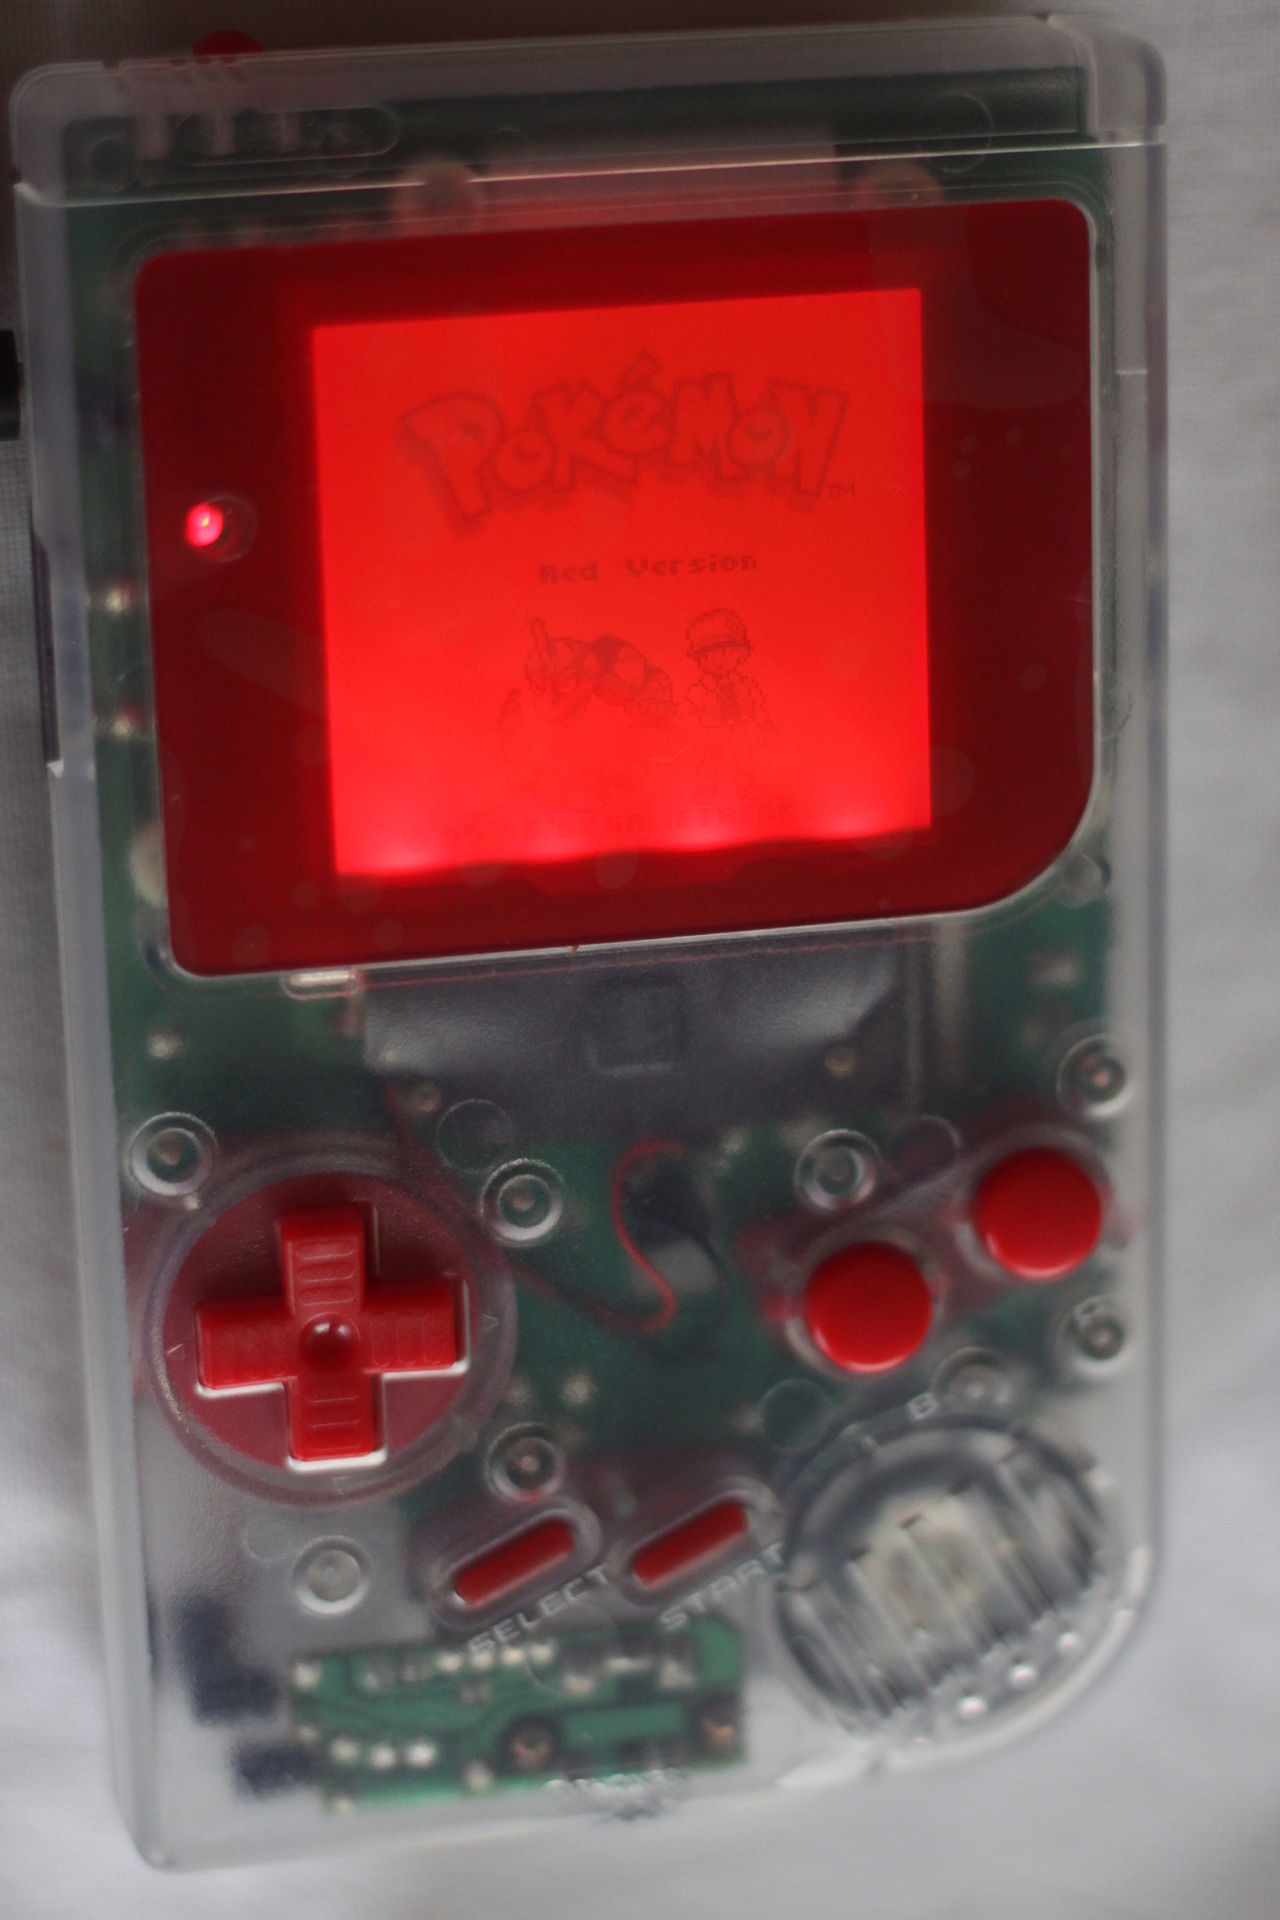
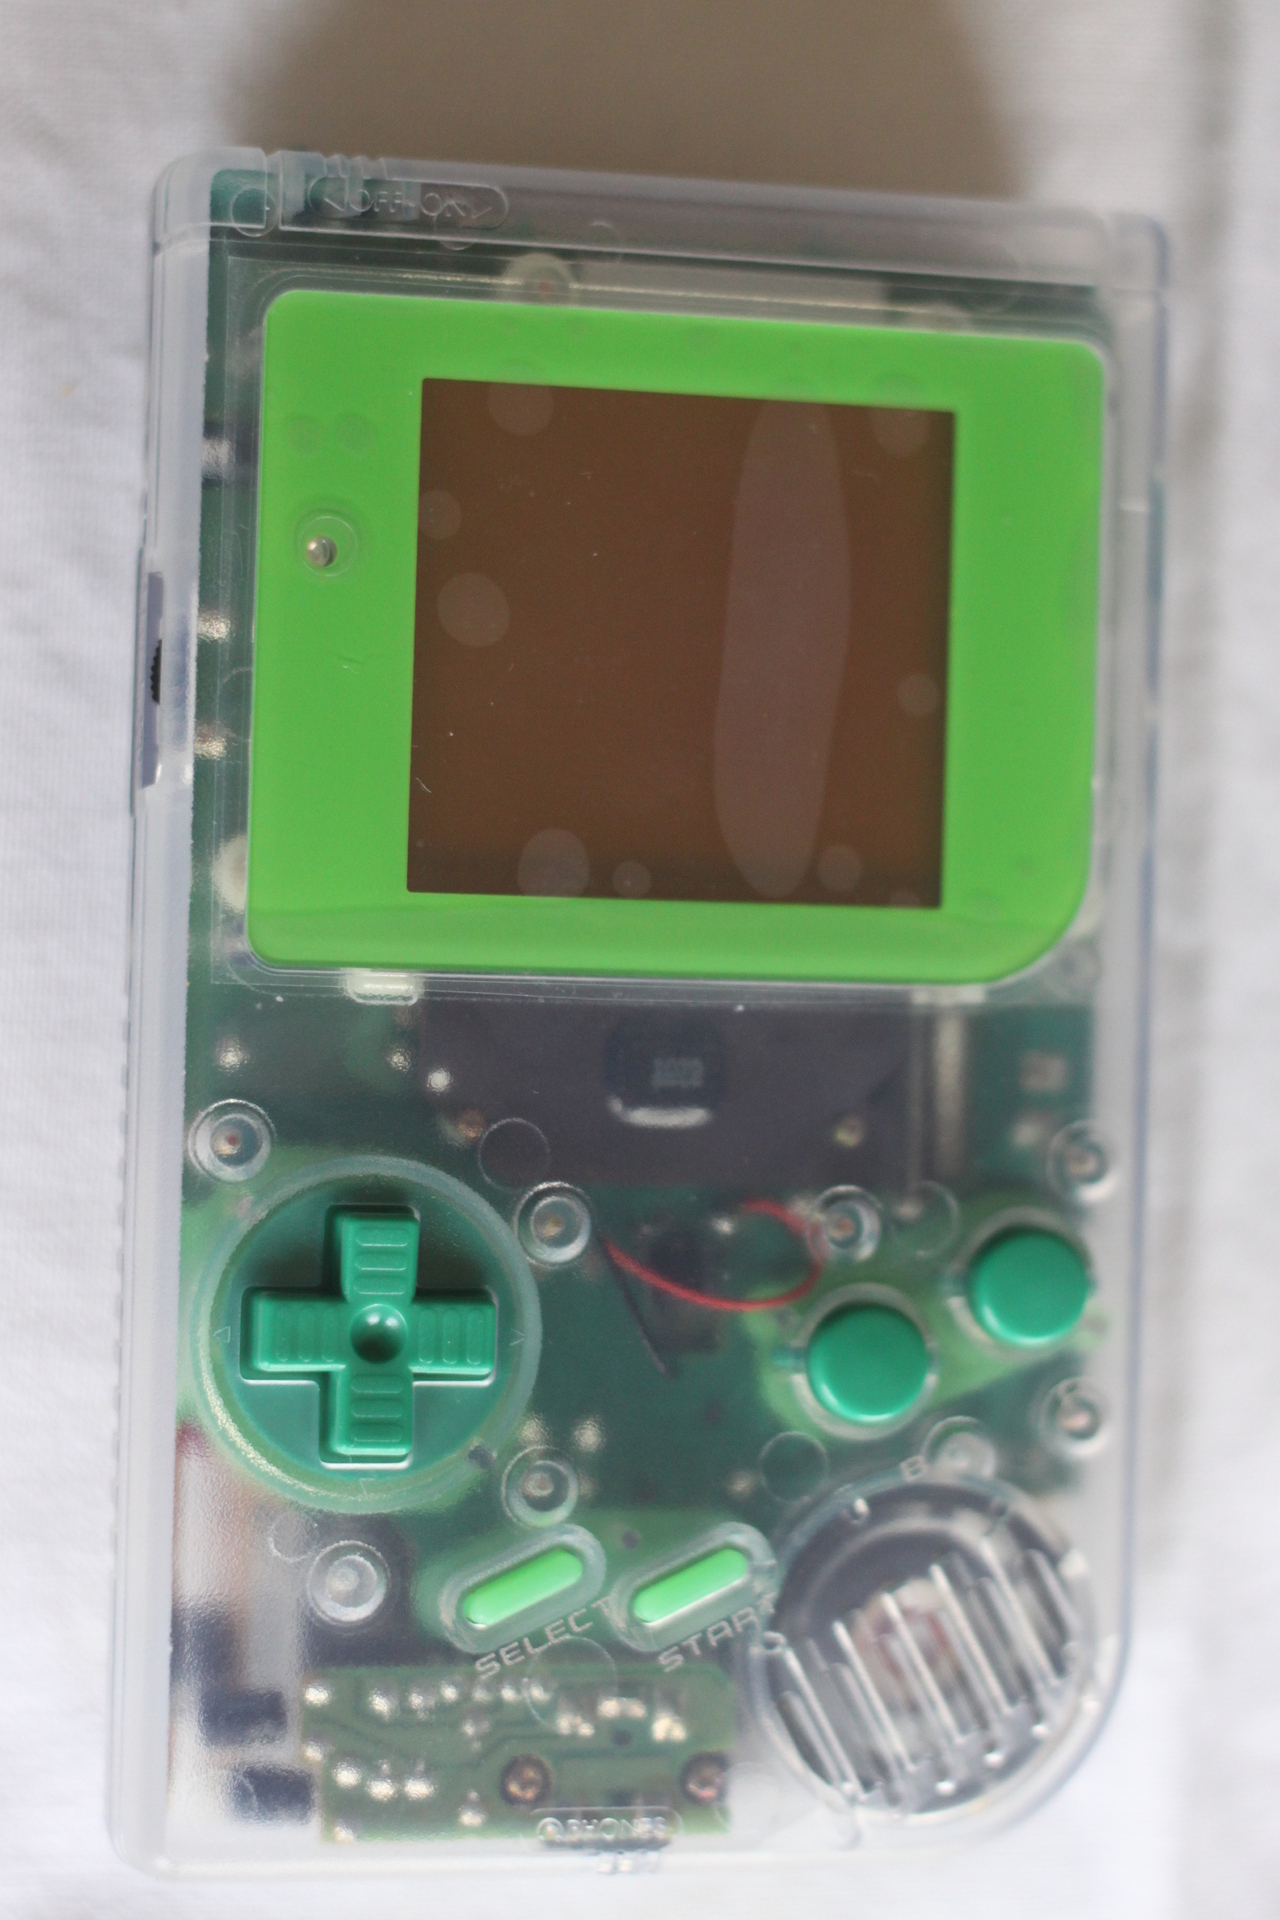
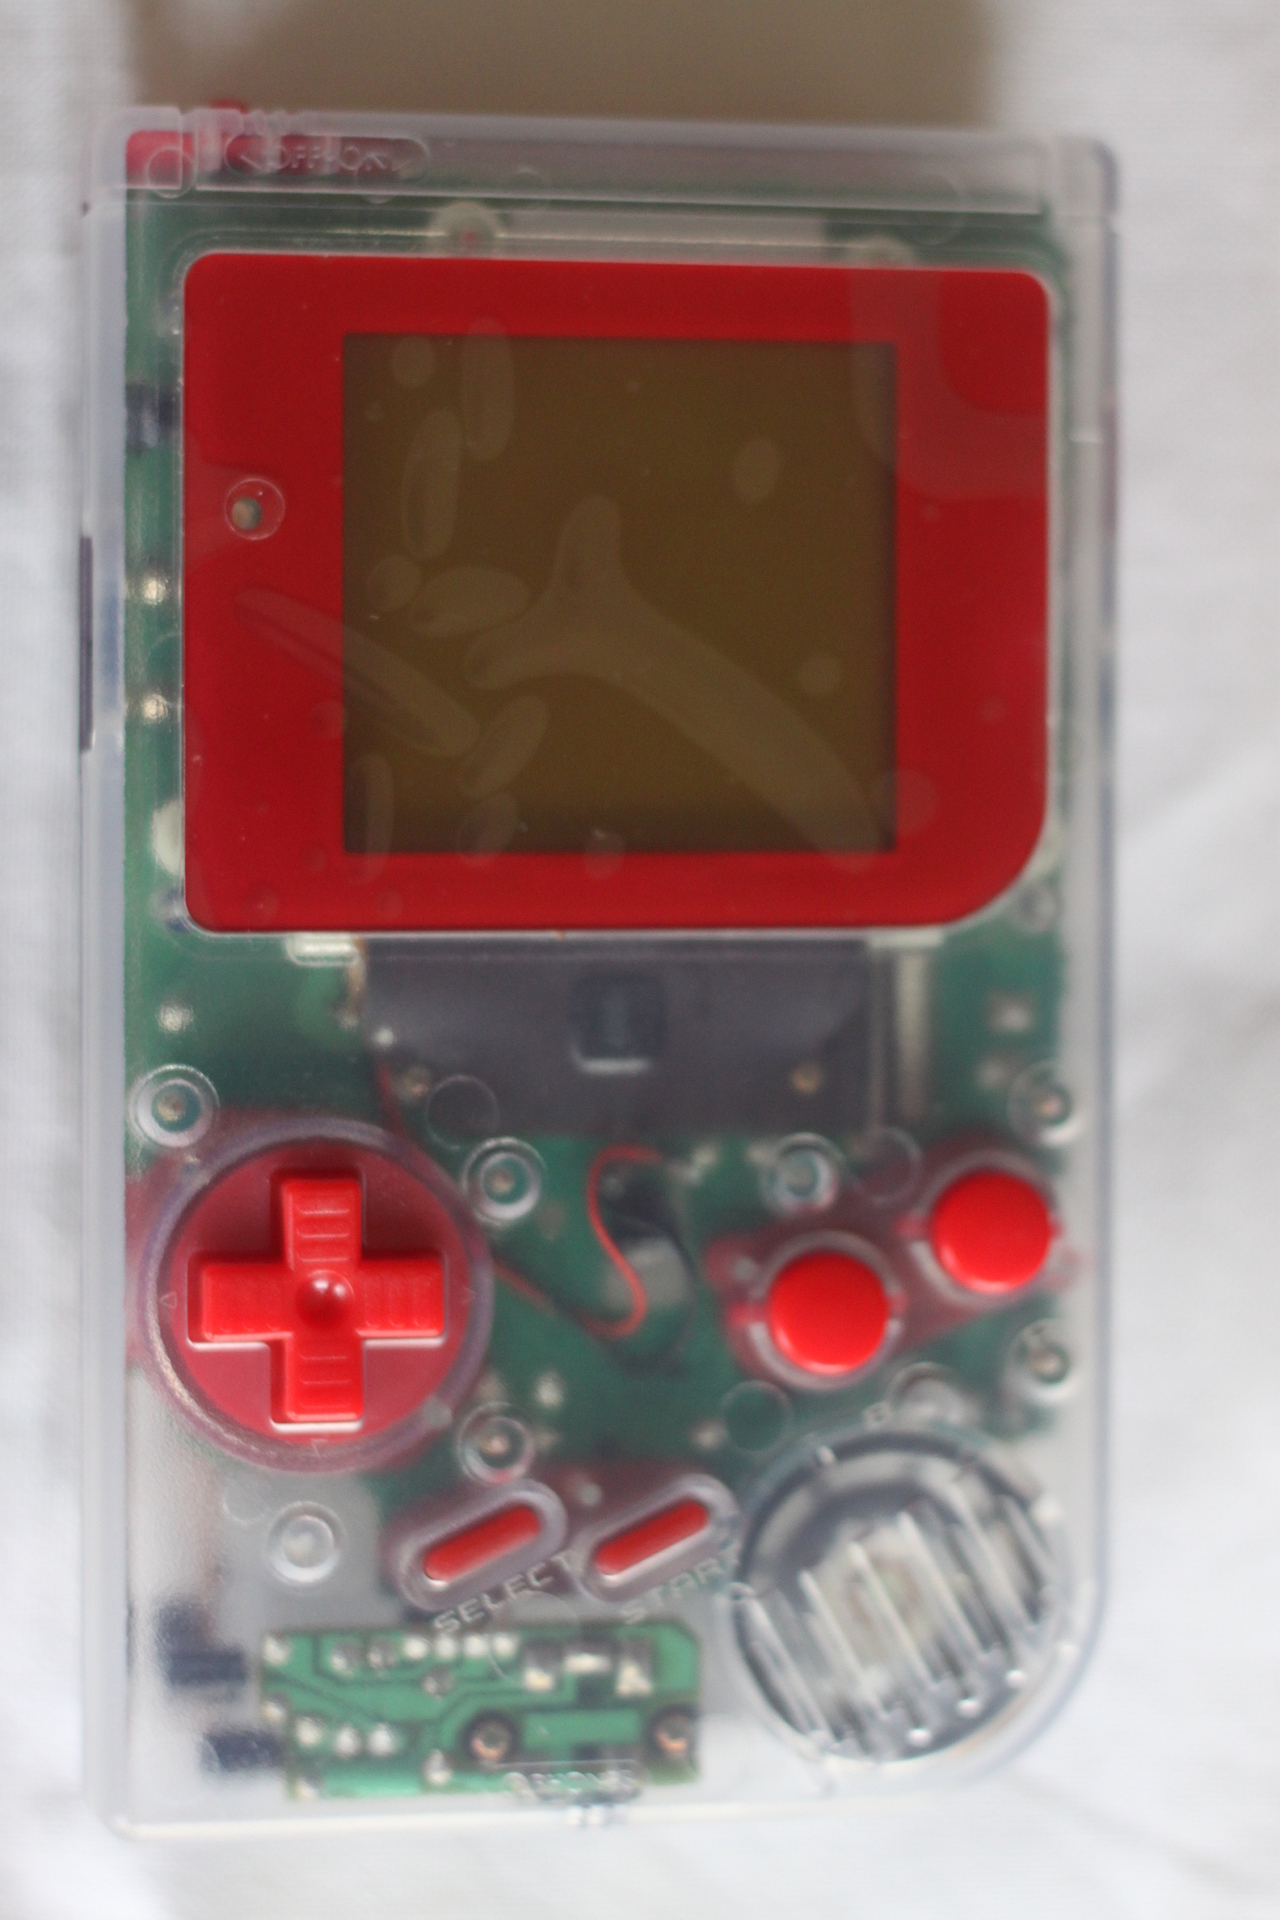
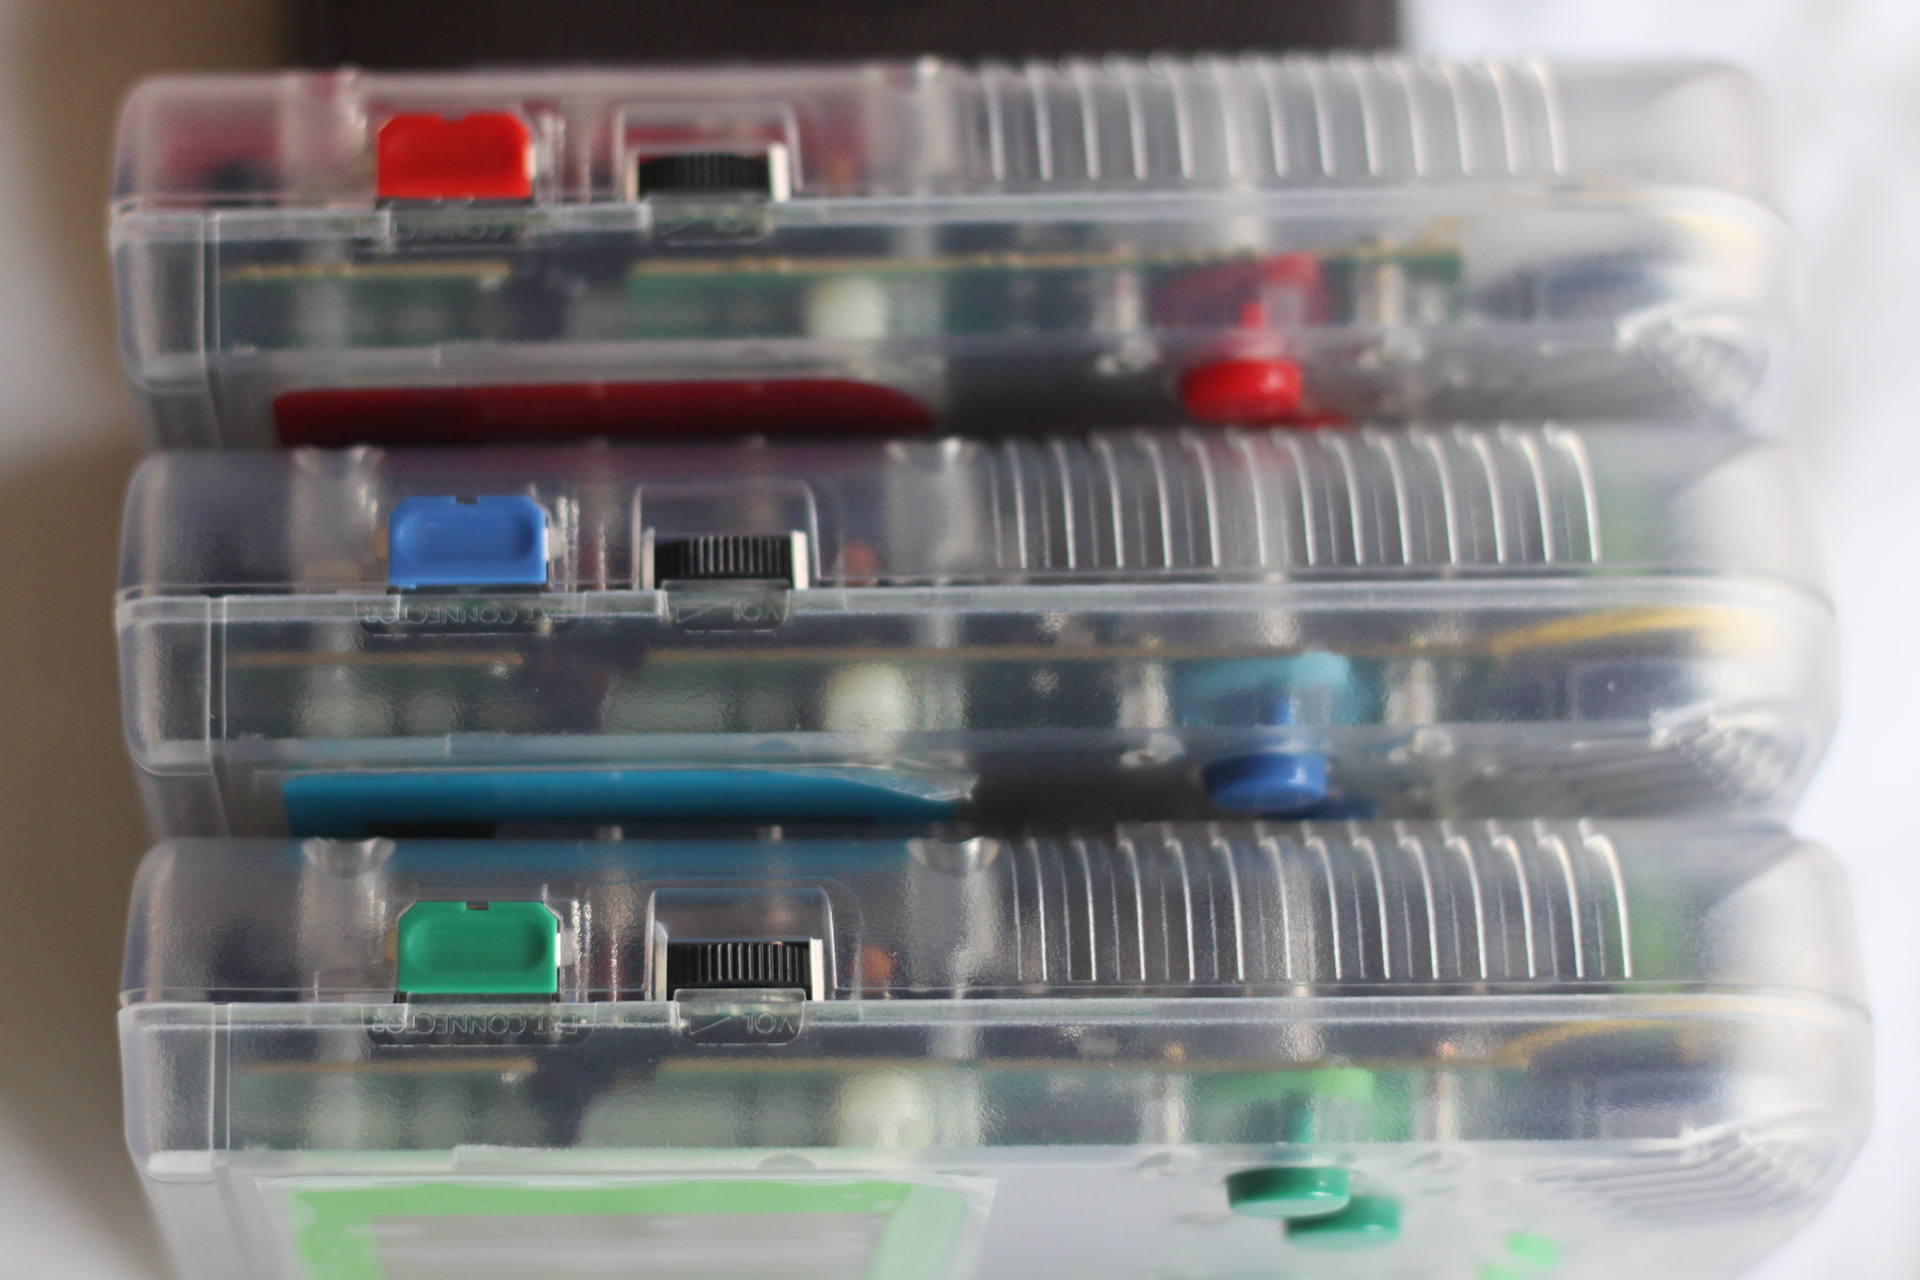
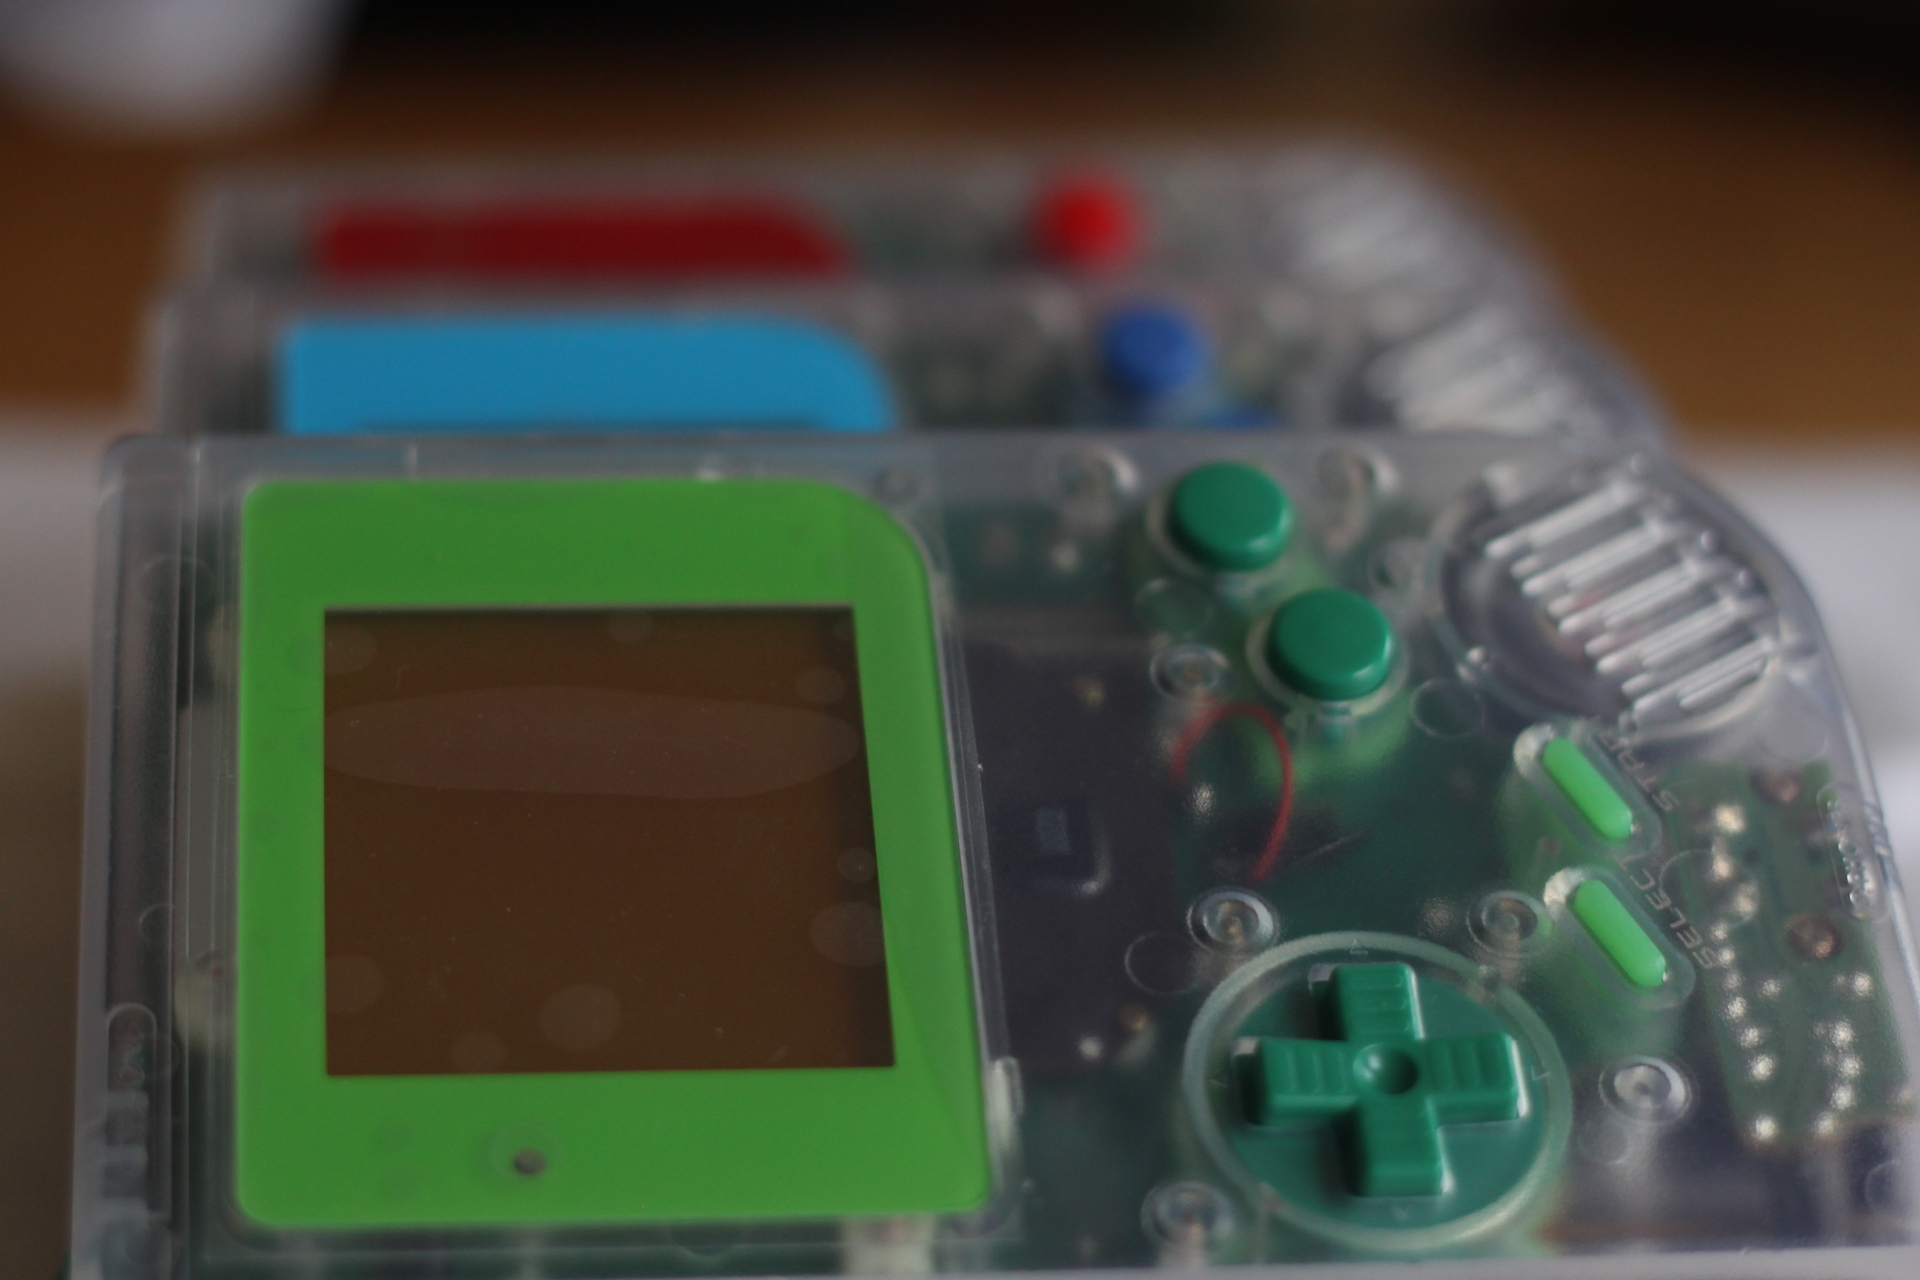
I got all of my parts from ASM Retro; these awesome folks patiently answered my many many questions over email and got my items shipped quickly and safely, all during a busy holiday season. In the end, I had 3 amazing custom backlit Gameboys with custom power LEDs (except the red one), each themed after one of the original Pokemon colors.
Ingredients
Each of the Gameboys used the following parts:
- 1 transparent white custom shell
- 1 set of colored silicone buttons/button-board contacts
- 1 set of colored molded plastic buttons
- 1 colored ASM Density Backlight
- 1 colored plastic screen shield/cover
- 1 Original Gameboy
An important thing to note – when buying original Gameboys ($15-35), there's a lot you can do to bring a “broken” machine back to life; of the ones I worked with, 2 had a bunch of dead pixel lines (fixable with a little solder), 1 had a dead speaker (switched out with a good speaker from a Gameboy with other problems), and all three no longer had their plastic screen shield/covers (microfiber cloth and isopropyl alcohol works wonders on dirty screens). All this to say: consider bringing new life to “old and busted” Gameboys for these projects – let the “mint condition” systems retire with grace.
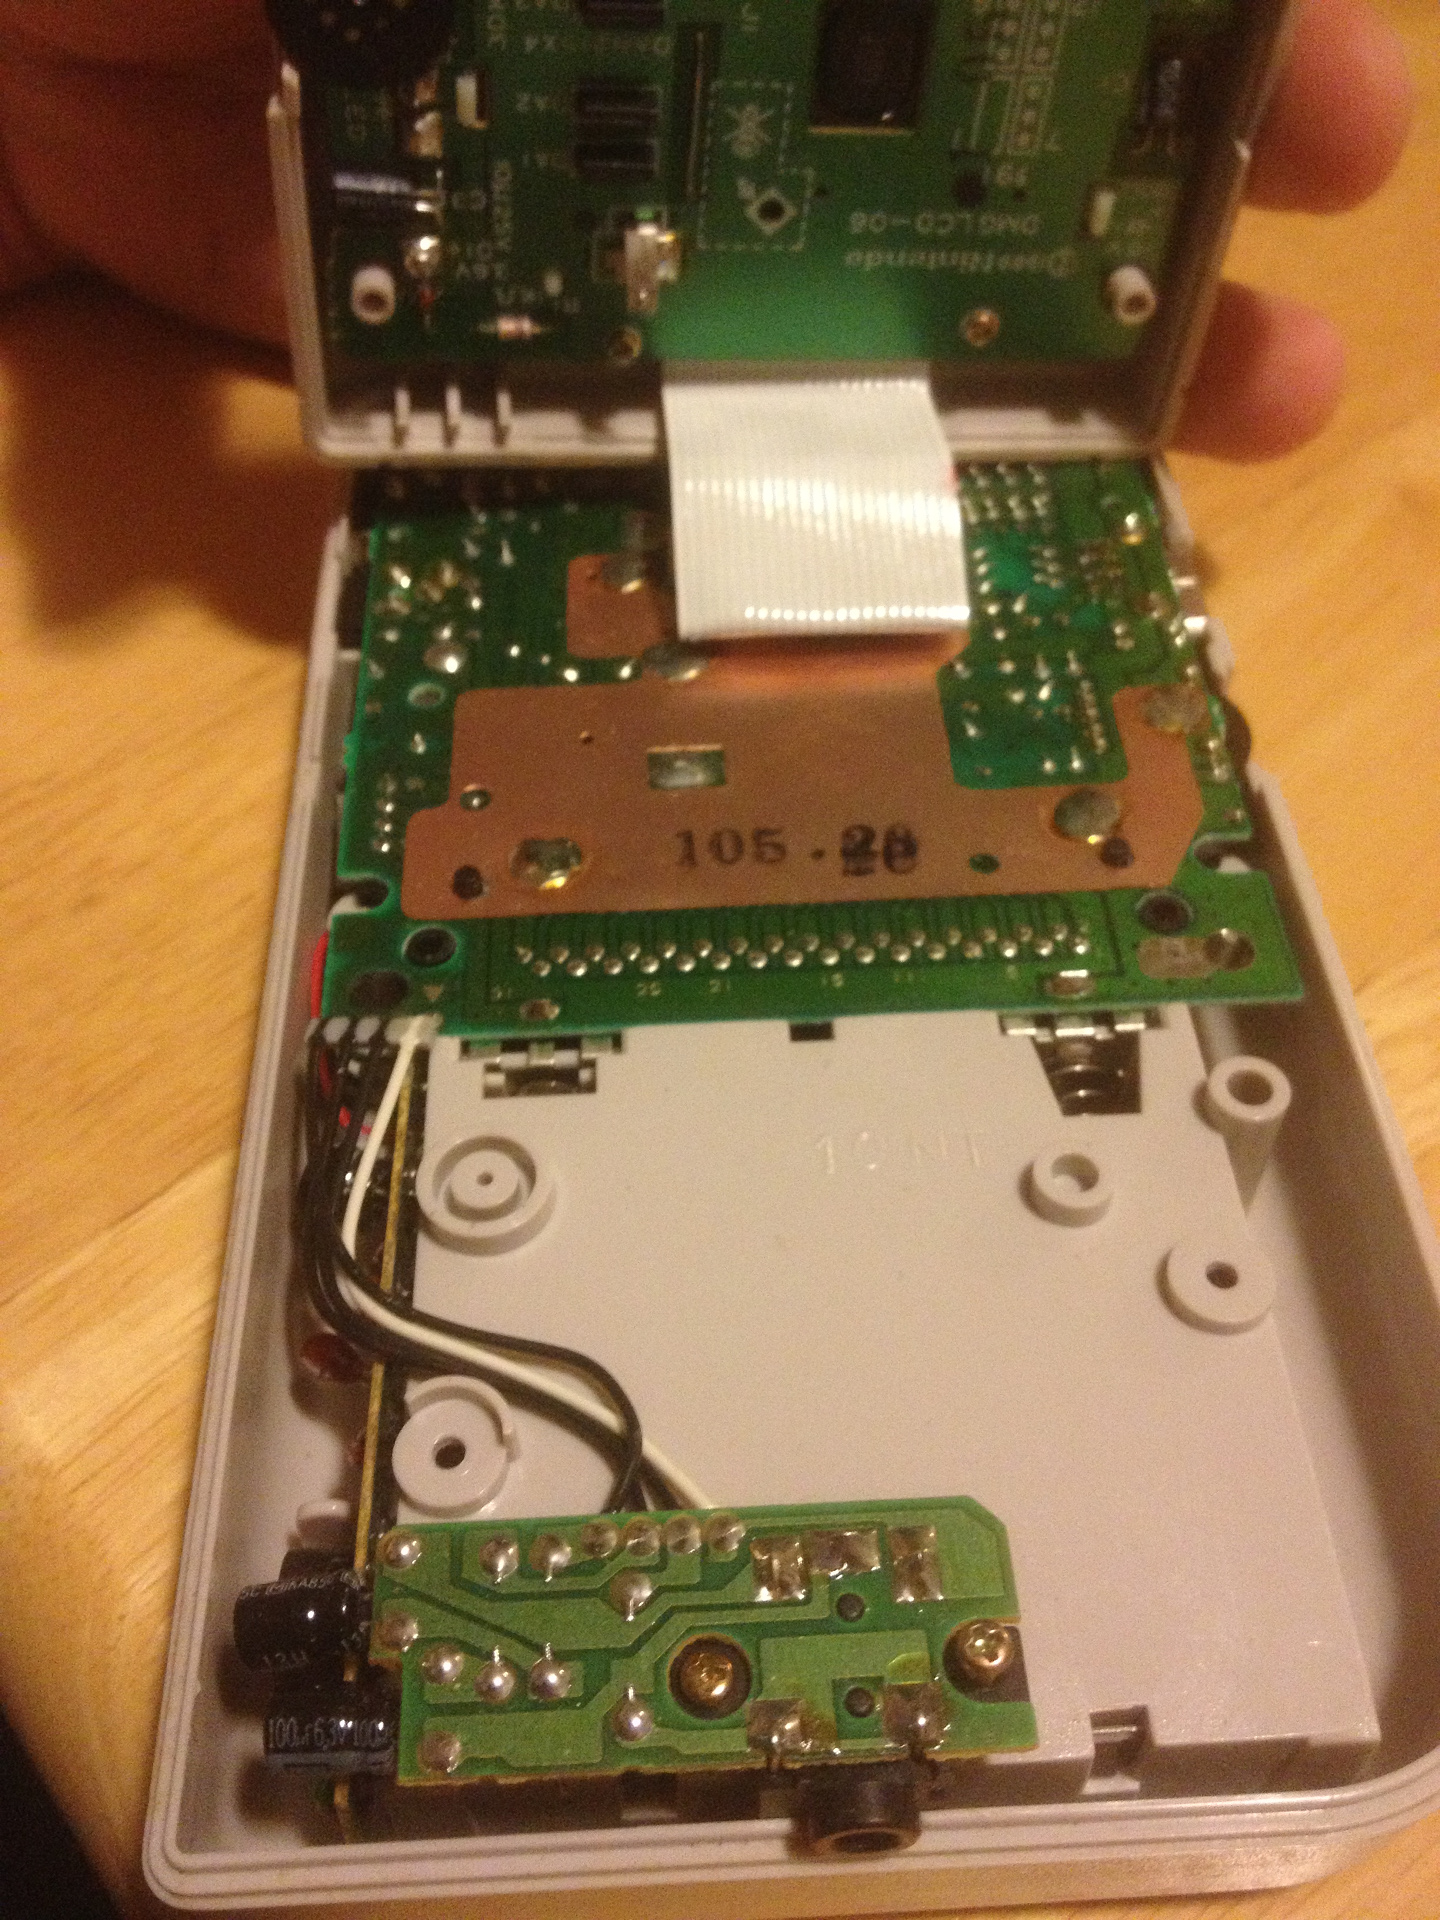
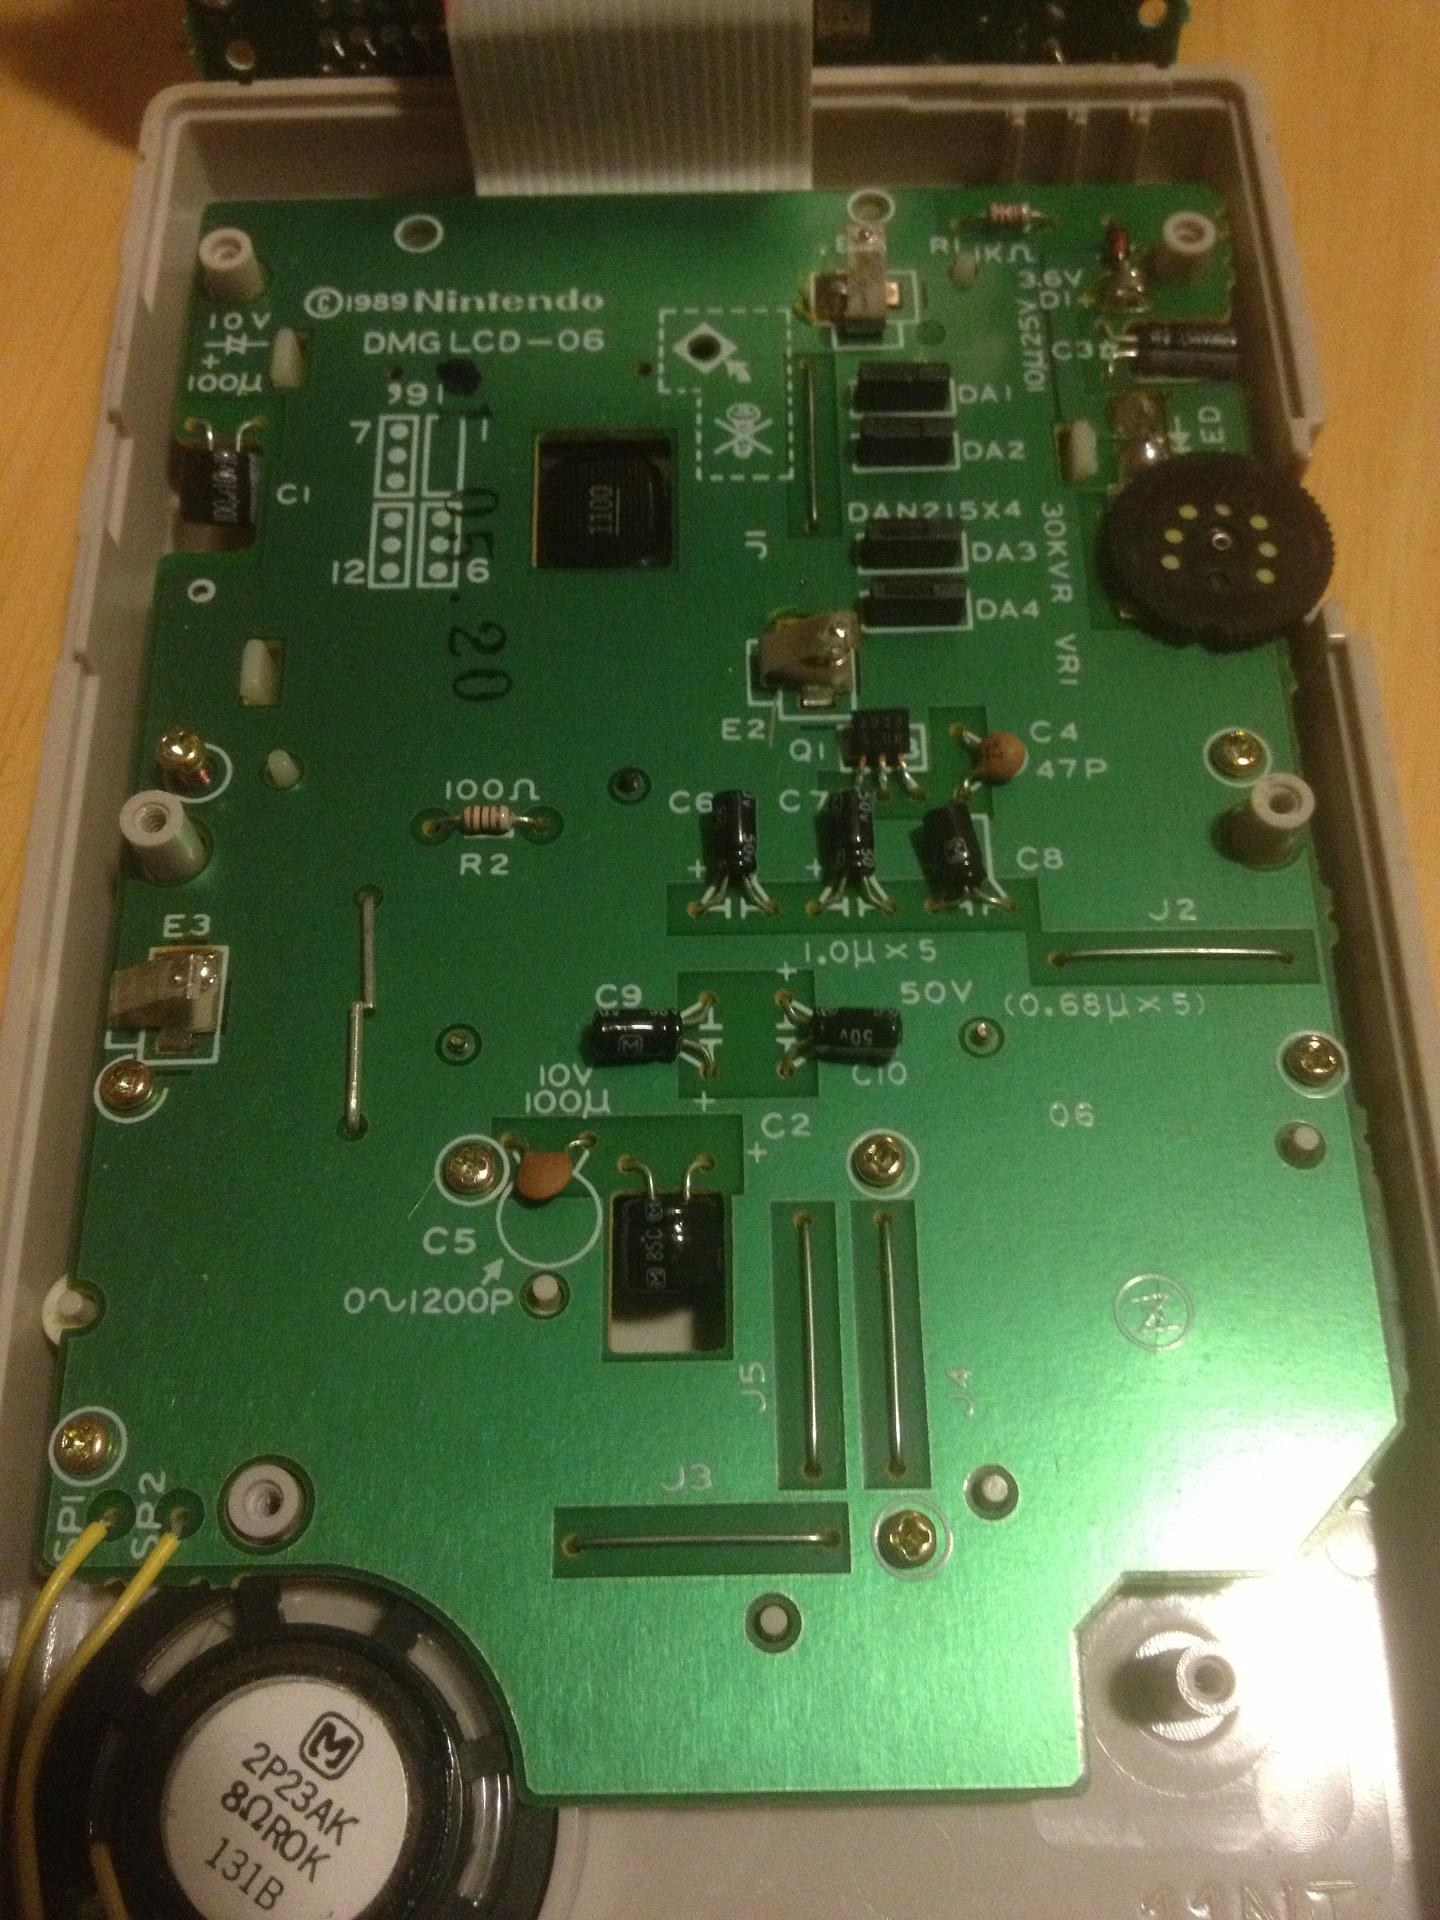
The Build Process
The advantage of working with the original Gameboy is that the board layout is pretty spread out, and is very forgiving to less-than-perfect soldering (like mine).
Since there are already some really
good walkthroughs
of
this process
, I'll just cover the things I noticed that weren't covered in these guides:
Shell Assembly/Disassembly
-
The tri-wing screws strip easily. If you have the alternate cross-head screws (I recommend buying some), this is a good opportunity to replace them – future-you will thank you.
-
Once you get the Gameboy open, take the opportunity to clean everything up with isopropyl alcohol before proceeding. It will save you frustration later when dust keeps getting between your backlight and your screen.
-
When closing everything up with completely new shells, if you tighten the screws in the shell too tight, you'll get some slight bending, and your screen shield won't sit flat.
-
Additionally, your power switch may stick when you turn it off, resulting in a half-on state. If your screws are too loose, you may feel the shell shift in your hand when you press buttons and play the Gameboy. Experiment to find the right balance.
-
The new shells can sometimes resist the screws. I found that taking the screws out when meeting resistance and cleaning the threading off helped a ton.
-
If you're using a clear shell, you'll be able to see if your silicone buttons and connectors are sitting on top of your backlight wires. With an opaque shell, you can't, so plan your layout appropriately.
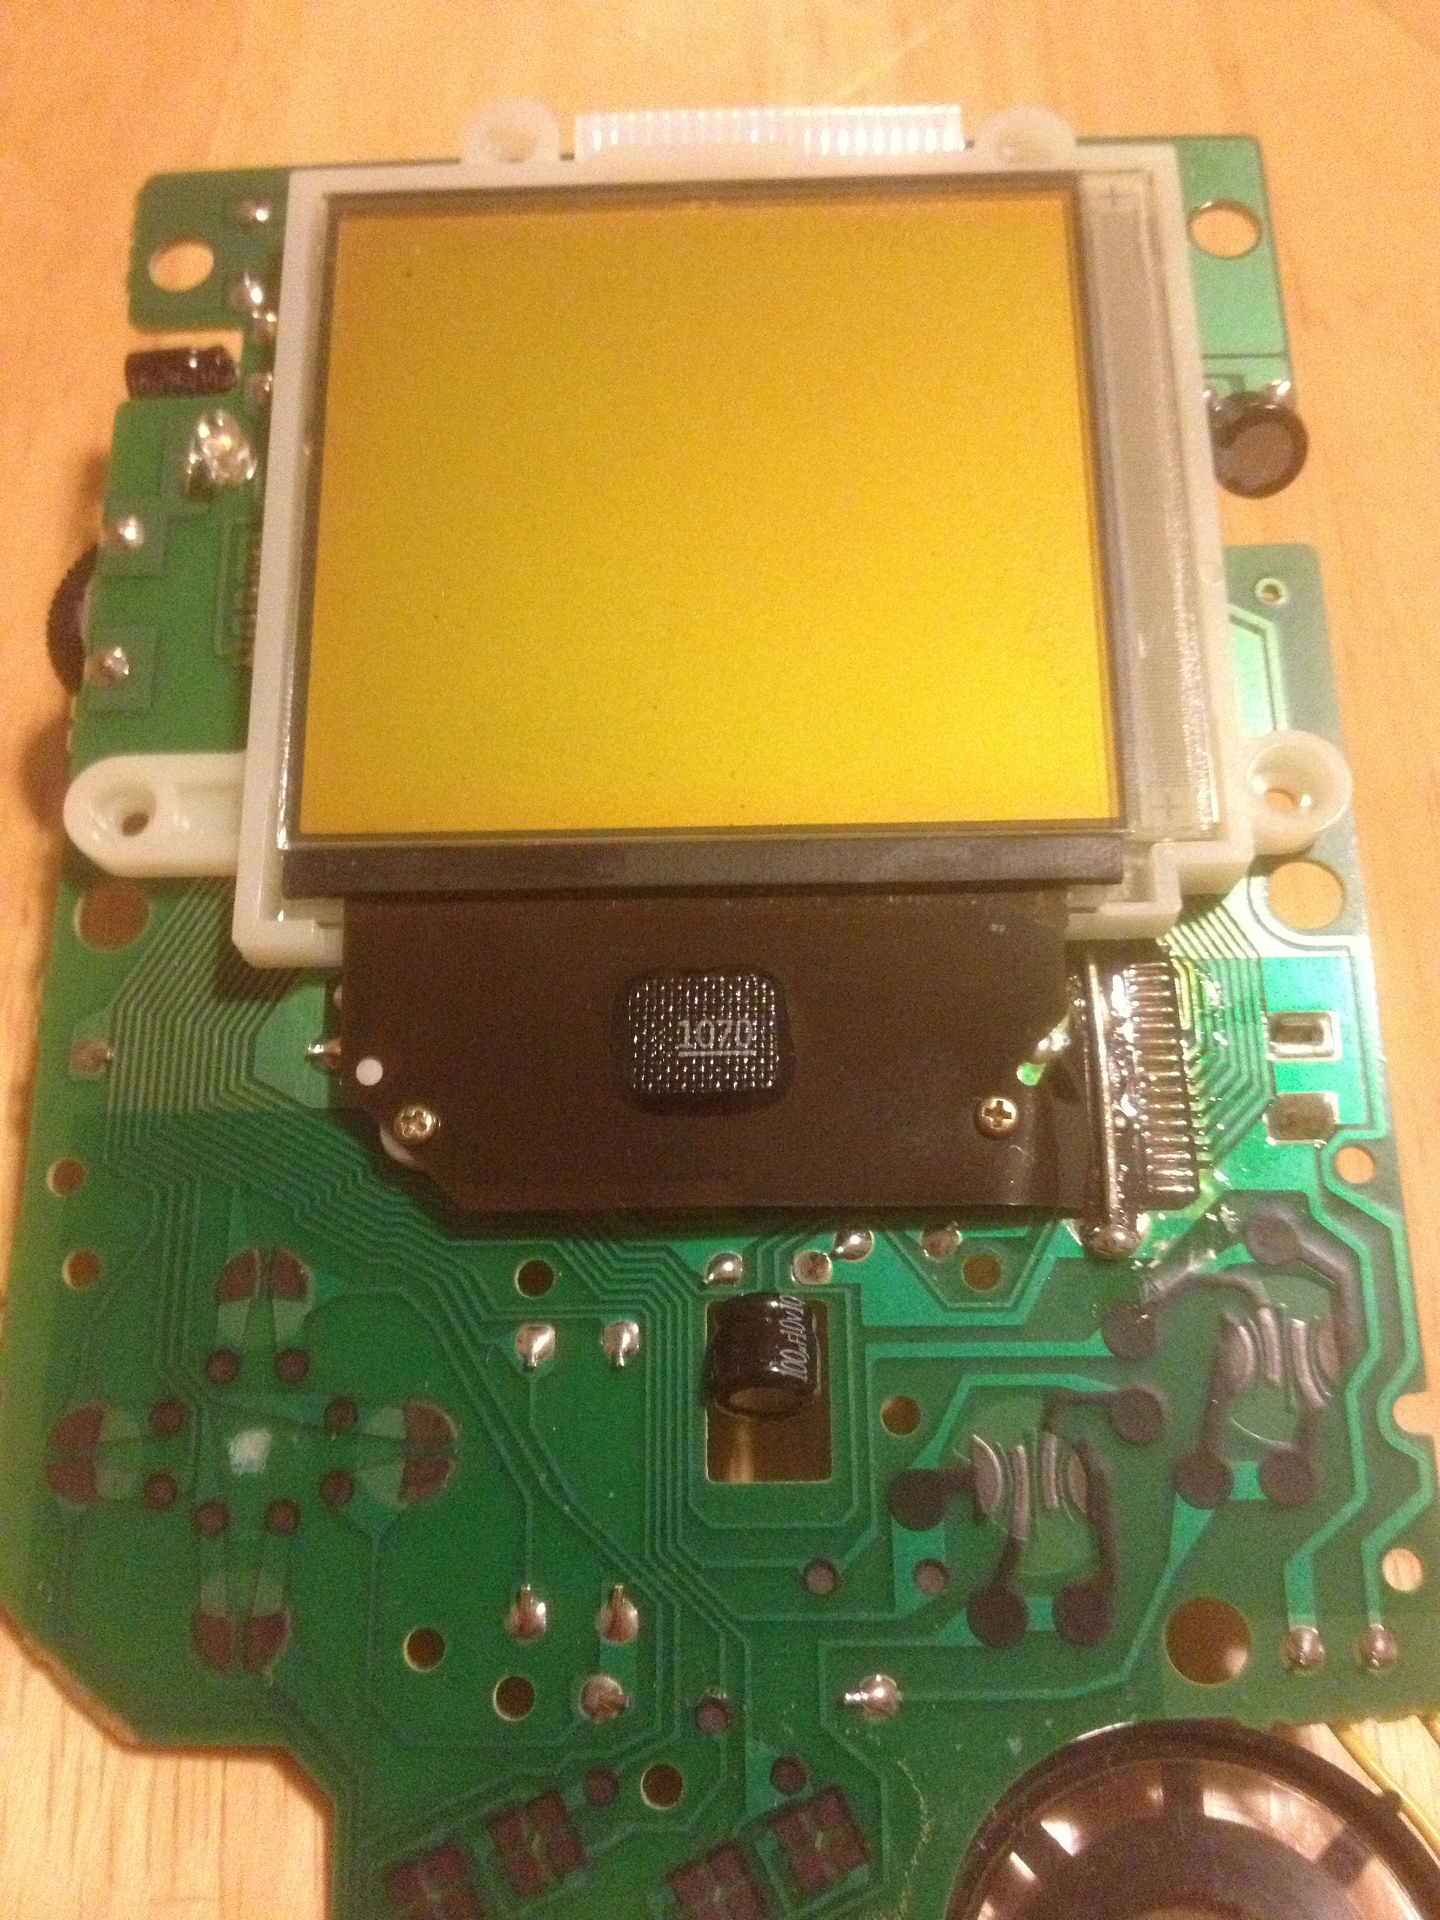
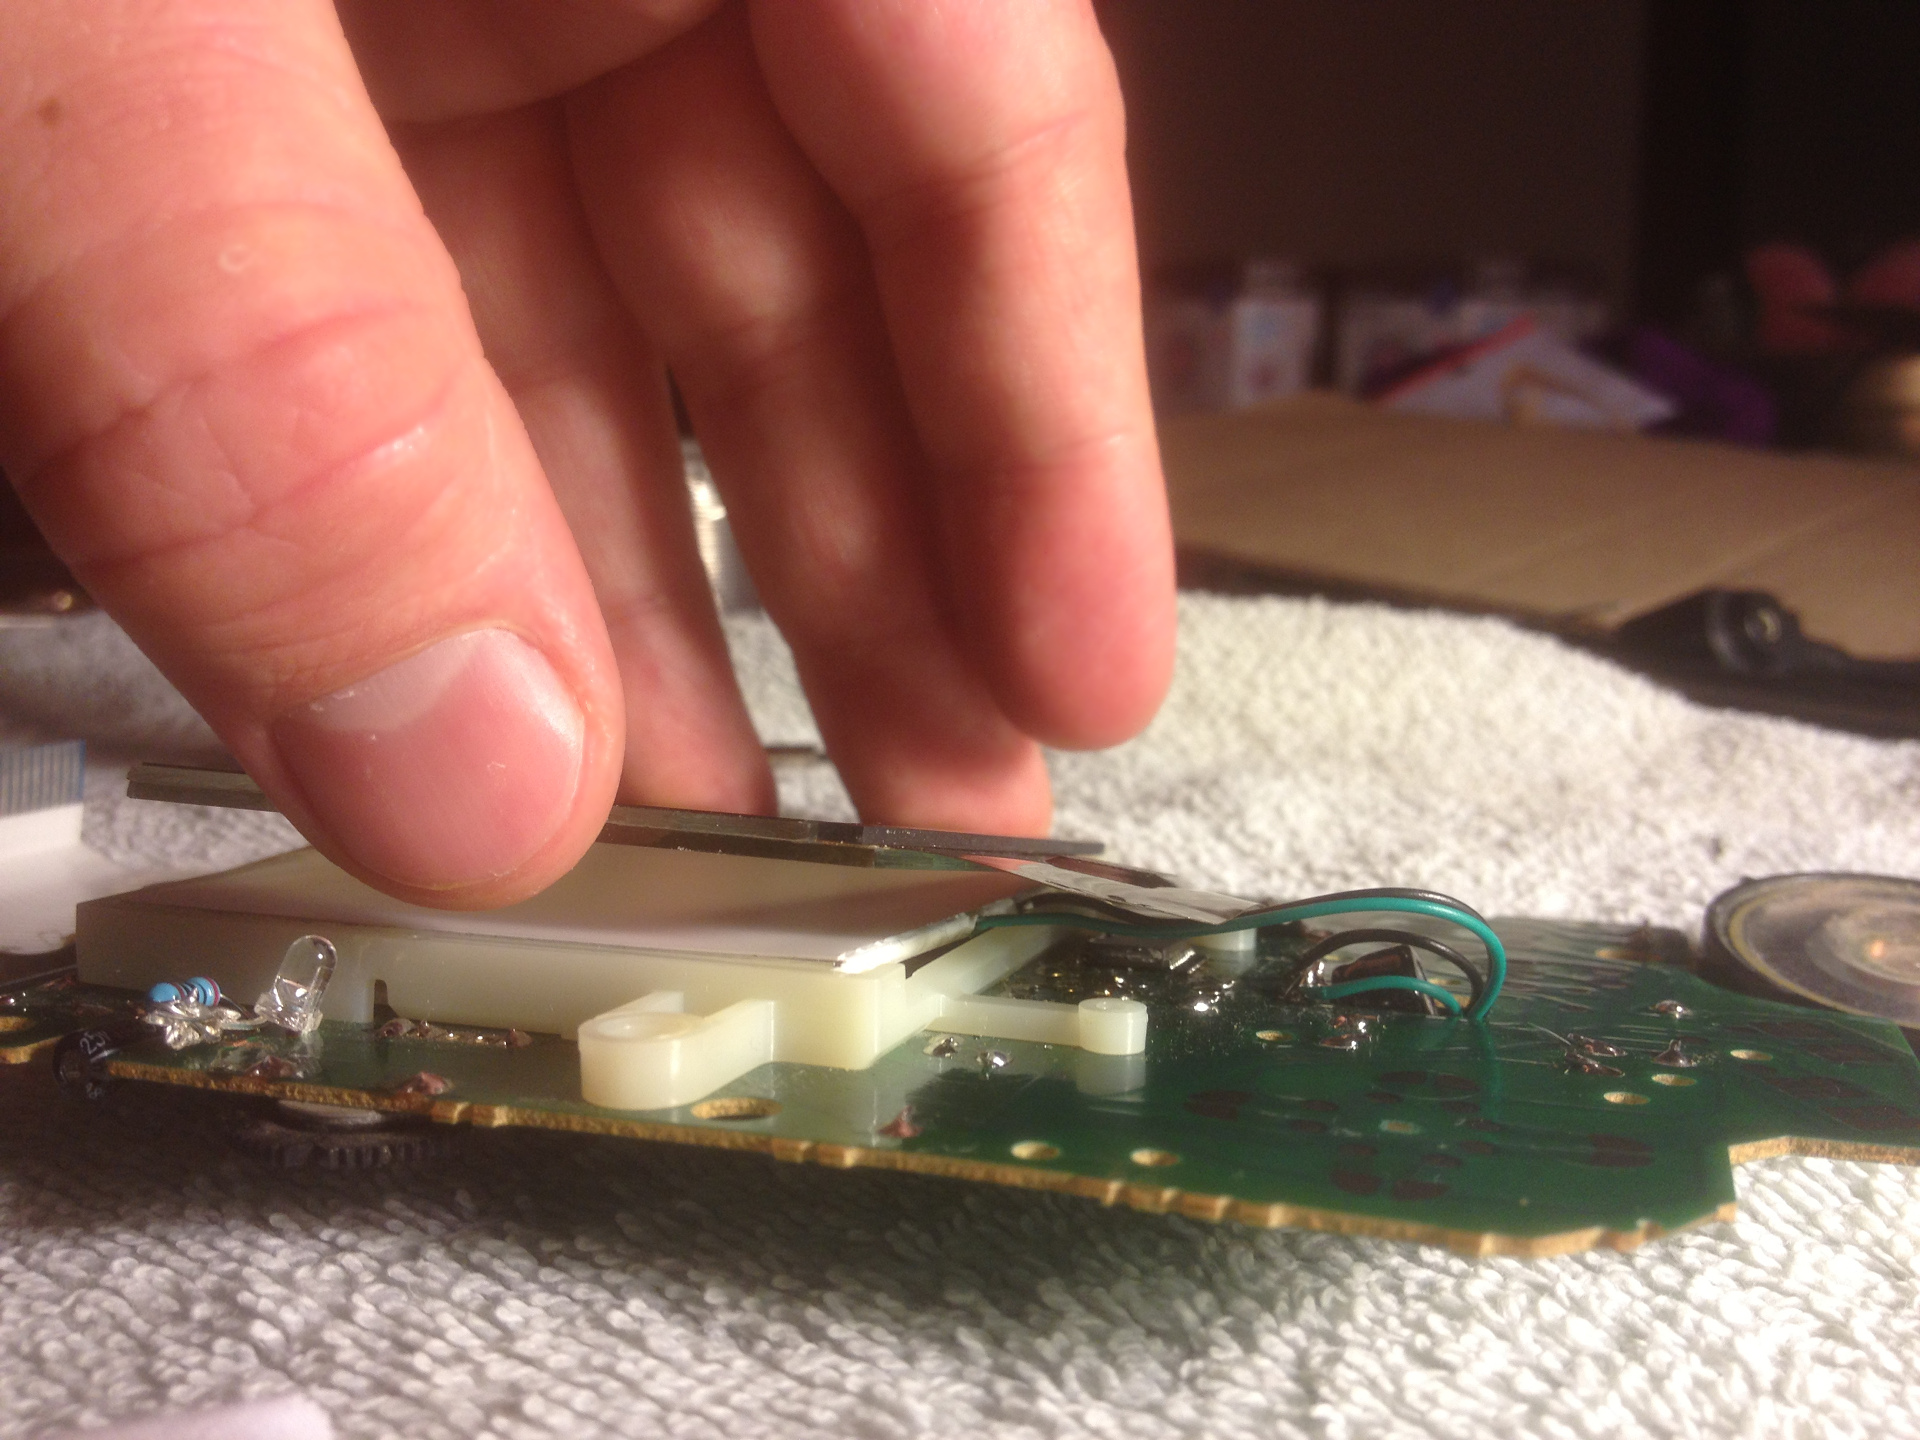
Screen reflector and film removal
-
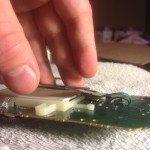
This is the hardest step in my opinion, so take your time. Messing up this step can mean a completely useless Gameboy. It usually takes me 10-20 minutes to get it off. I recommend watching a few videos of people doing this so you have a good idea of what to expect.
-
Don't worry about fingerprints at this stage – you're going to clean the screen anyway, so just make sure you have a nice grip on the screen while distributing force as much as possible.
-
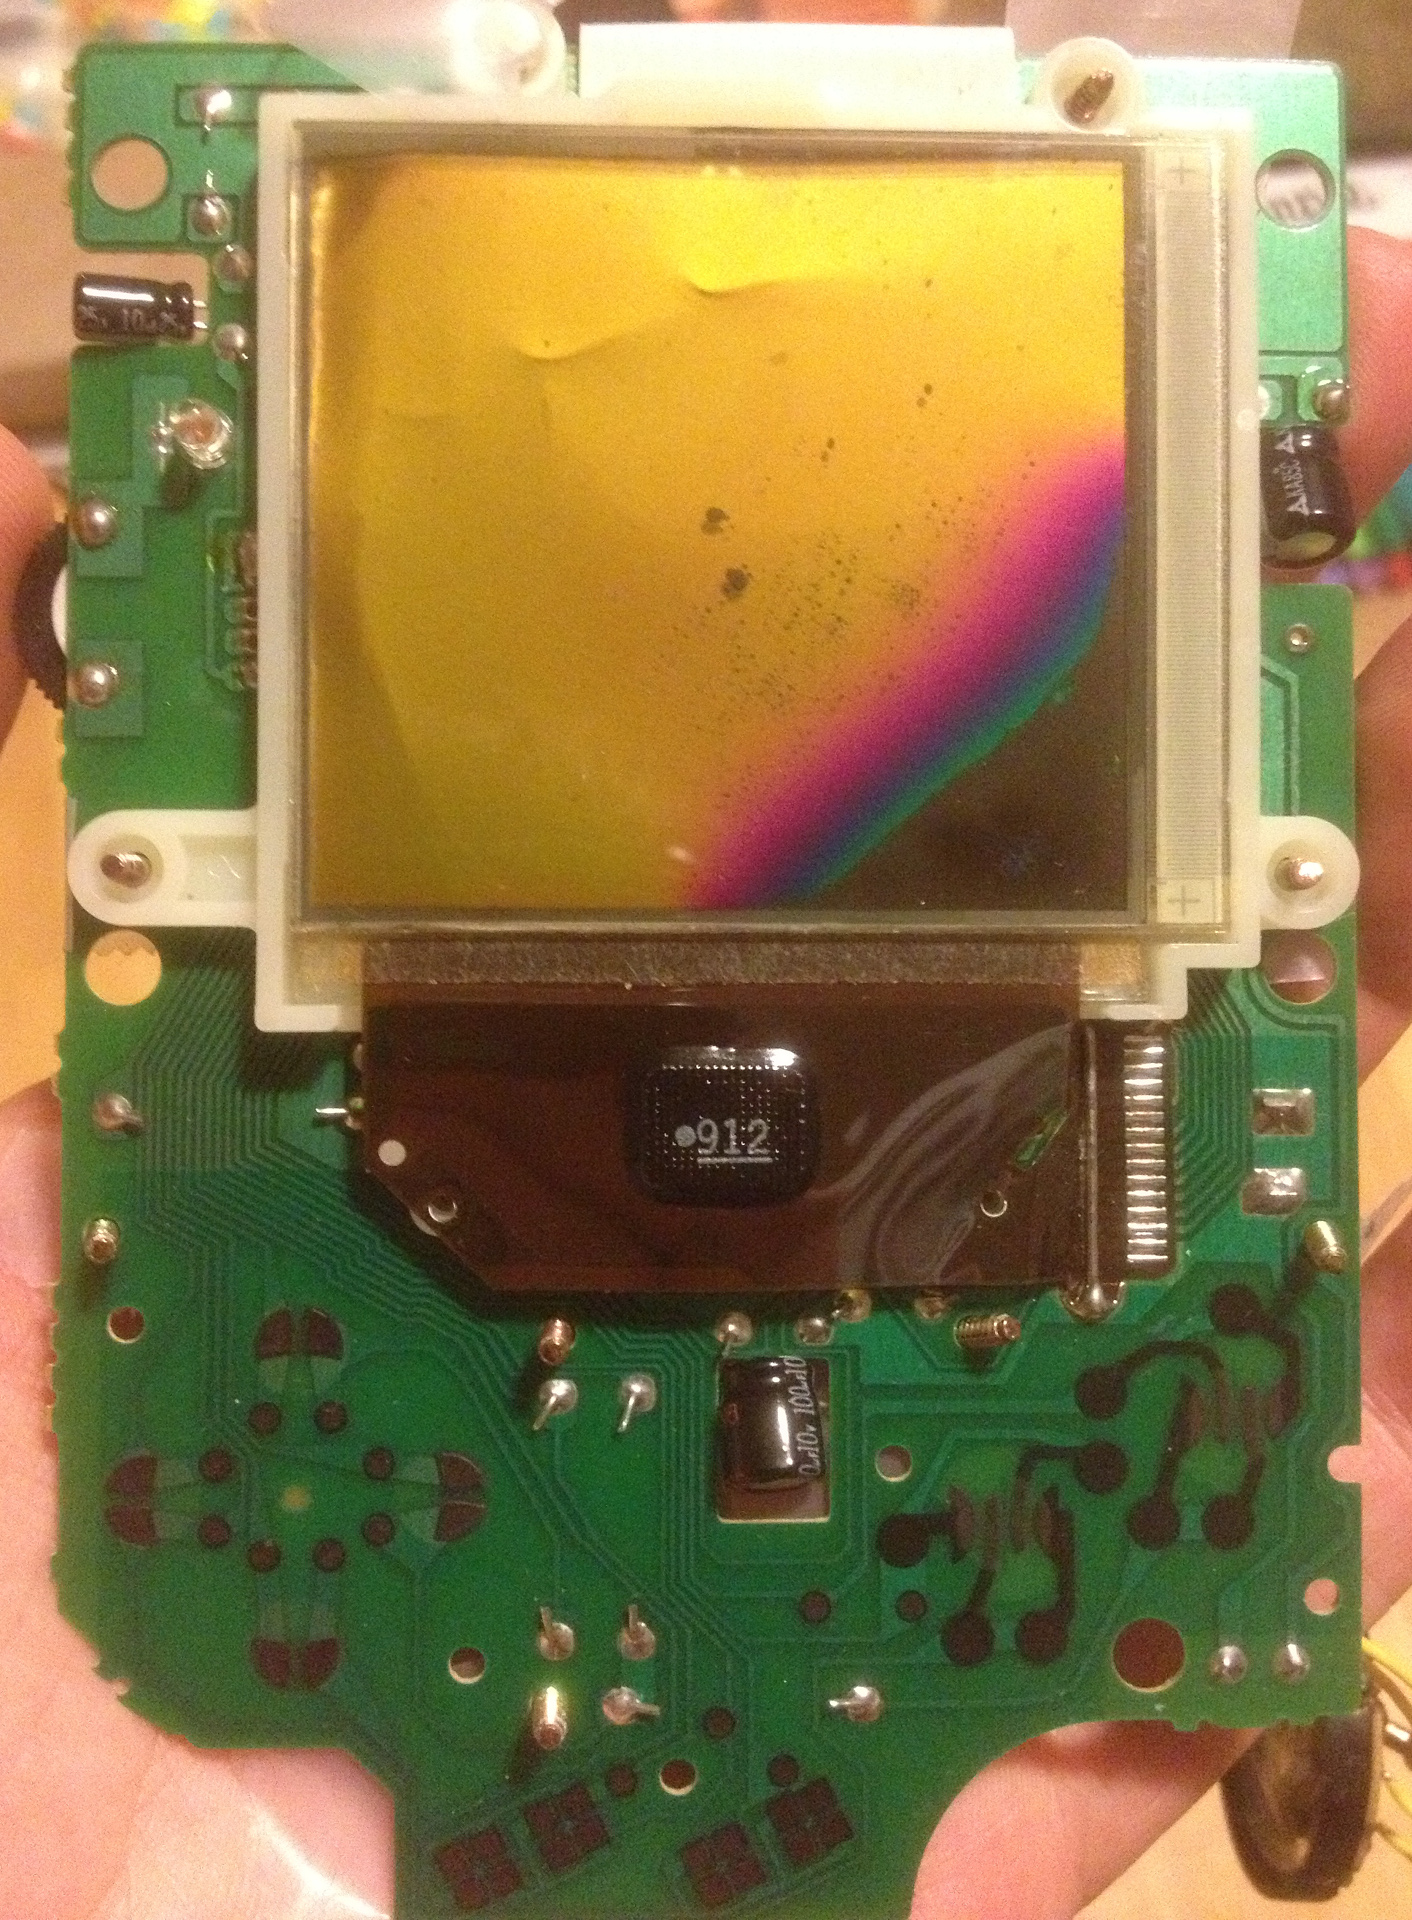
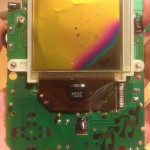 Most guides explain this removal step well, but most don't mention how convenient and easy it is to rest the bottom right corner of the screen glass in the same corner of the plastic screen housing. DON'T DO THIS! I wasn't paying attention and just as I was finishing, heard a crack. When I replaced the polarized film, I could see the damage.
-
When you rest the screen back in the plastic bracket, make sure it's not pressed up against the bottom of the plastic bracket – this may prevent it from sitting freely and will put undesirable pressure on the screen.
-
When you're done, the glass should be clear and transparent. If the screen is yellow, you didn't remove the stock polarized film. Technically, you can leave it (and not use the polarized film included with the backlight), but it's not going to look as clean.
-
Cotton swabs are fine for cleaning the board, but I recommend using microfiber cloth for the screen as cotton can scratch the glass.
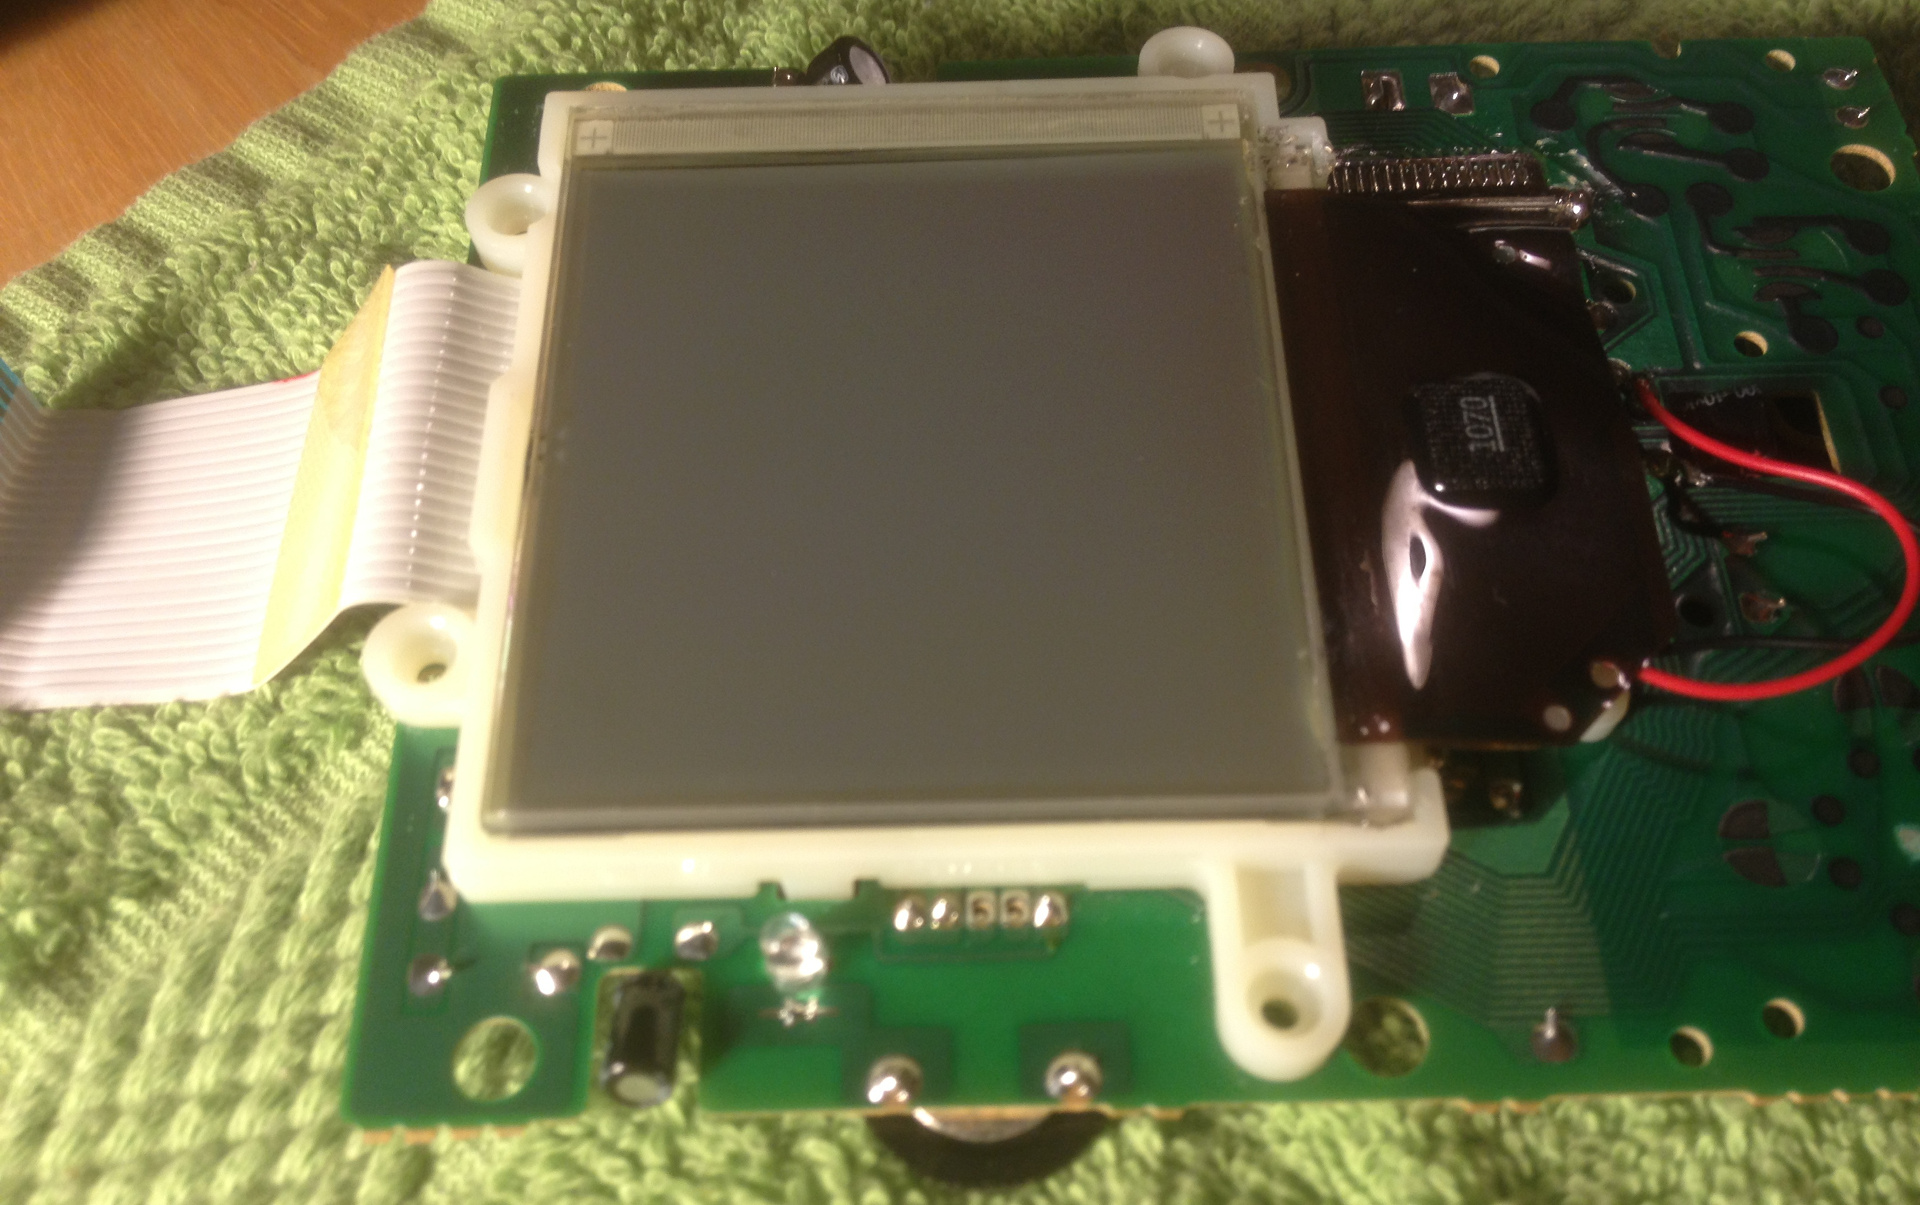
Backlight installation
-
 I highly recommend getting a backlight with the “ribbon-style” connector. This will save you cutting, and is very easy to work with. I unexpectedly received a screen without the ribbon-style connector, and after realizing I had cut in the wrong place and didn't have enough clearance to do the right cuts with my tools, was fortunate enough to be able to feed the wire in the small space between the bottom of the screen housing and the screen itself to the cut I made.
-
If you're a particularly skilled solderer, you may want to shorten the backlight wires before connecting. I found that doing so requires much more precision however, and ended up feeding the extra wire down through the back of the board via the cutout for the capacitor below the screen.
-
The polarized film goes above the backlight, but below the screen glass. The backlight has a layer of white, mostly opaque plastic to diffuse the light, and should be left on unless you're doing something weird.
-
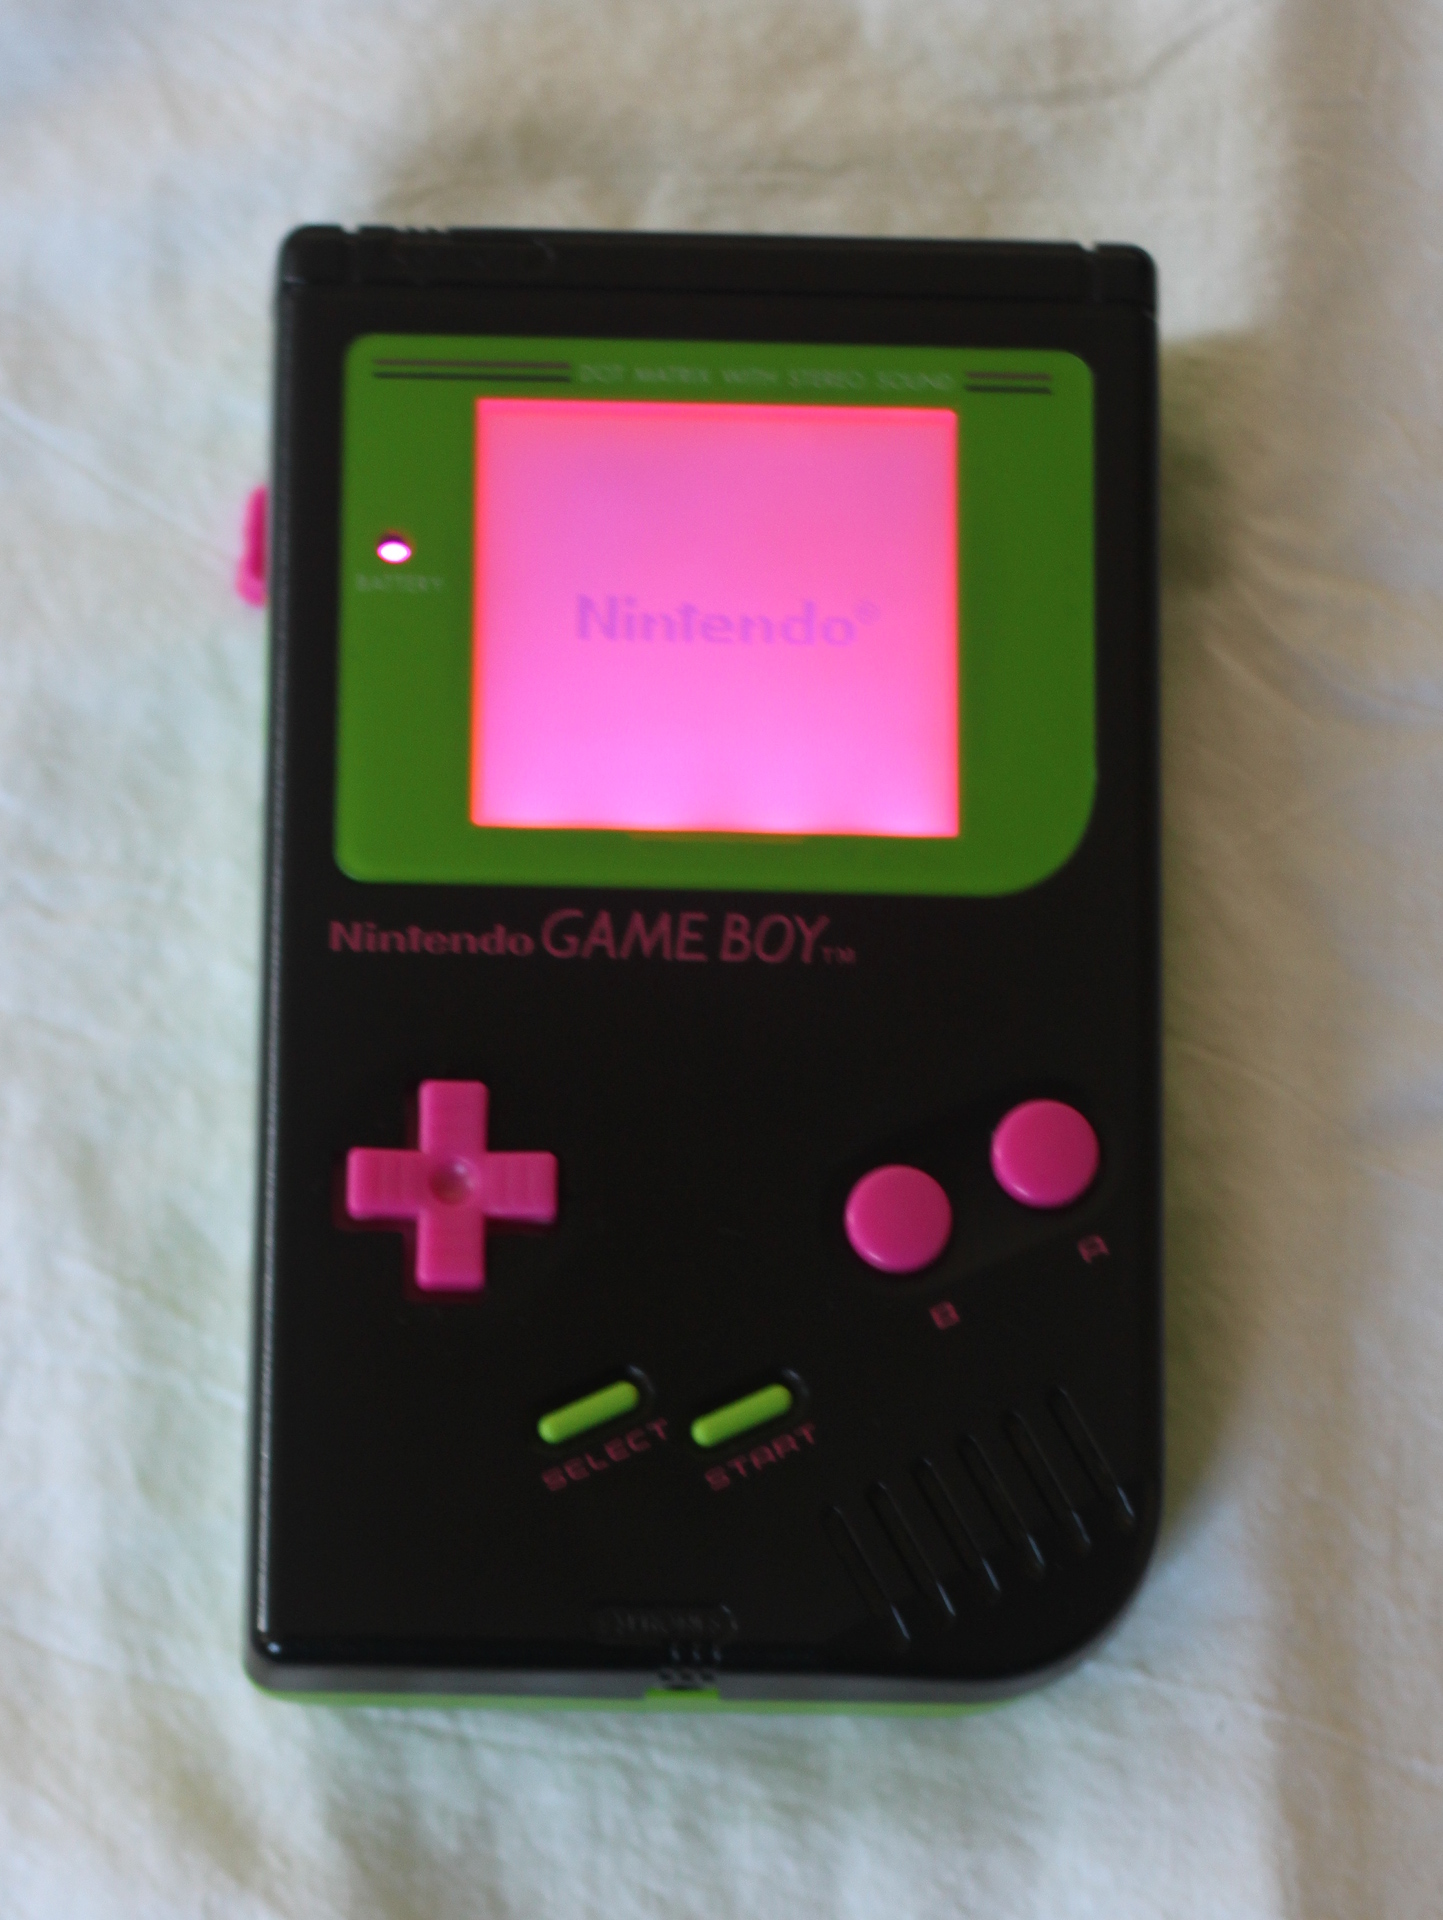
I think some of the backlights look better than others. Pink and Red look great, Green is pretty good, and Blue was a little harsh for my taste (although it had the cool/interesting side-effect of inverting the contrast when the contrast wheel was adjusted far enough). All of them were great improvements over having no backlight.
Power LED replacements
-
If you opt to do this, you need a somewhat steady hand and a desoldering pump. If you mess something up at this stage, the worst that will probably happen is that you won't have a power light until you finish the job. Because of this, I recommend doing this after backlight installation.
-
Many guides recommend using a resistor for new LEDs, since most colors will be too bright on their own. I found the resistors I used didn't do much, but more importantly, because the LED has to sit so close to the board to fit properly, it was way too easy to short out the LED with the resistor installed. Instead, I got an extra sheet of polarized film and cut a little circle (use an adjustable hole punch if you can) to fit inside the power light housing above the LED. This did the trick perfectly.
-
Some LEDs don't require dimming. I found the pink LEDs were perfectly fine on their own, in contrast to the very bright and distracting blue and green LEDs. You can check this before installation by pressing the legs of the LED to each side of a watch battery.
Speaker Replacement
-
This works pretty much the same way as the LED replacement, but you want to be careful not to burn the solder contact off the board like I did.
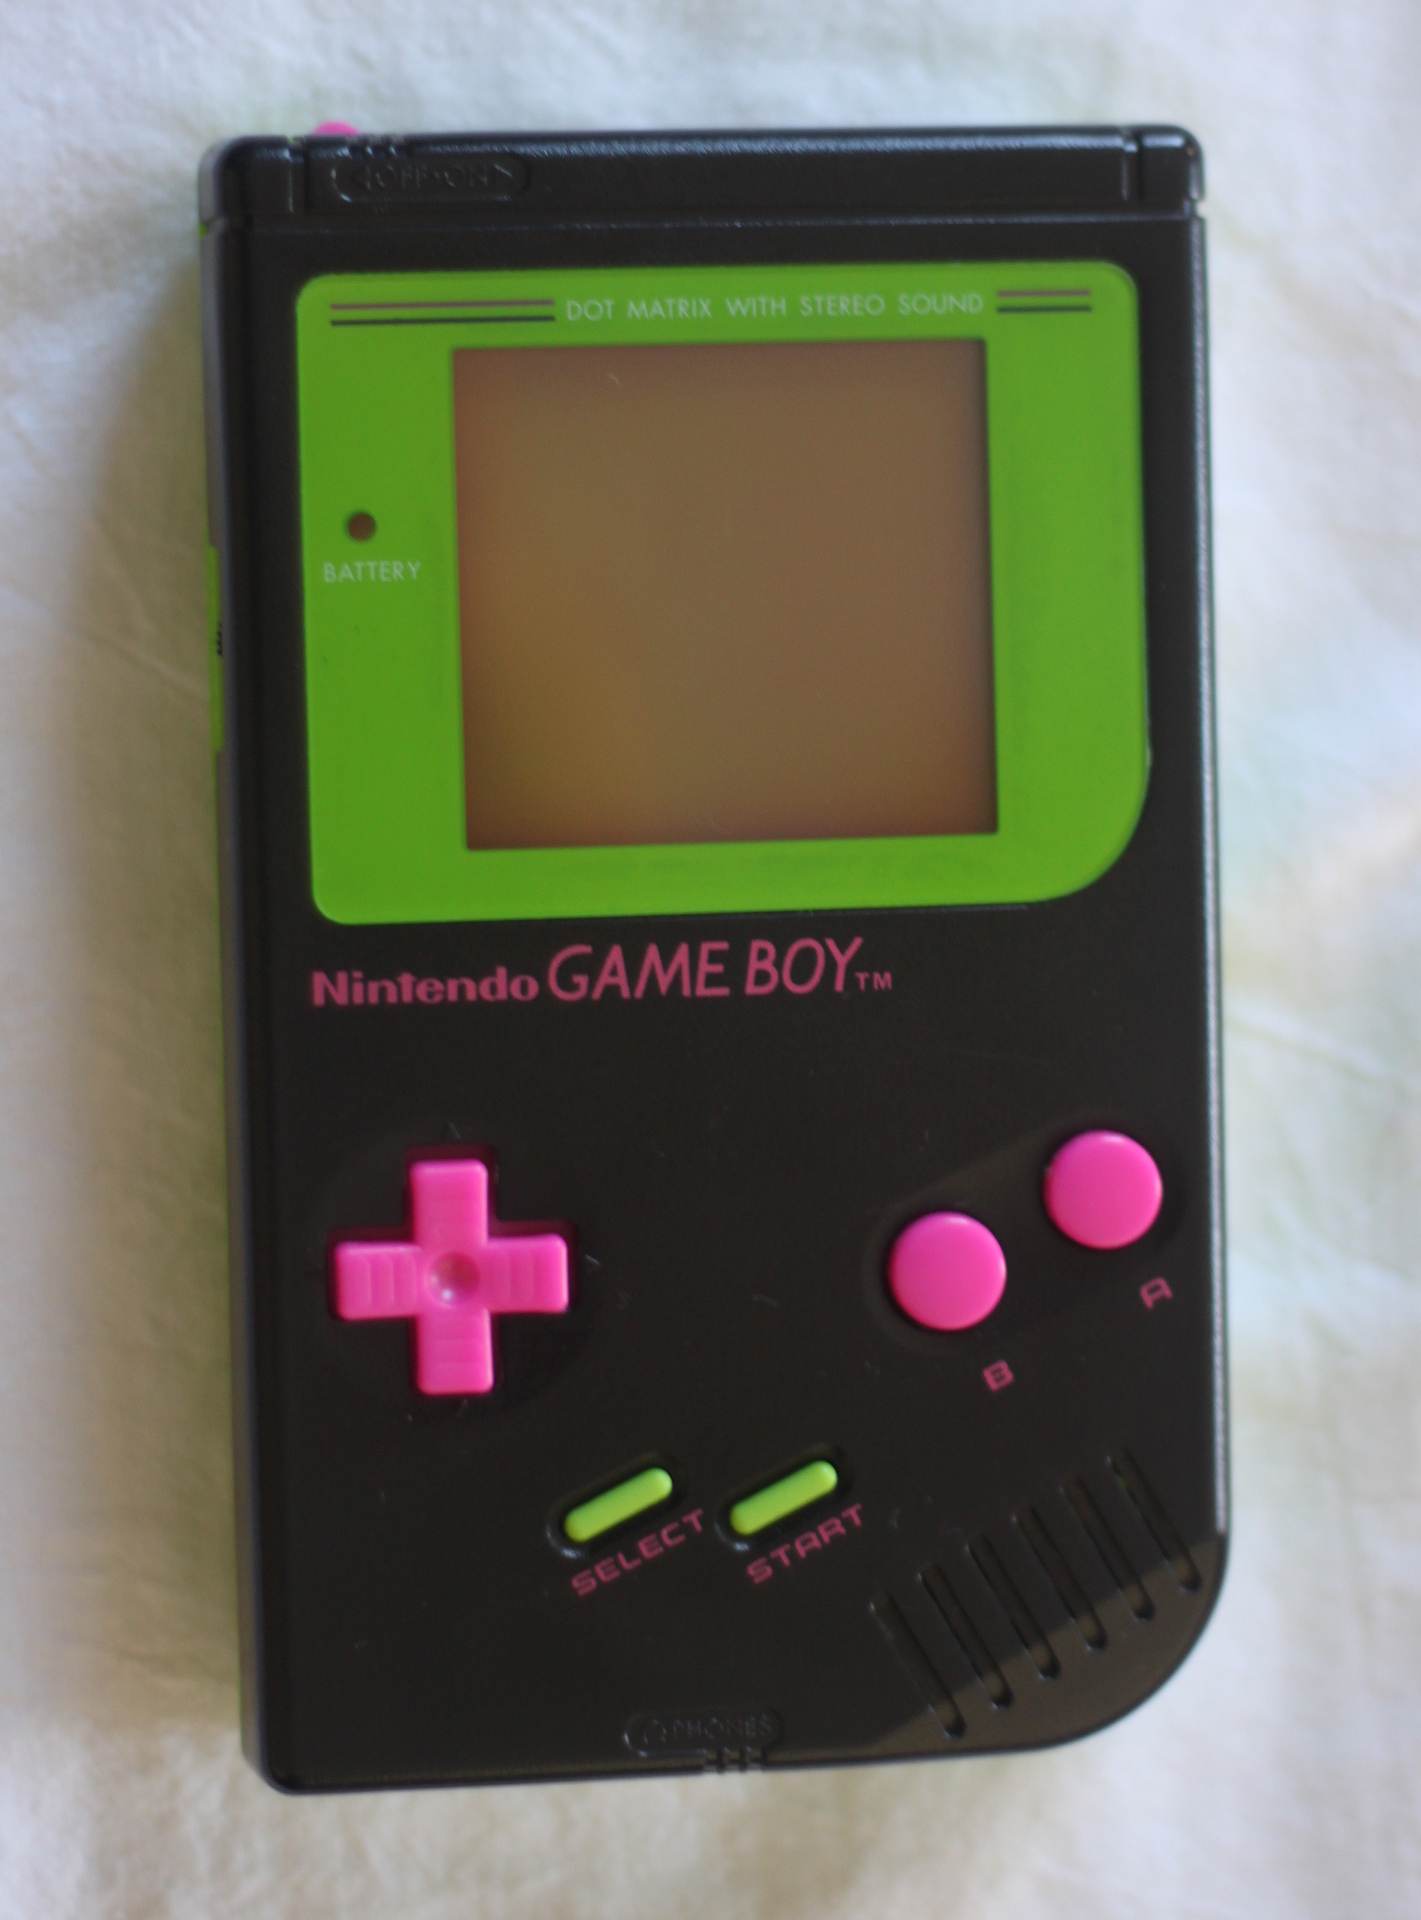
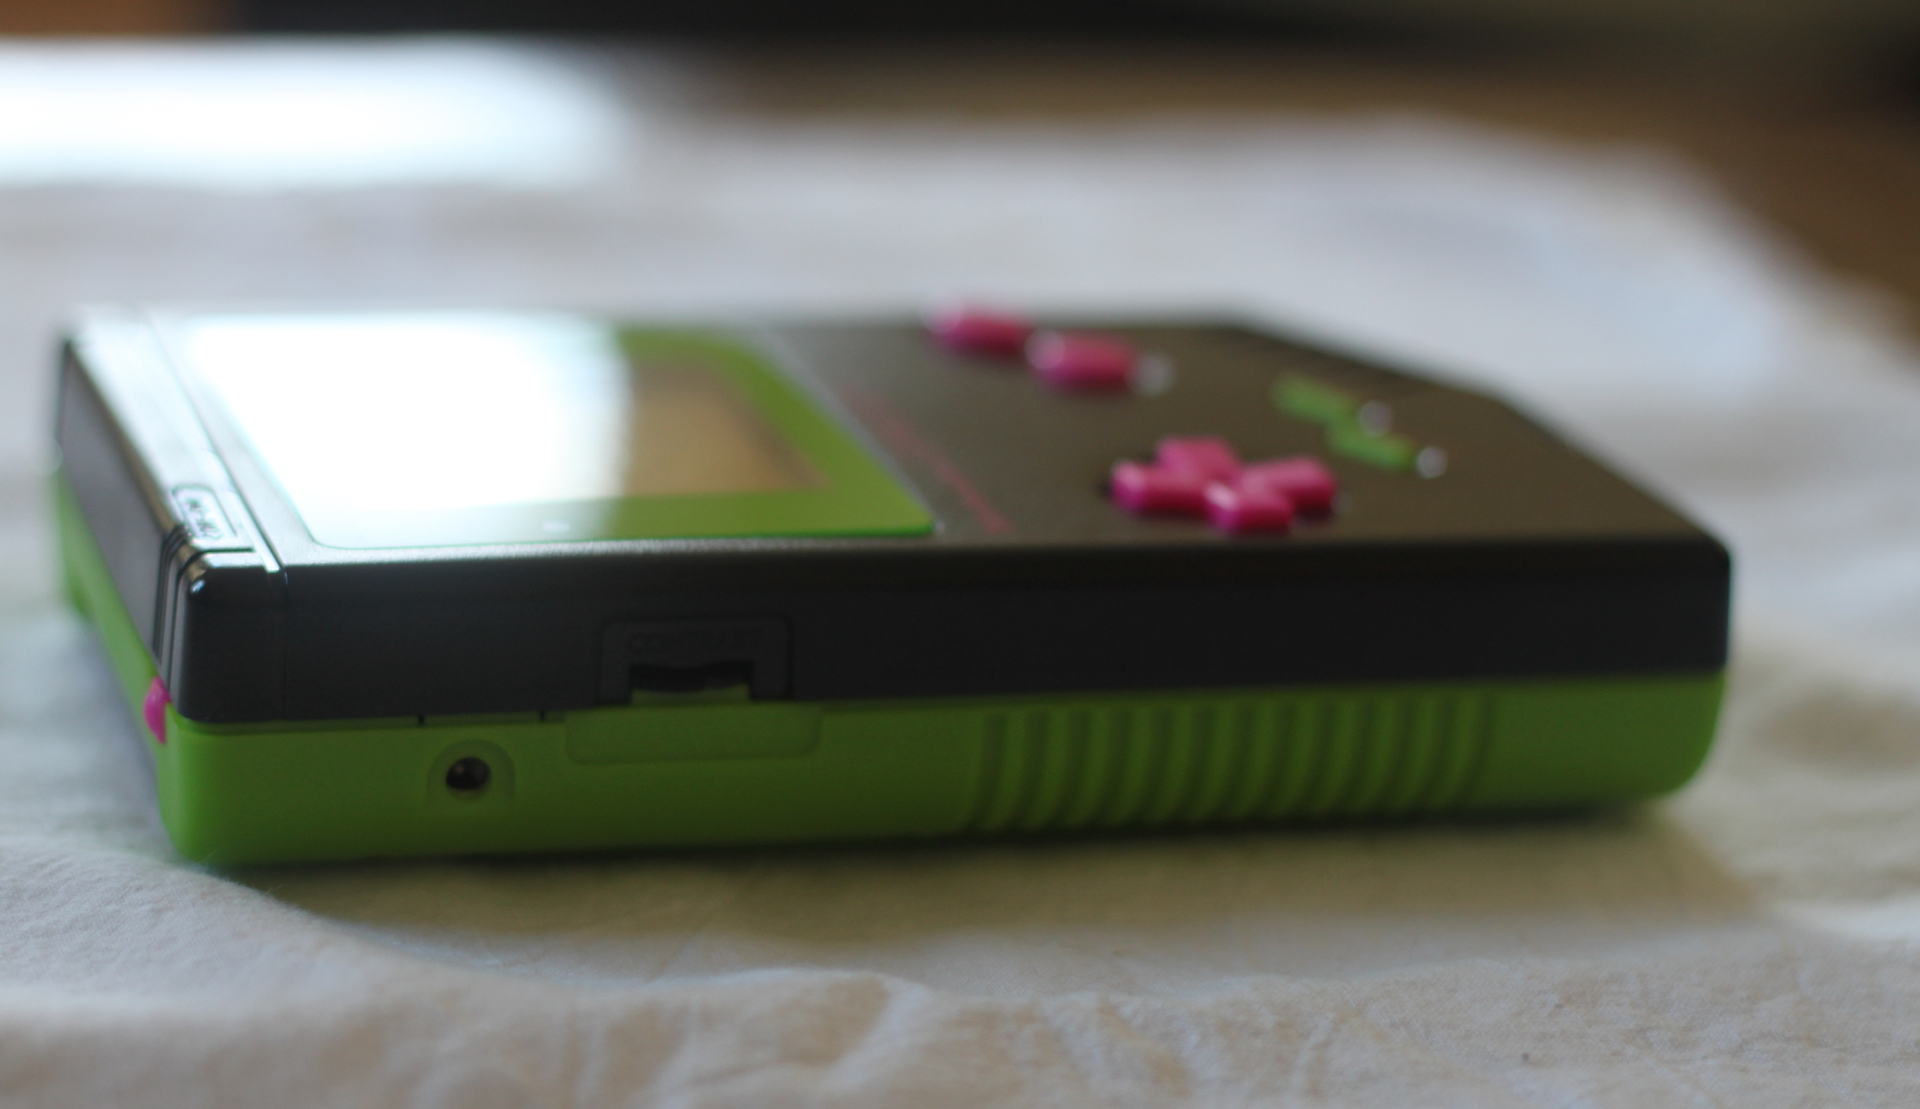
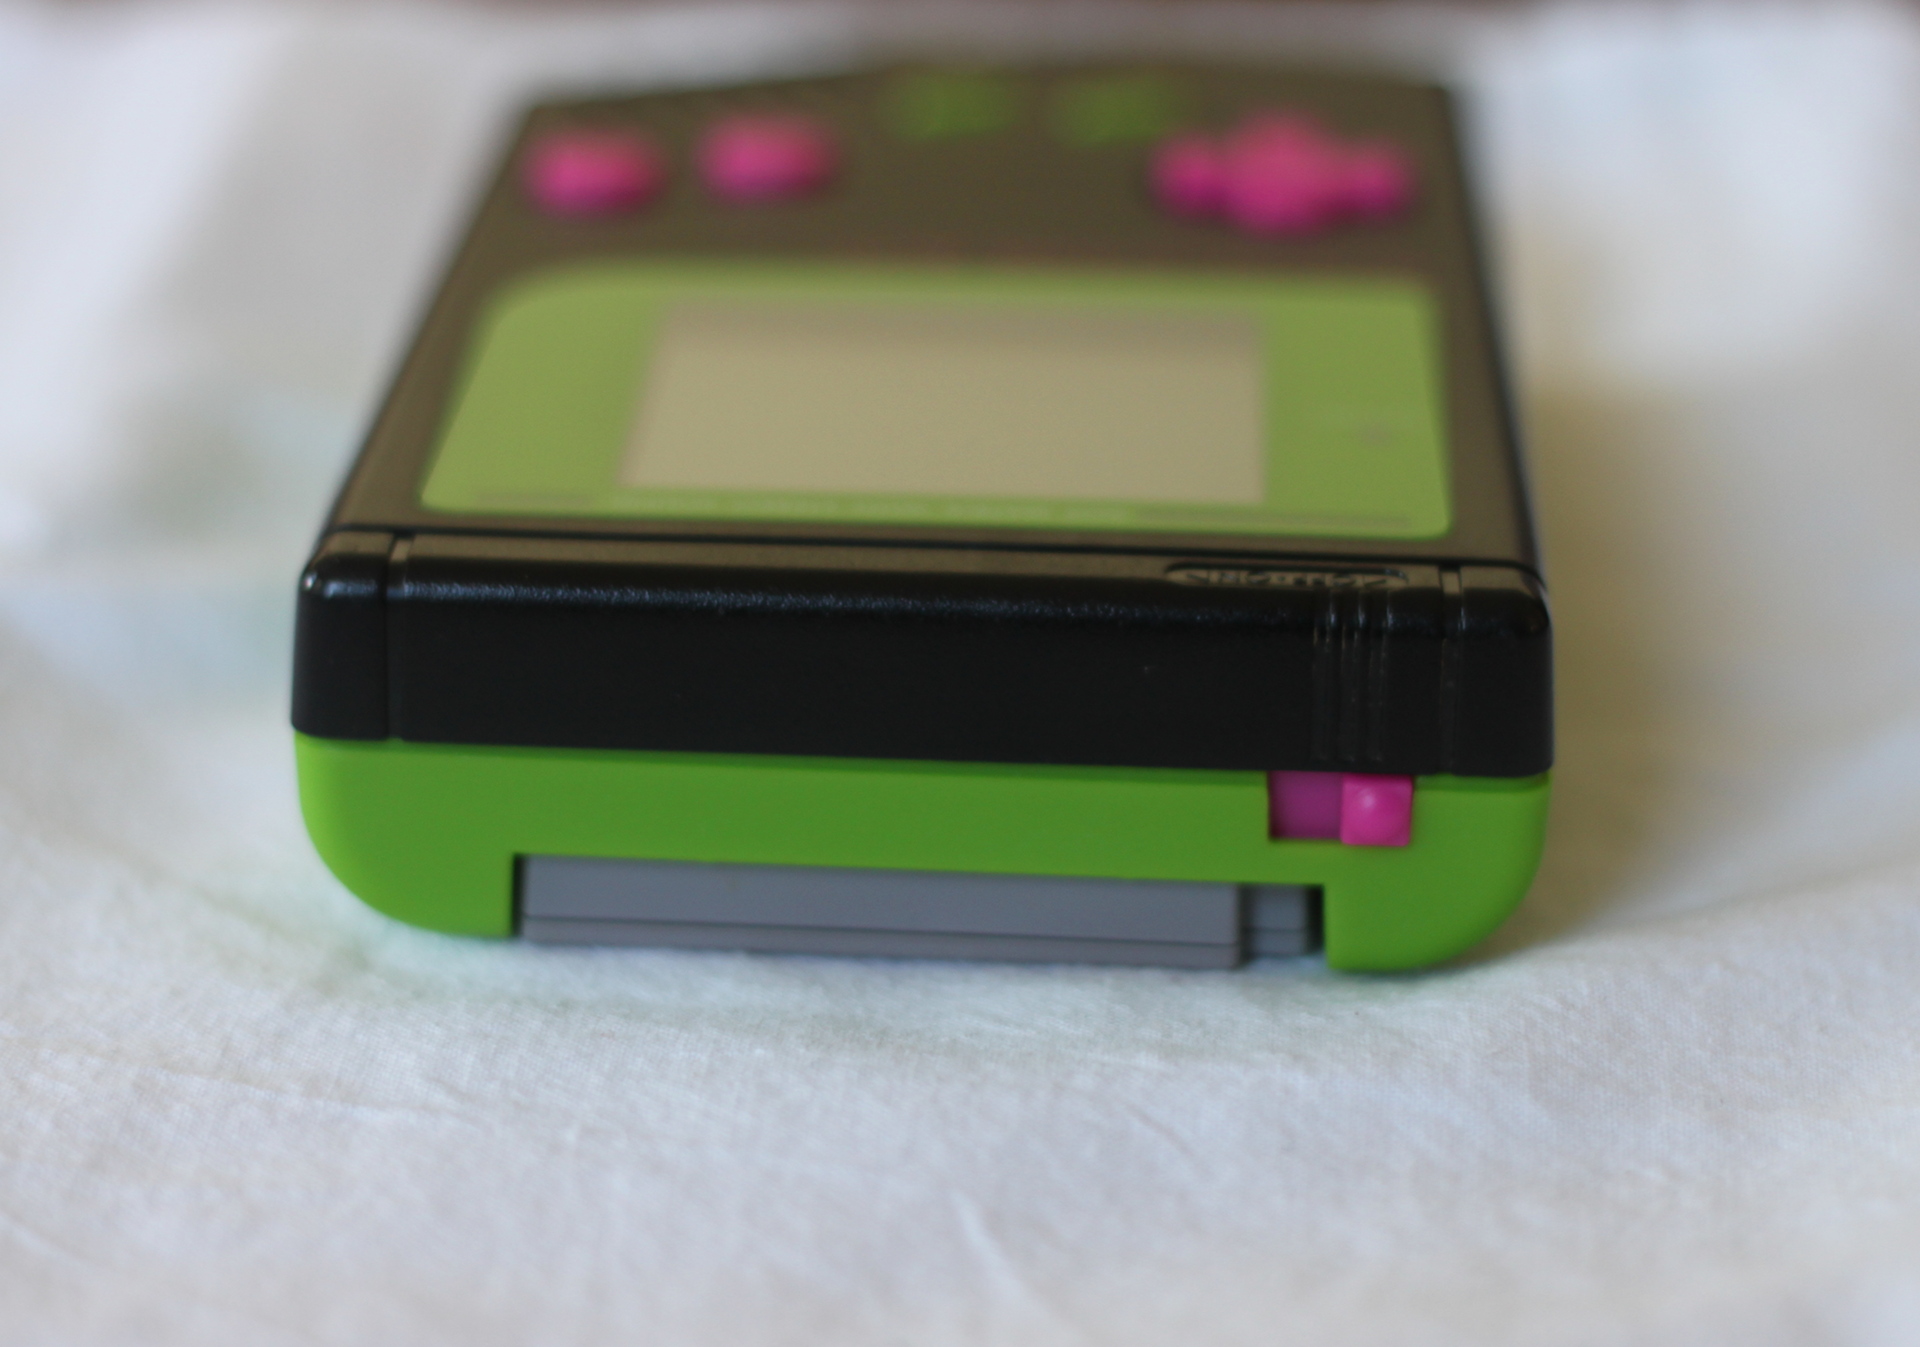
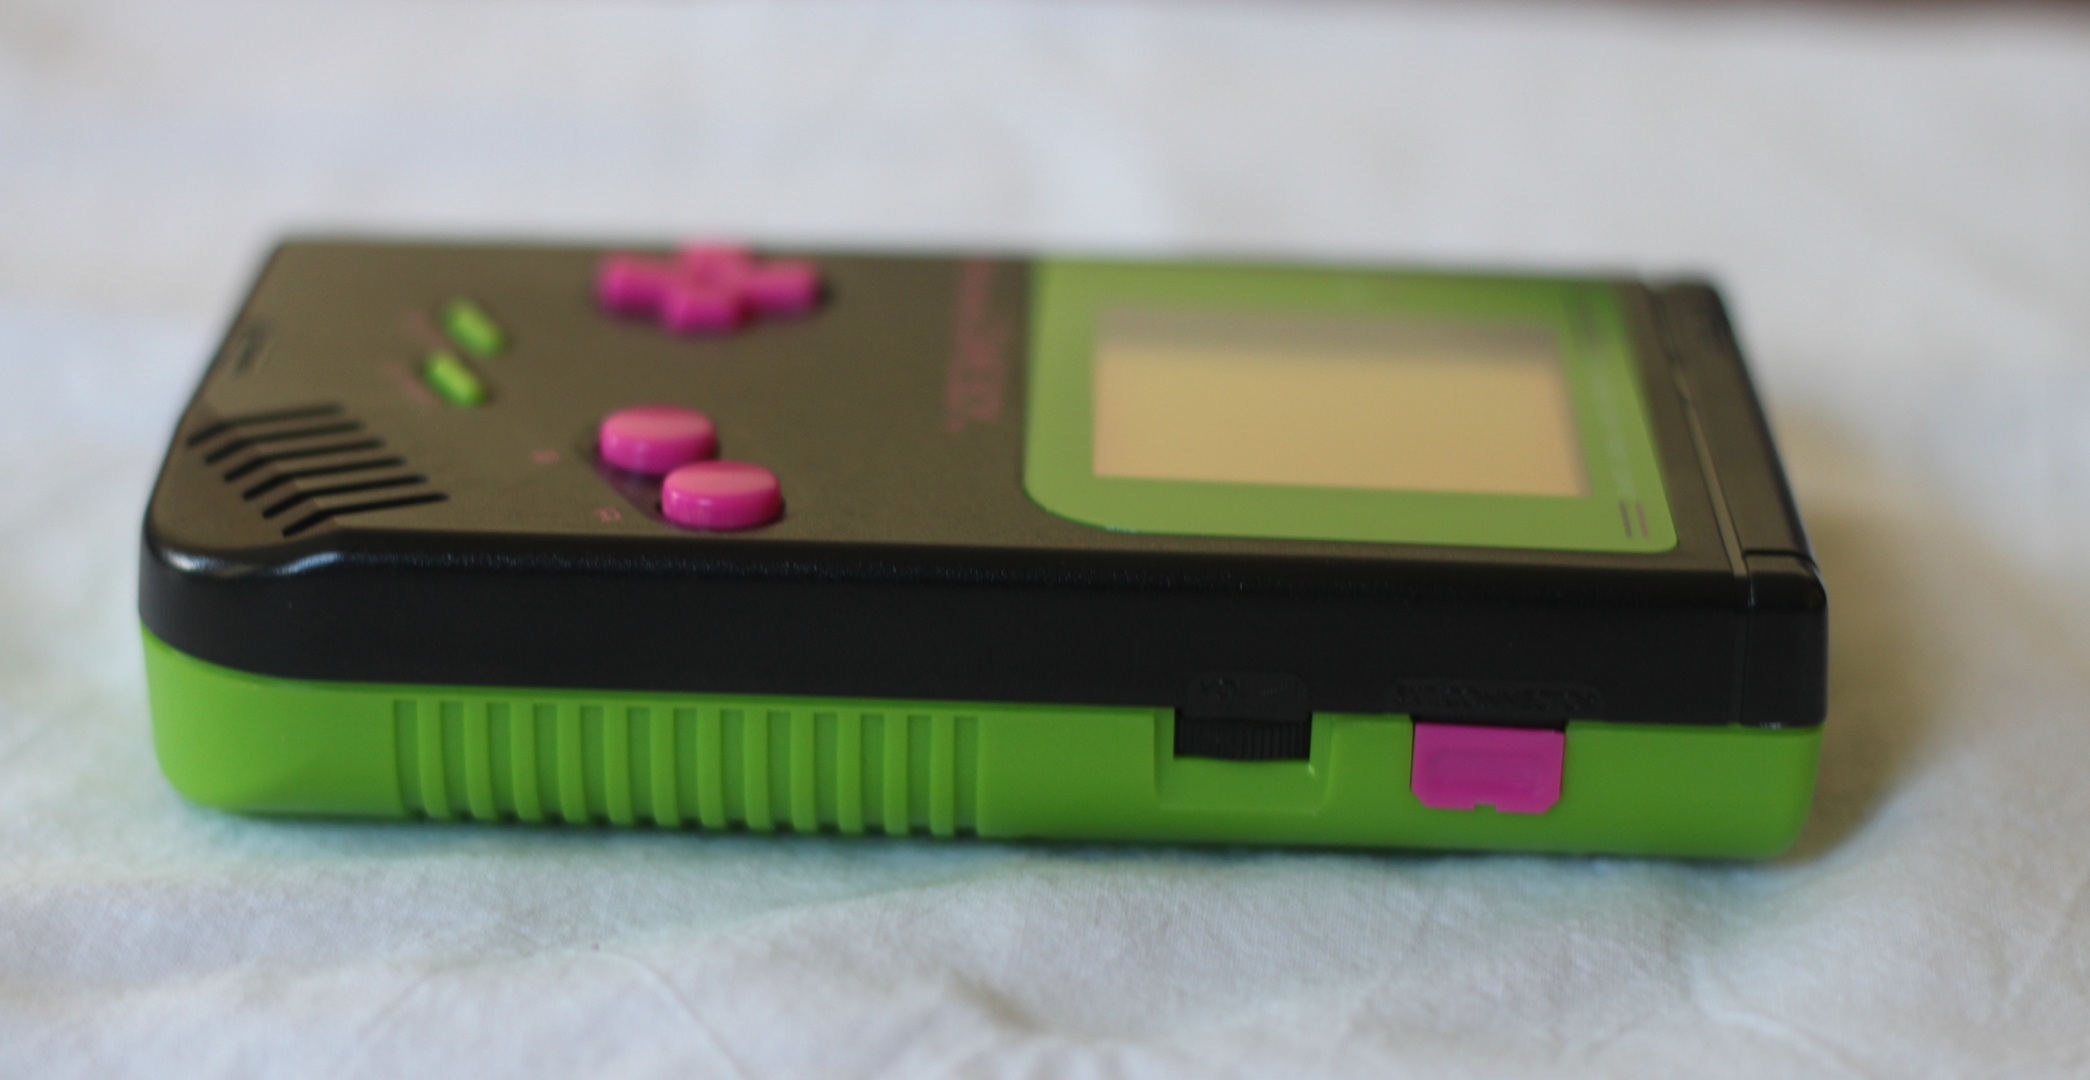
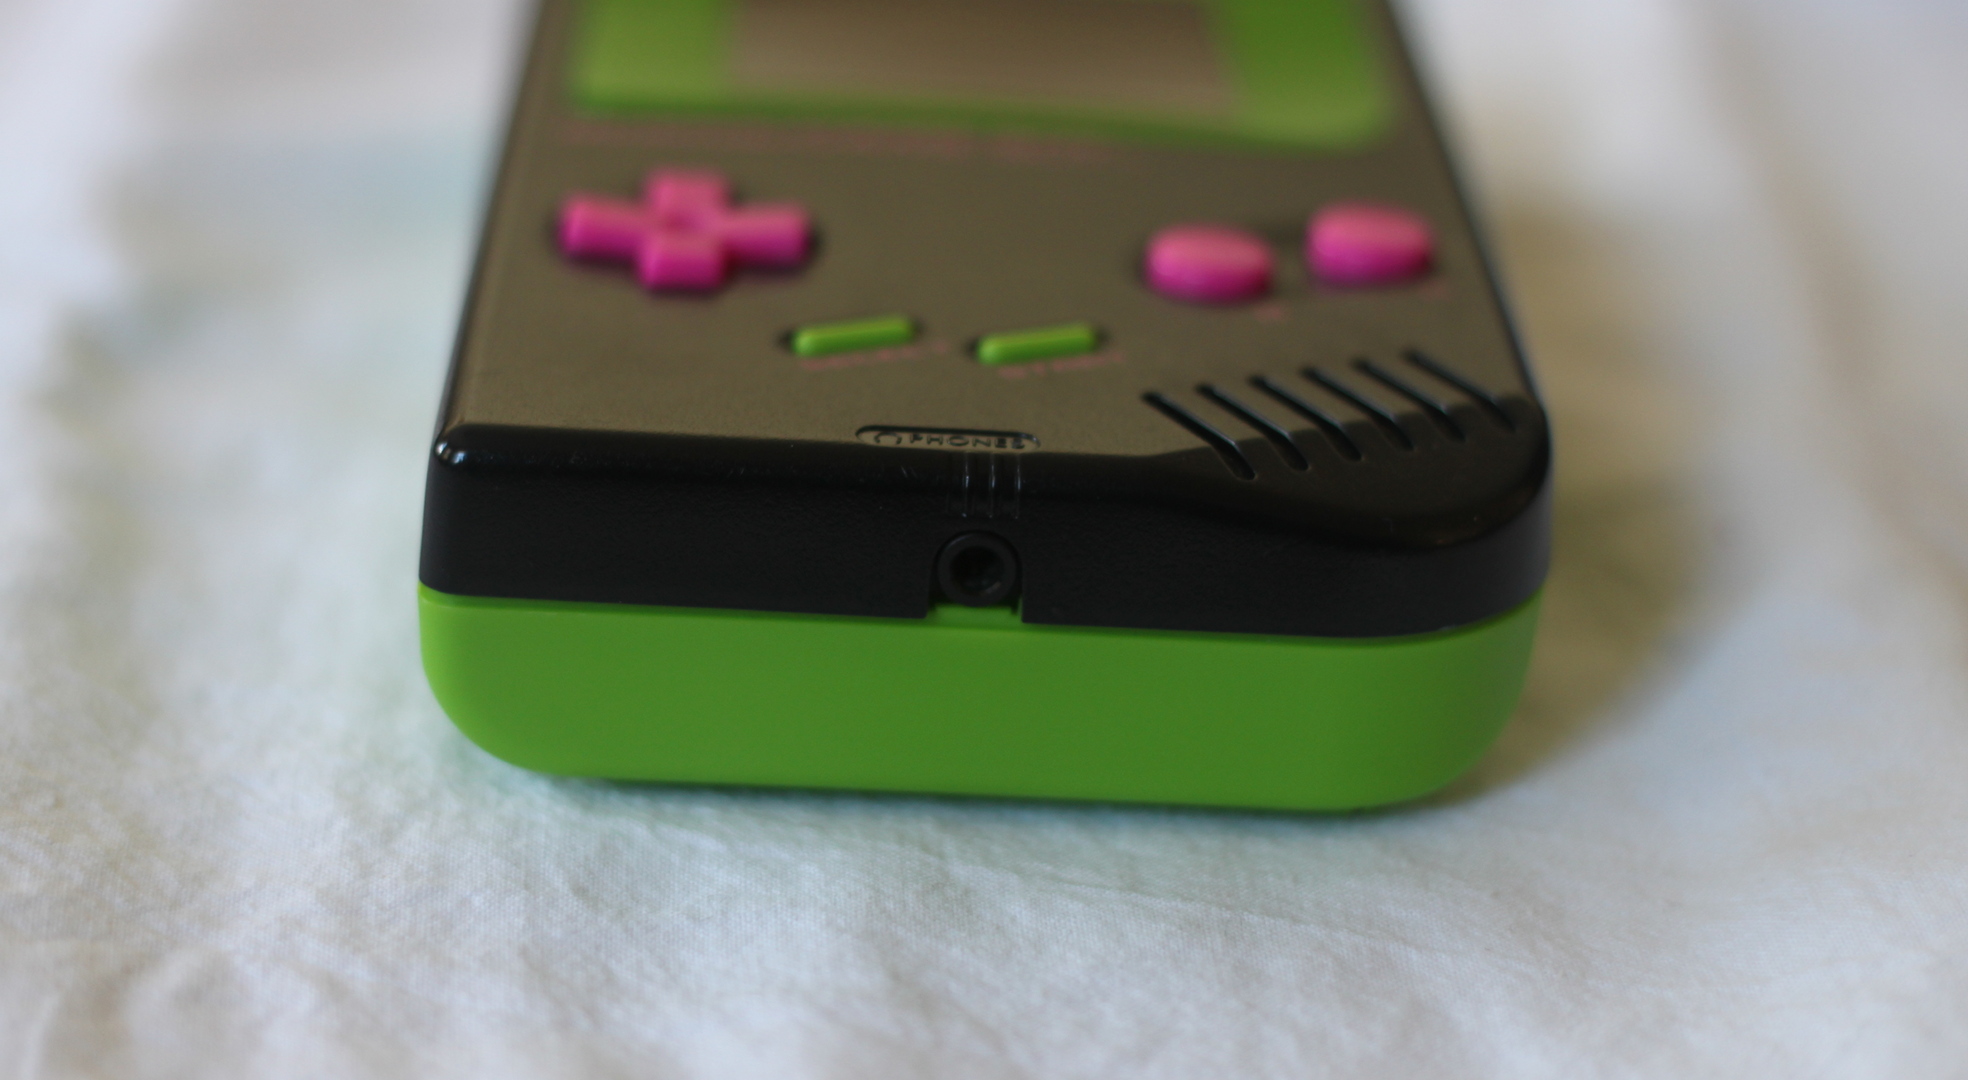
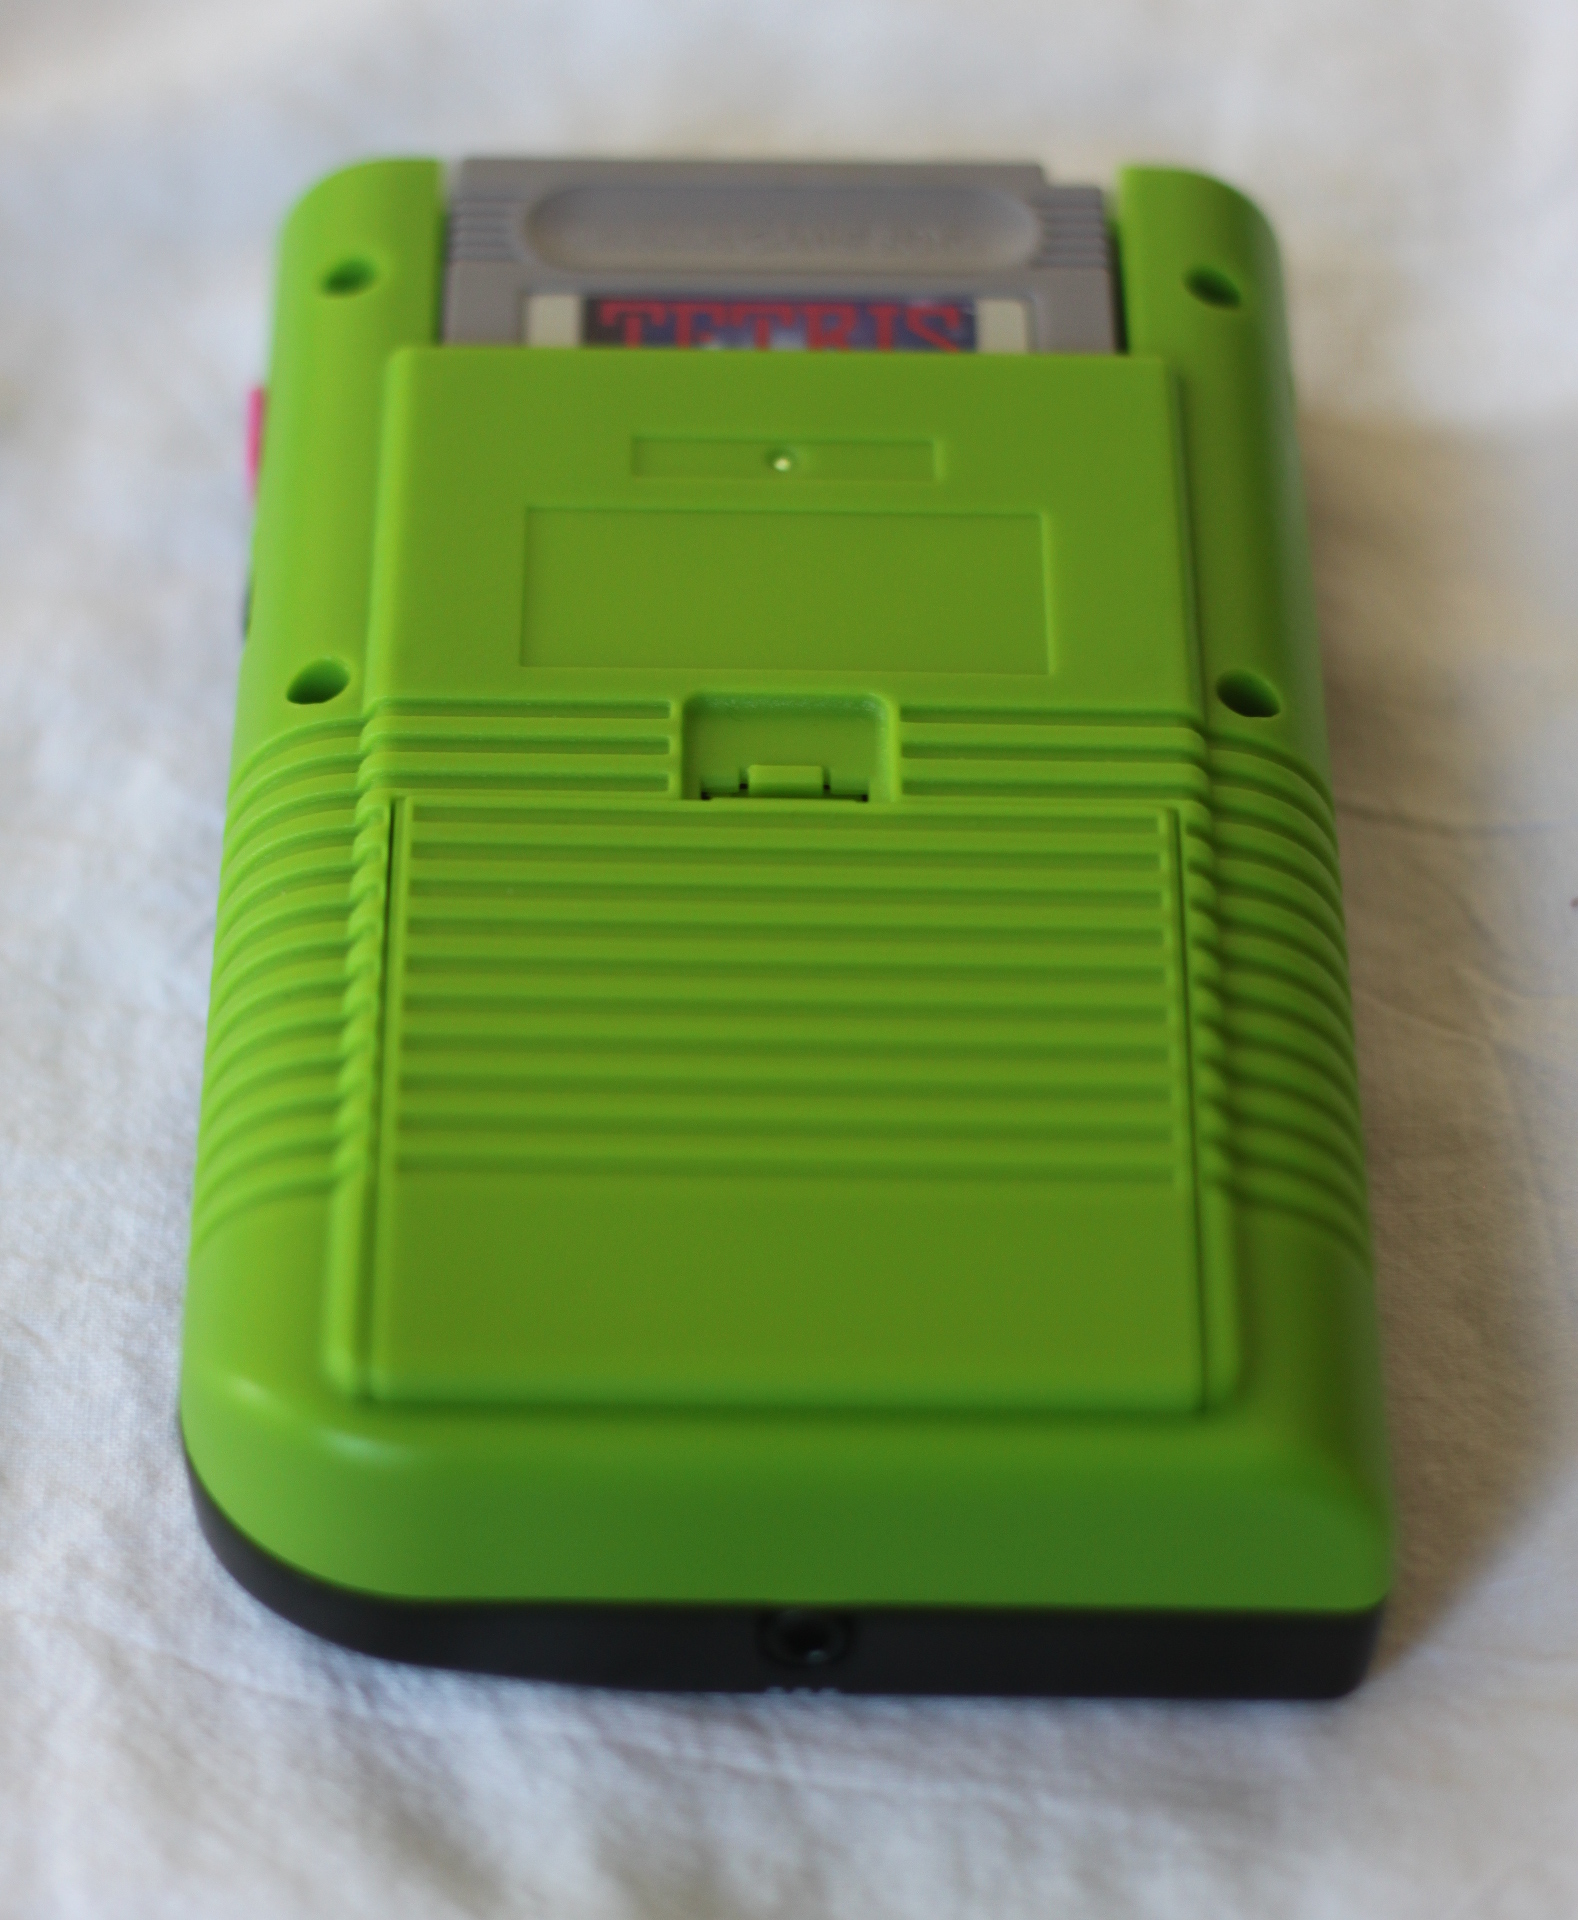
All in all, this was an incredibly satisfying project, and would definitely do it again. So much so, I also decided to build a “Hot Neon of the 80s Edition” Gameboy for myself (here I used an original black “Play it Loud” case in conjunction with a Lime Green case from ASM Retro.

 Most guides explain this removal step well, but most don't mention how convenient and easy it is to rest the bottom right corner of the screen glass in the same corner of the plastic screen housing. DON'T DO THIS! I wasn't paying attention and just as I was finishing, heard a crack. When I replaced the polarized film, I could see the damage.
 I highly recommend getting a backlight with the “ribbon-style” connector. This will save you cutting, and is very easy to work with. I unexpectedly received a screen without the ribbon-style connector, and after realizing I had cut in the wrong place and didn't have enough clearance to do the right cuts with my tools, was fortunate enough to be able to feed the wire in the small space between the bottom of the screen housing and the screen itself to the cut I made.