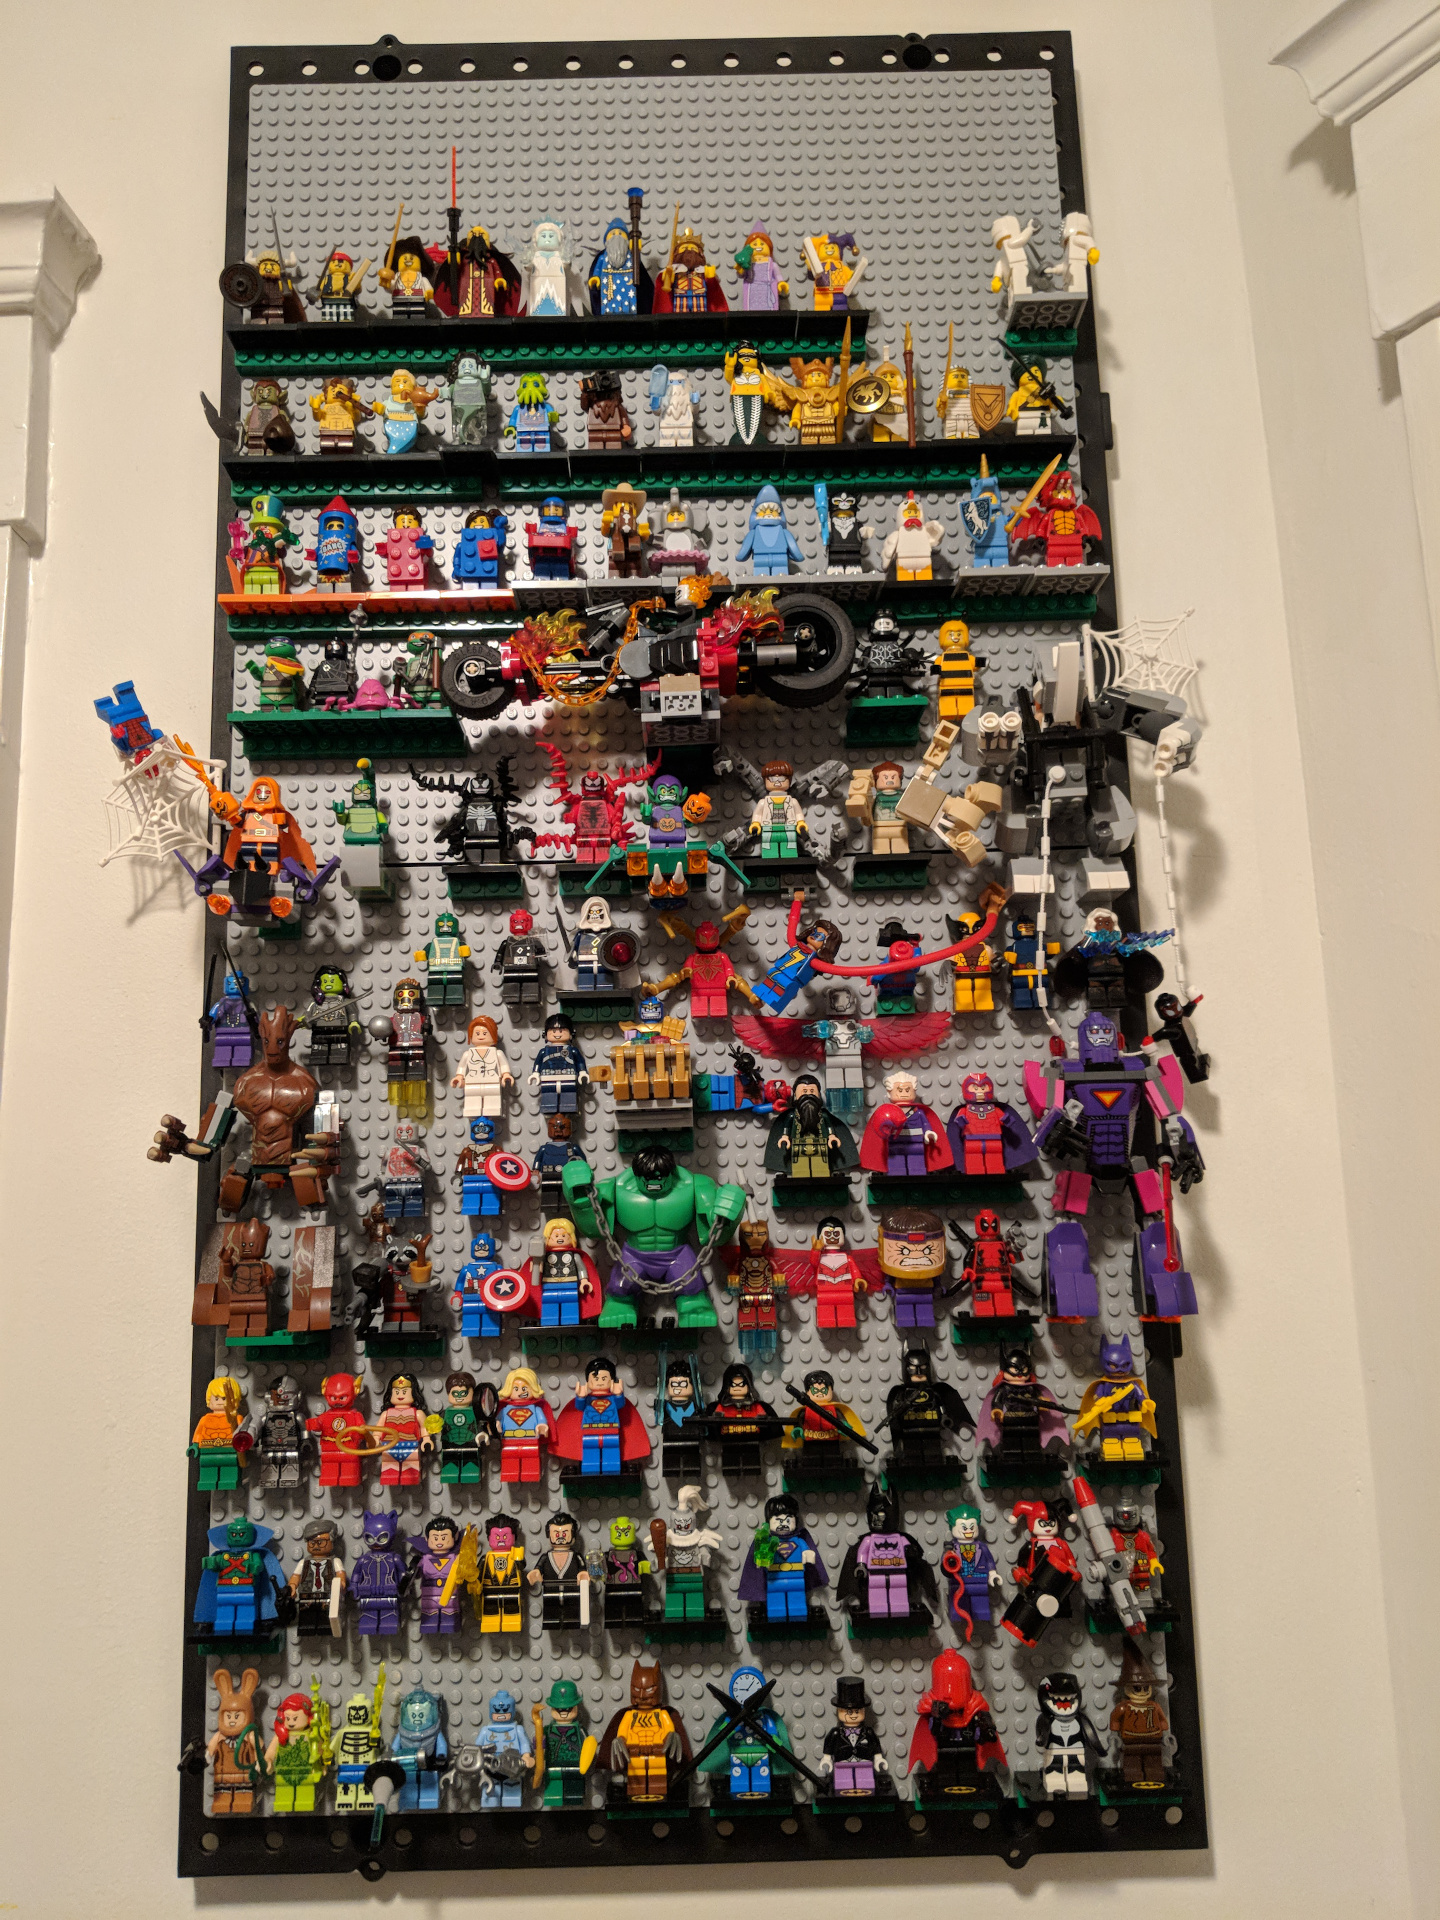
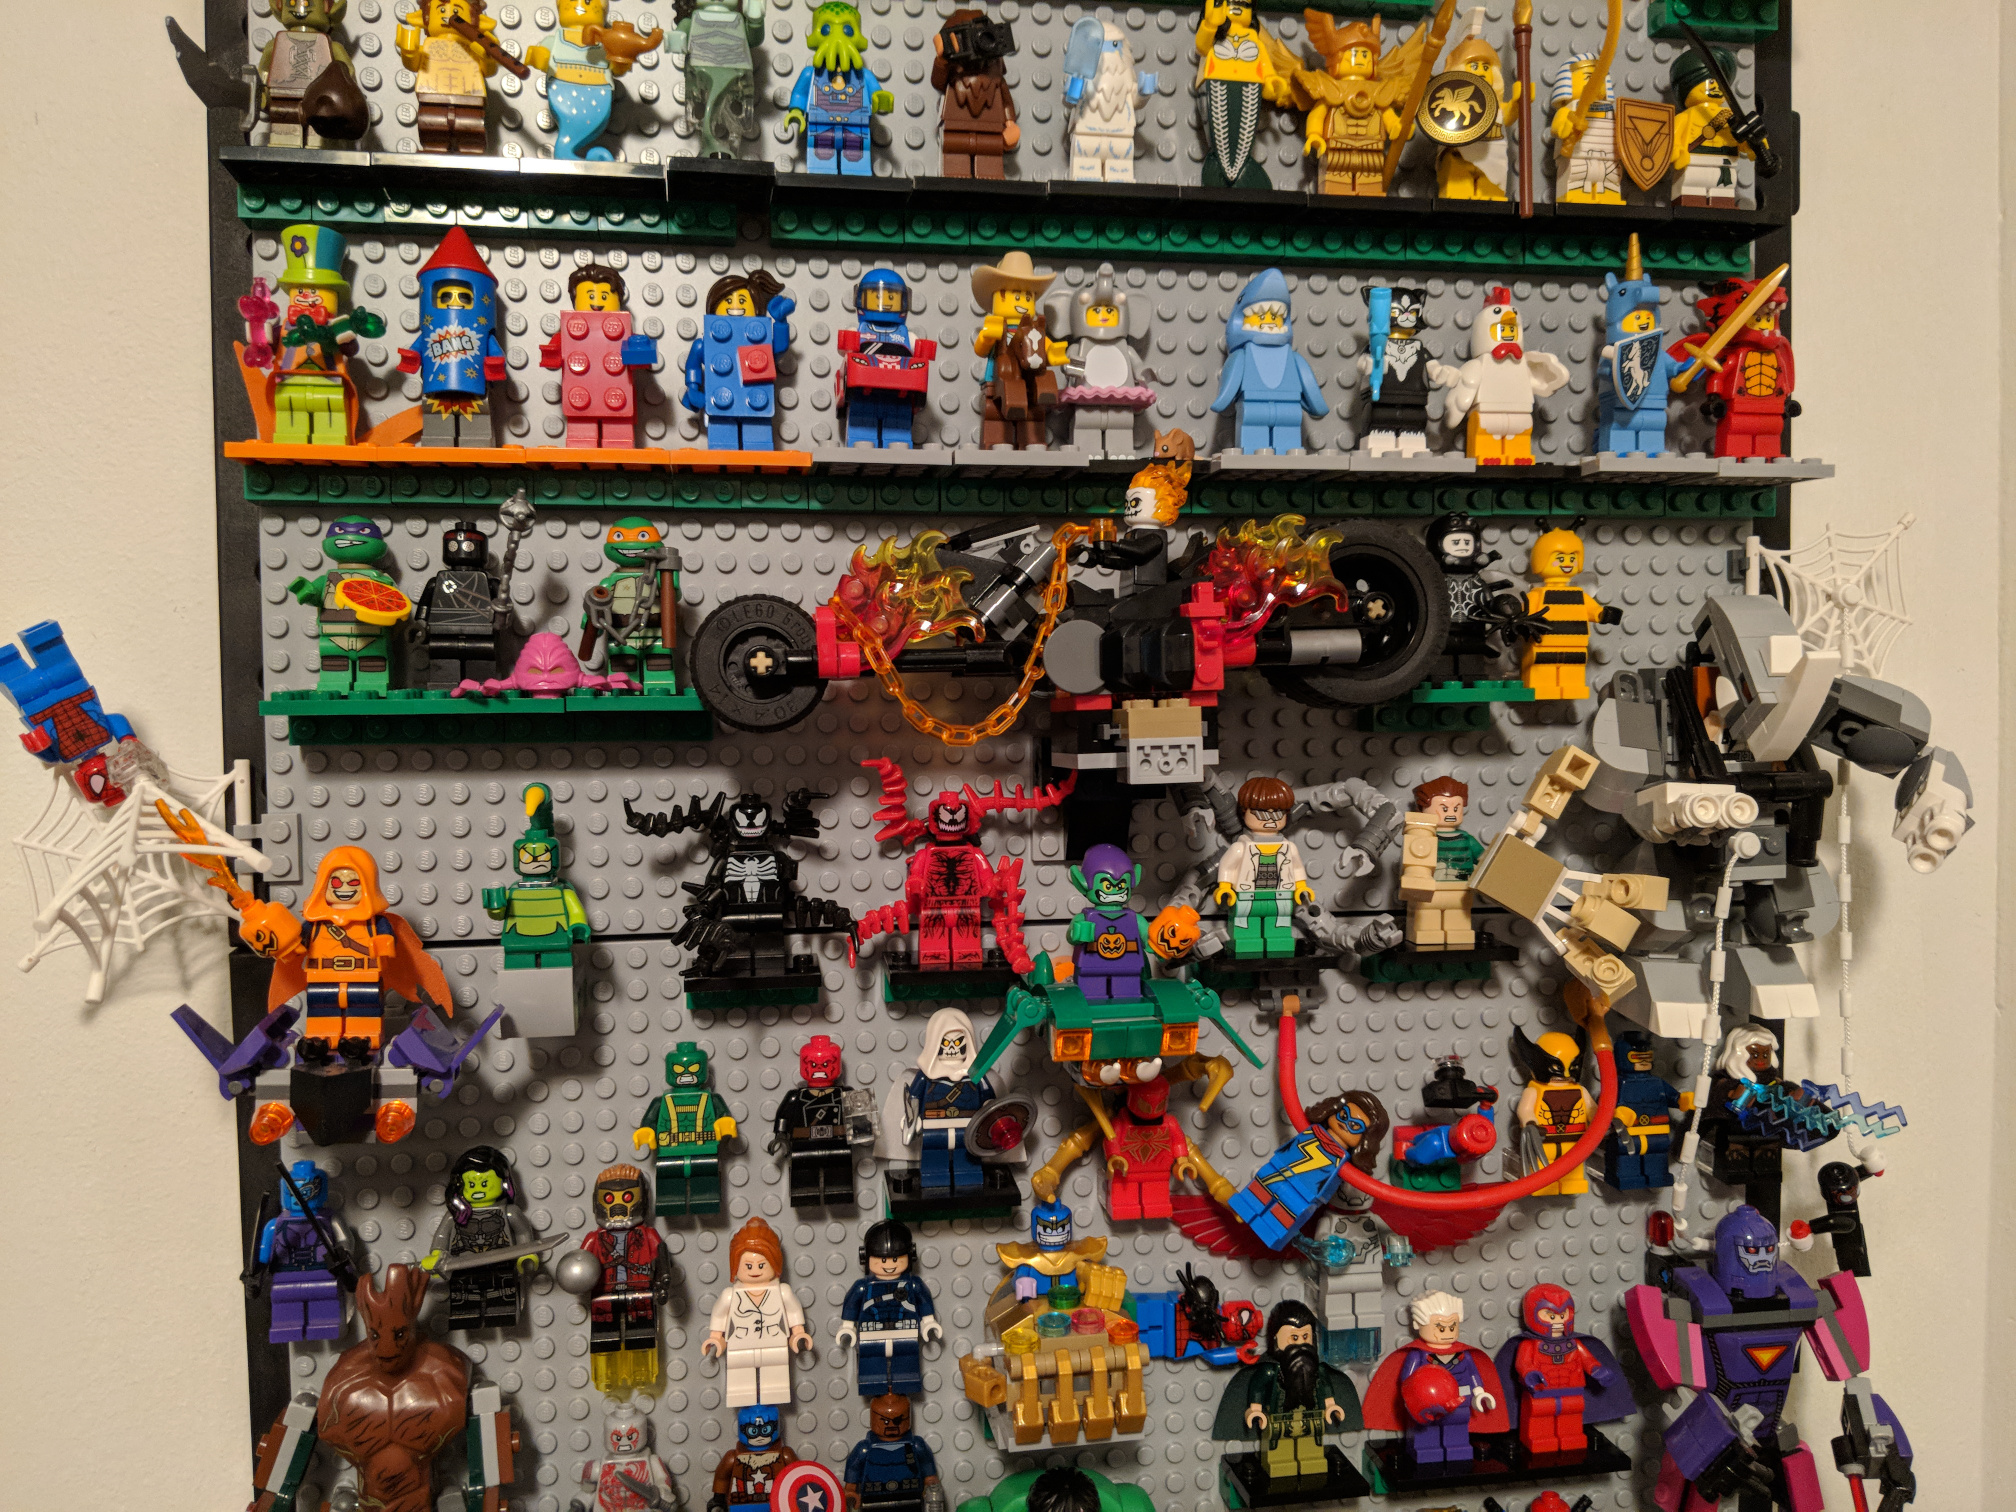
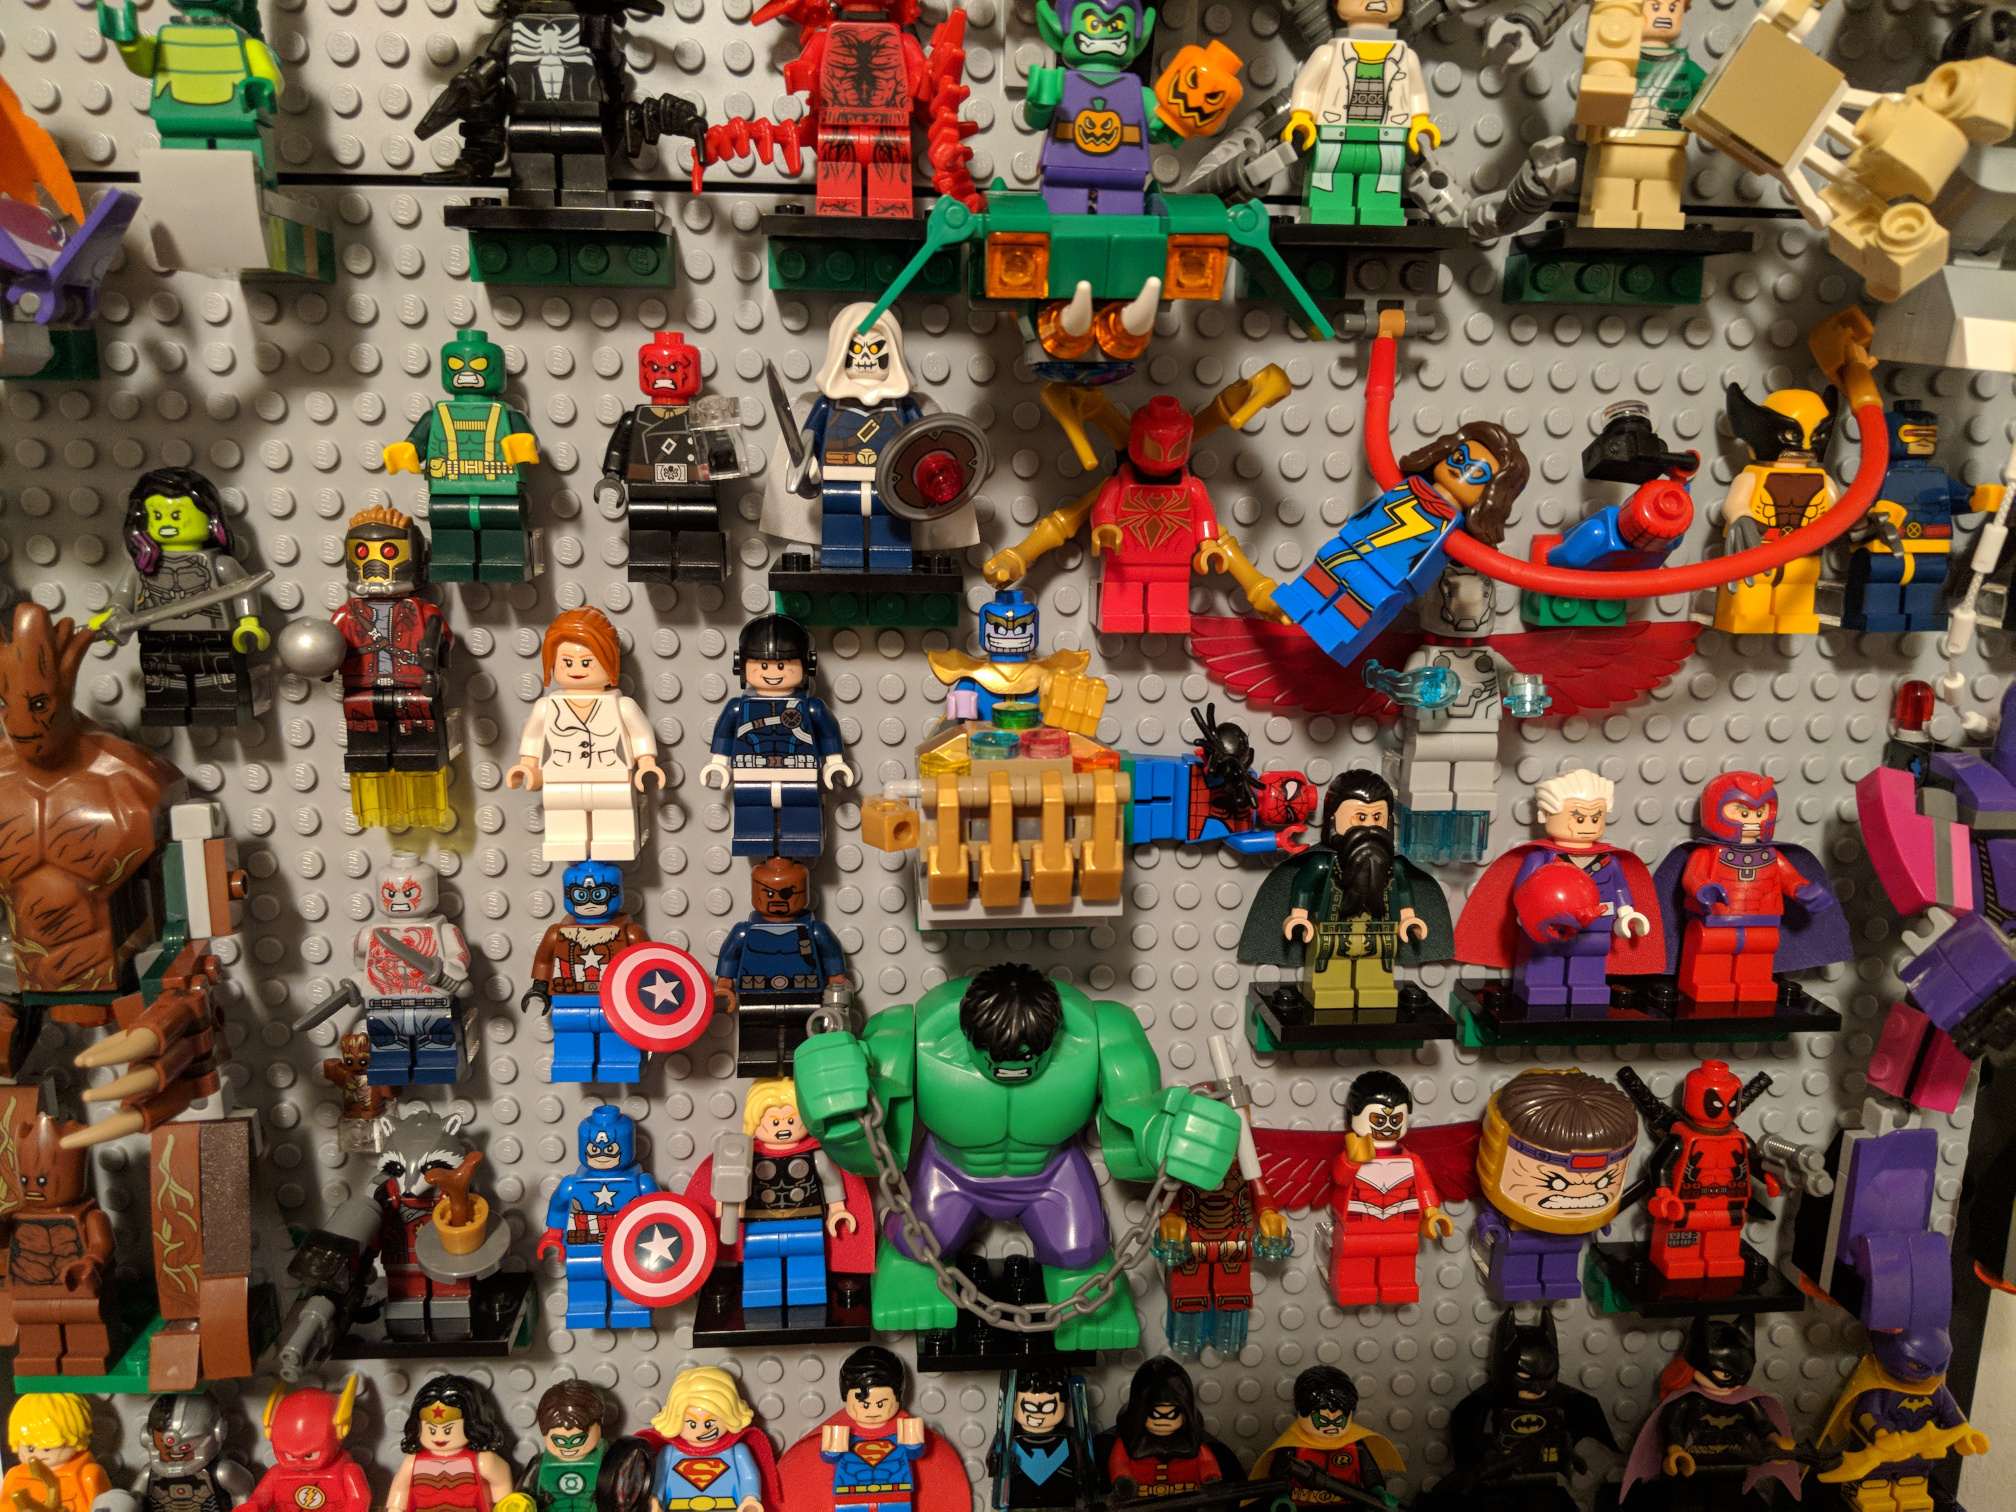
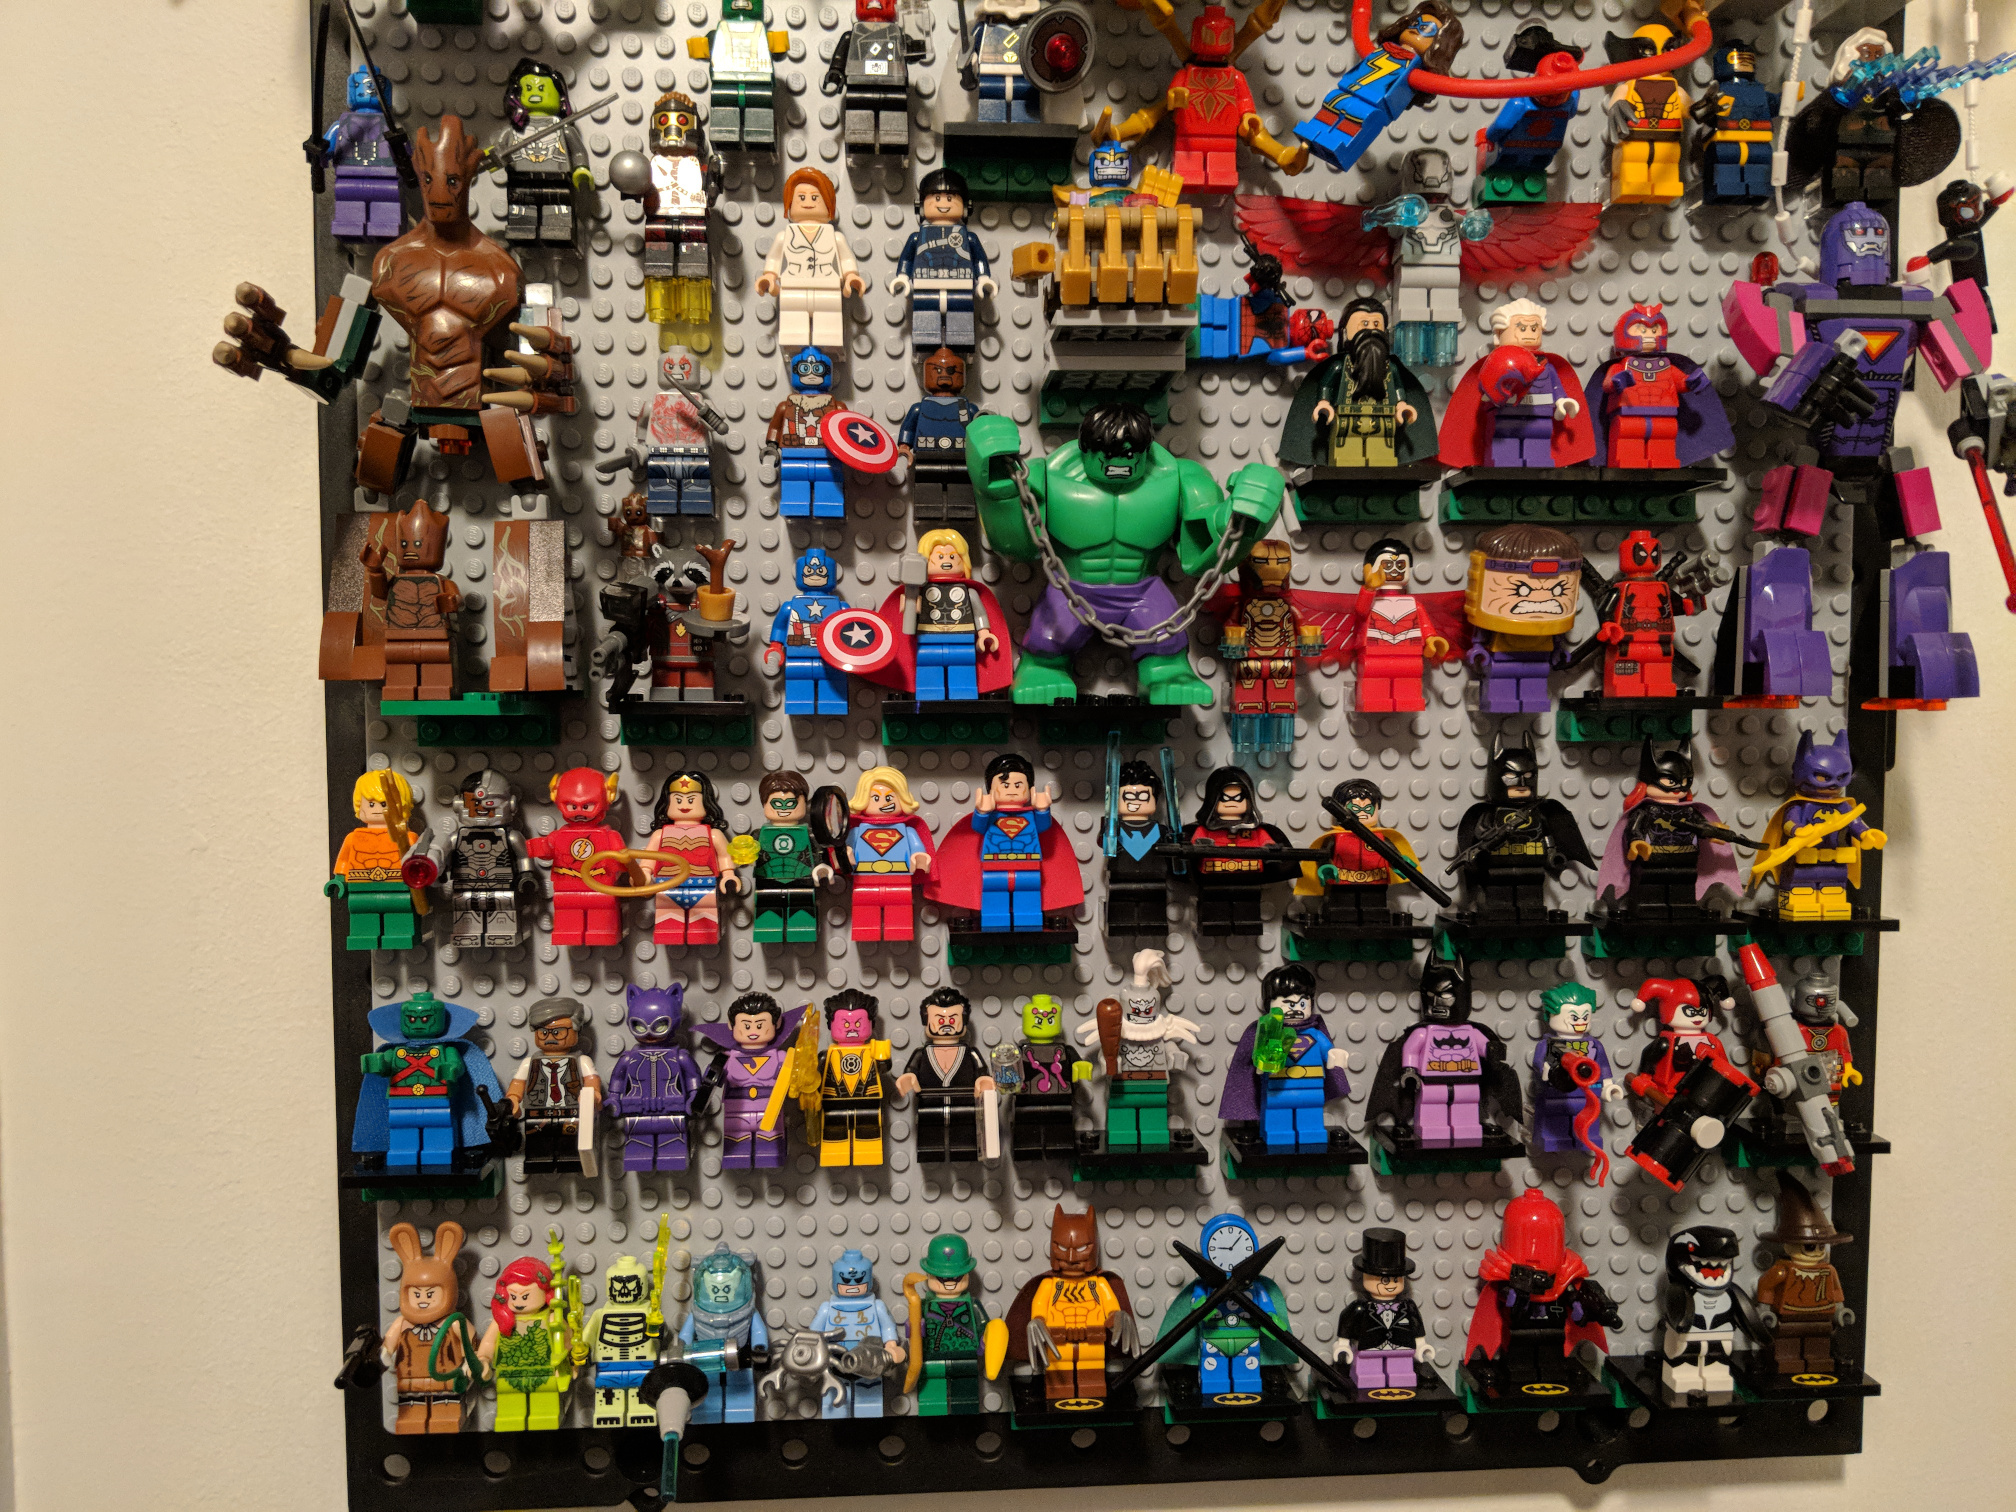
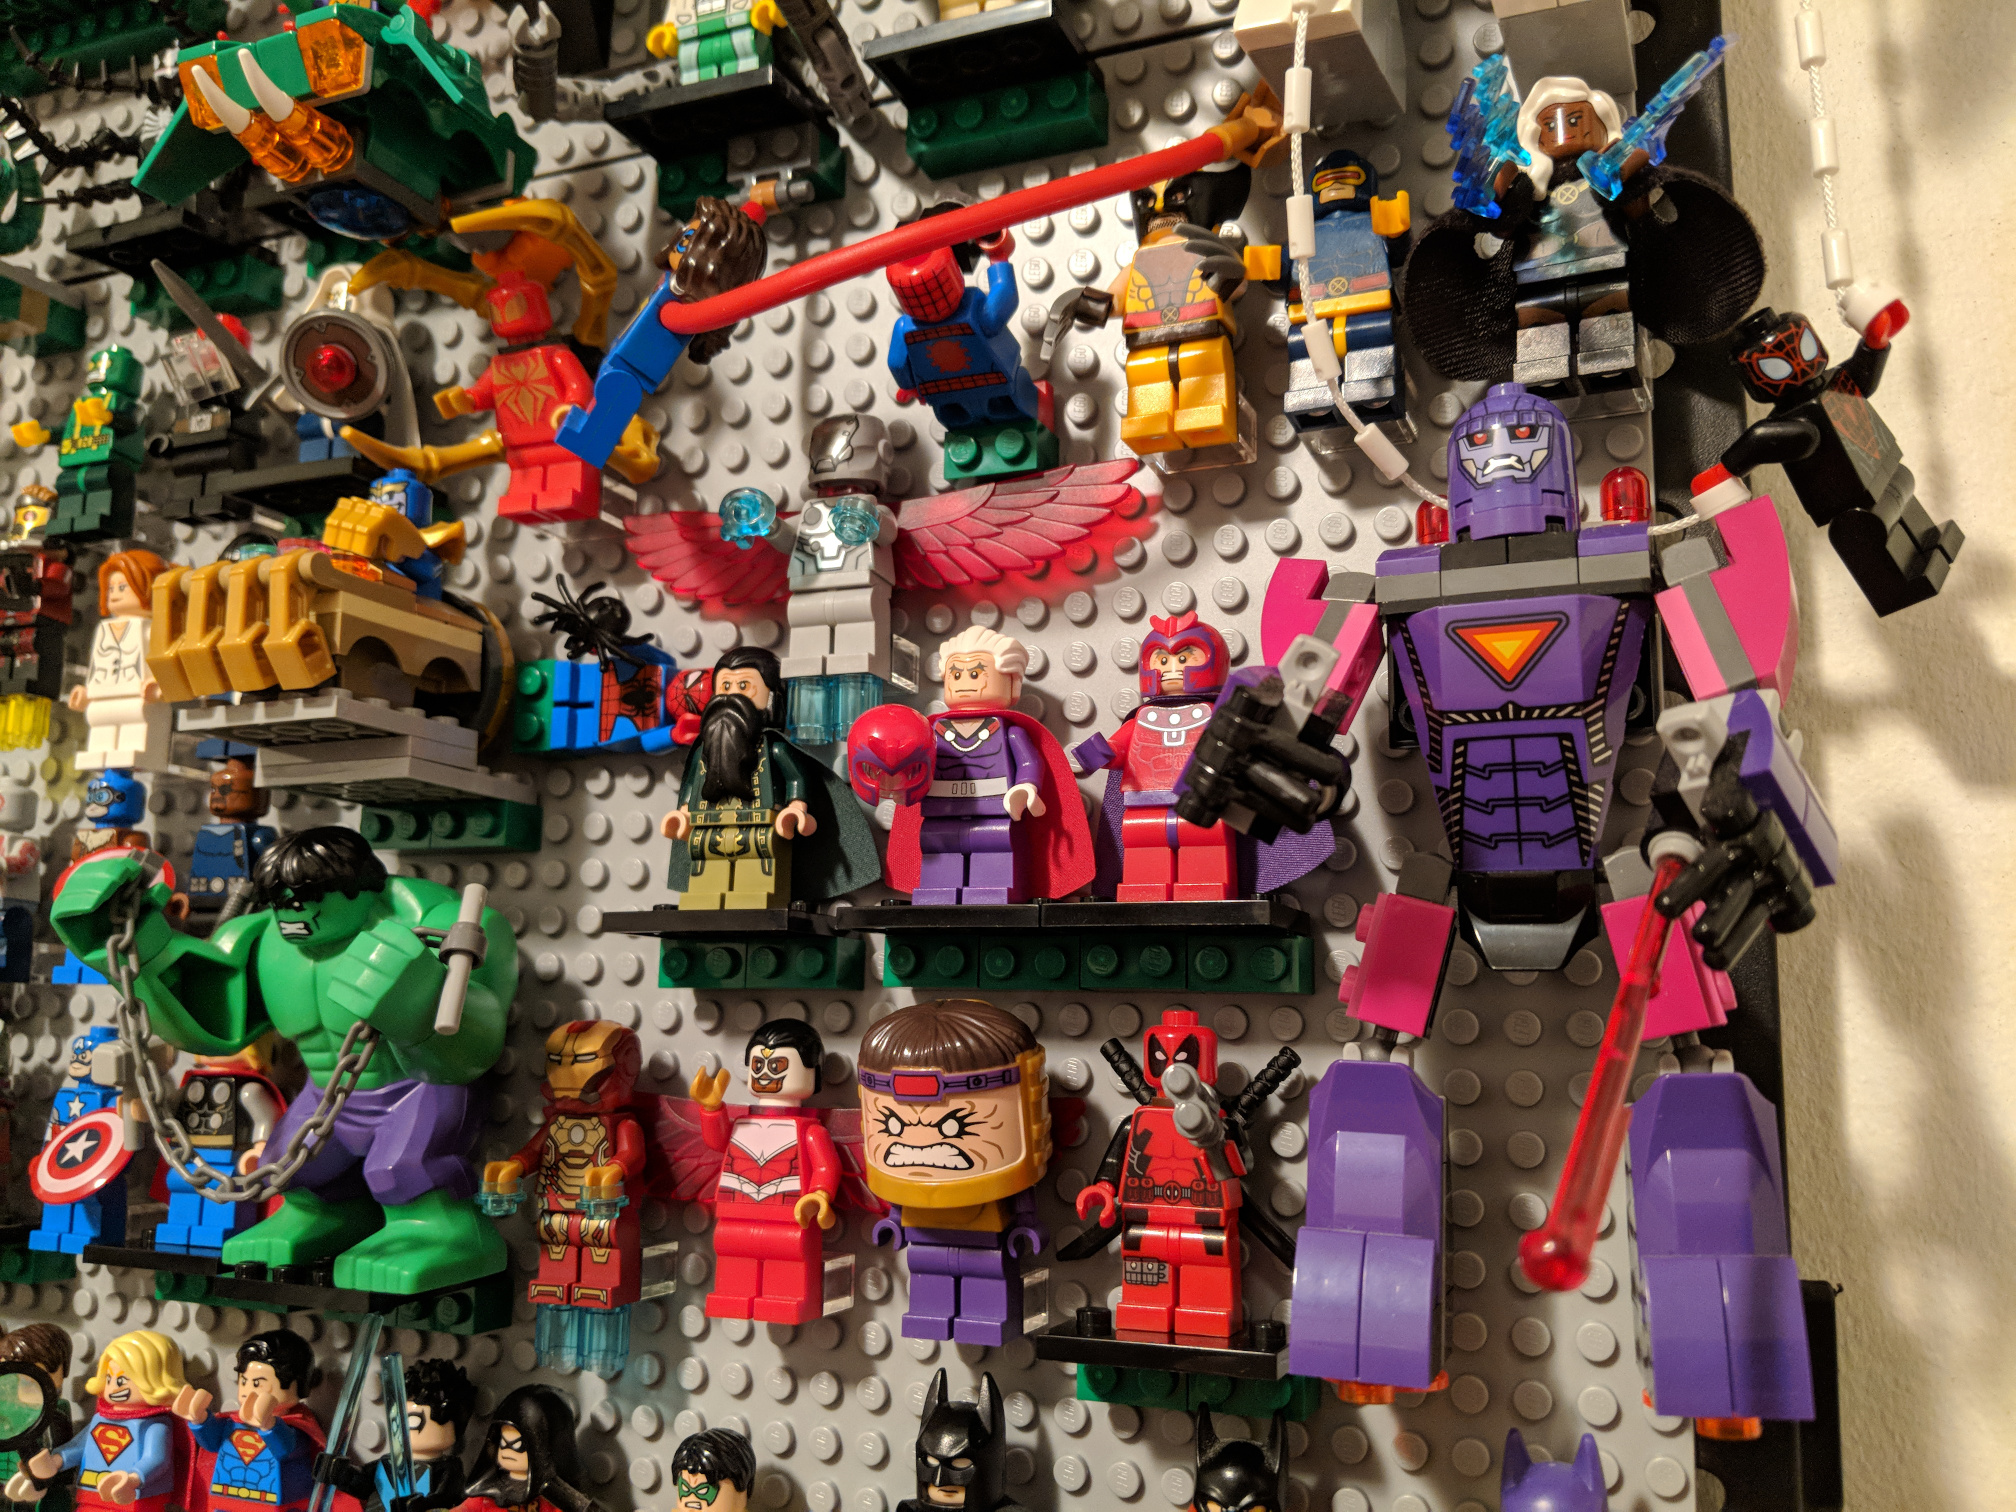
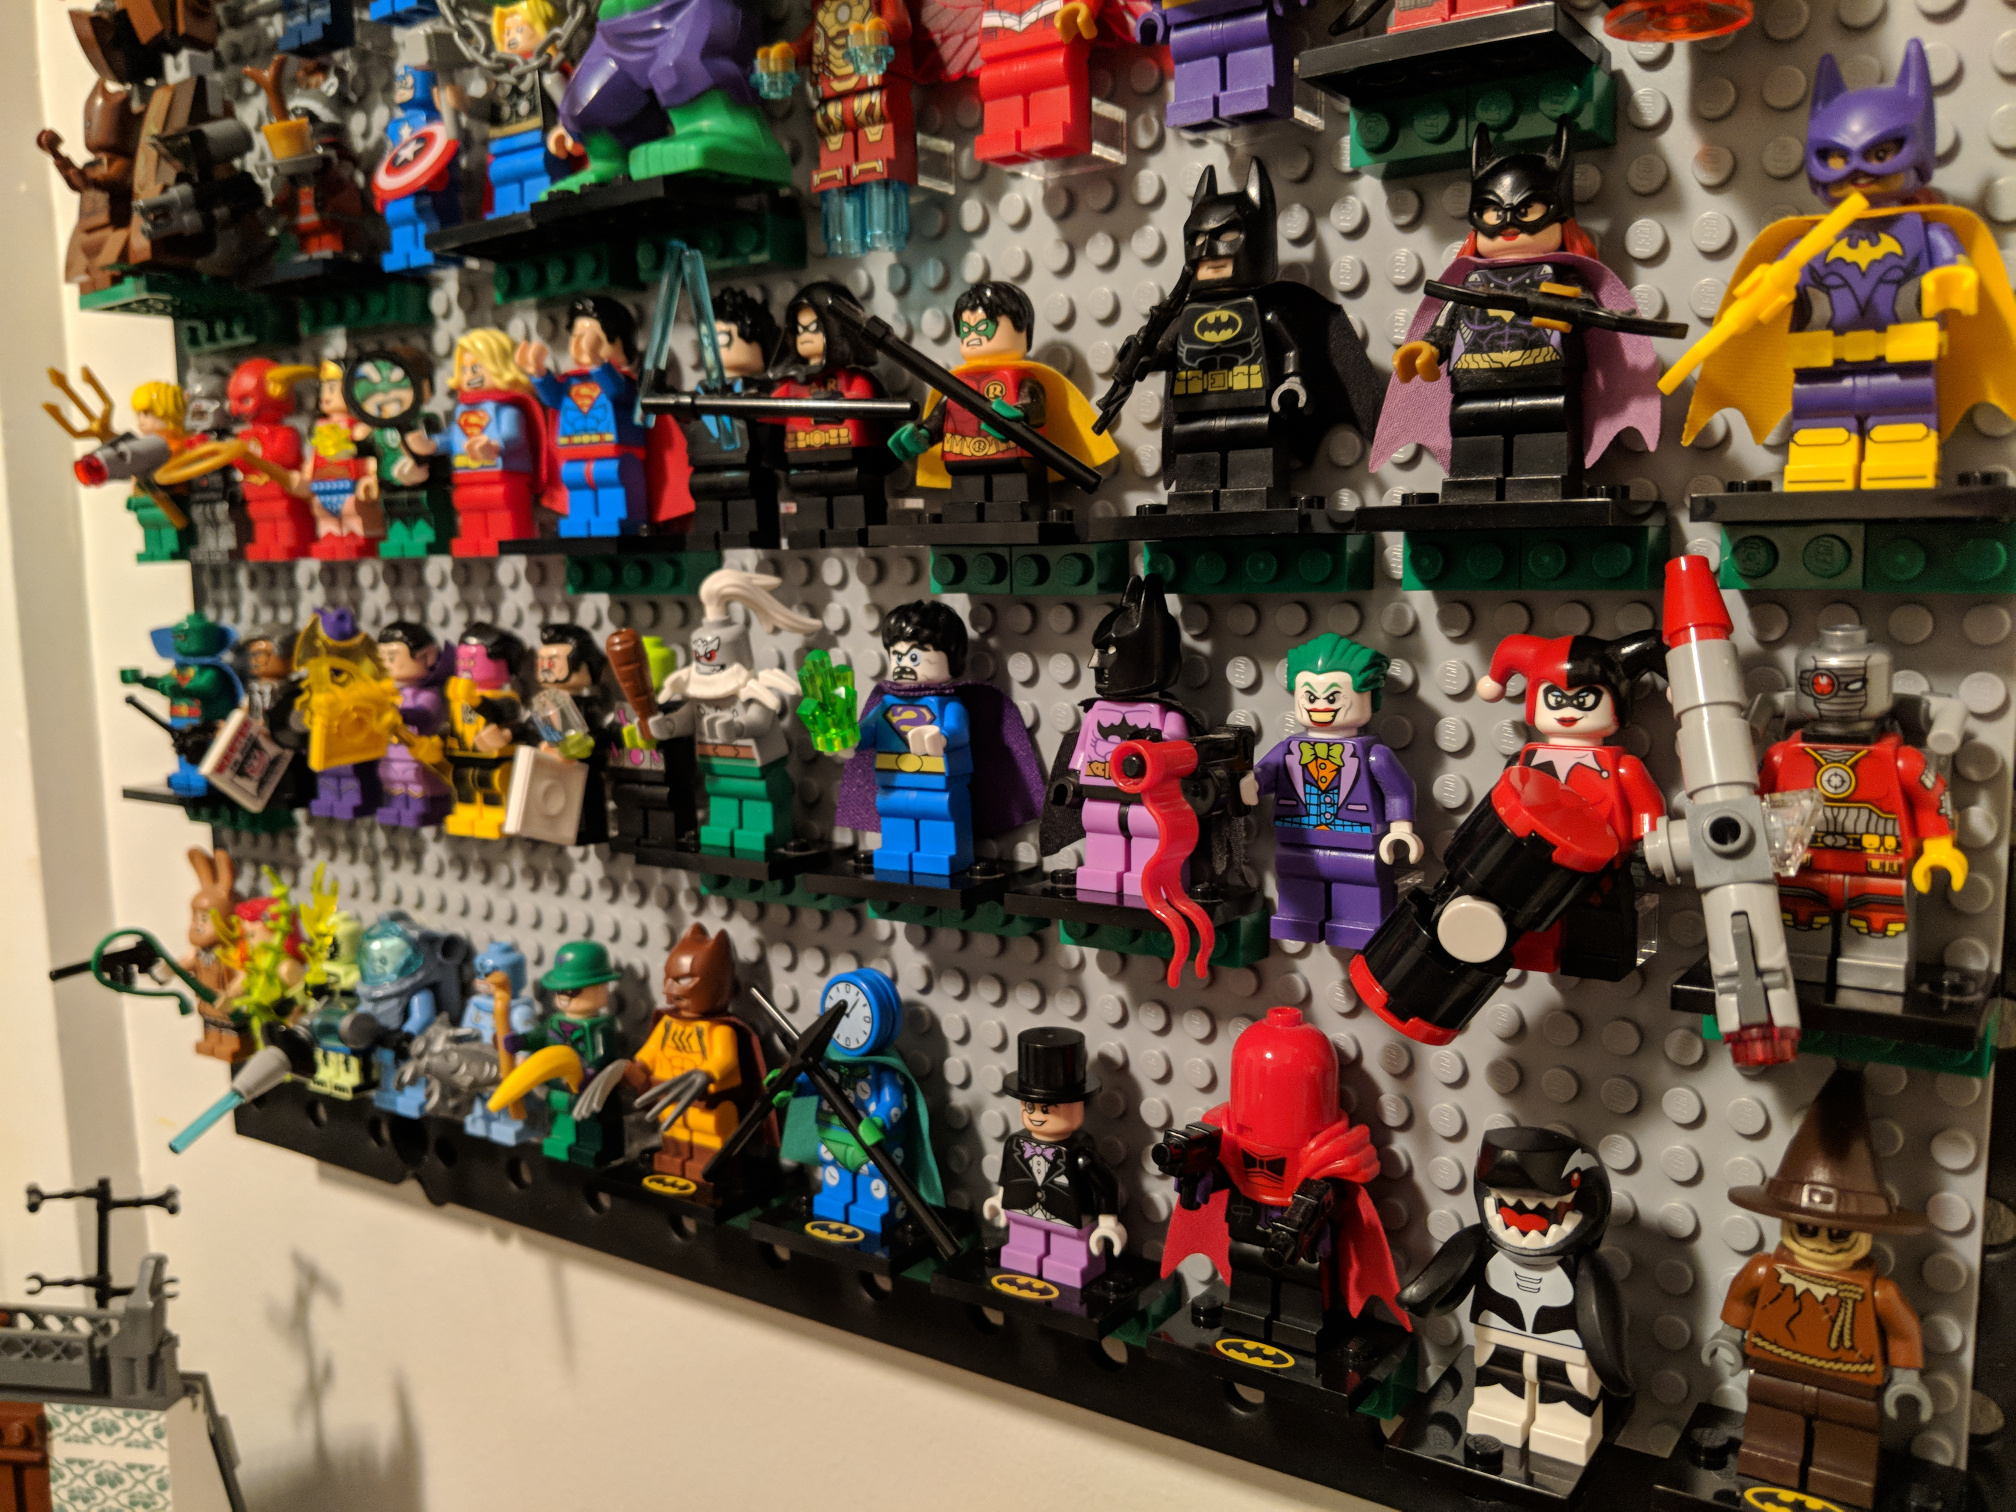
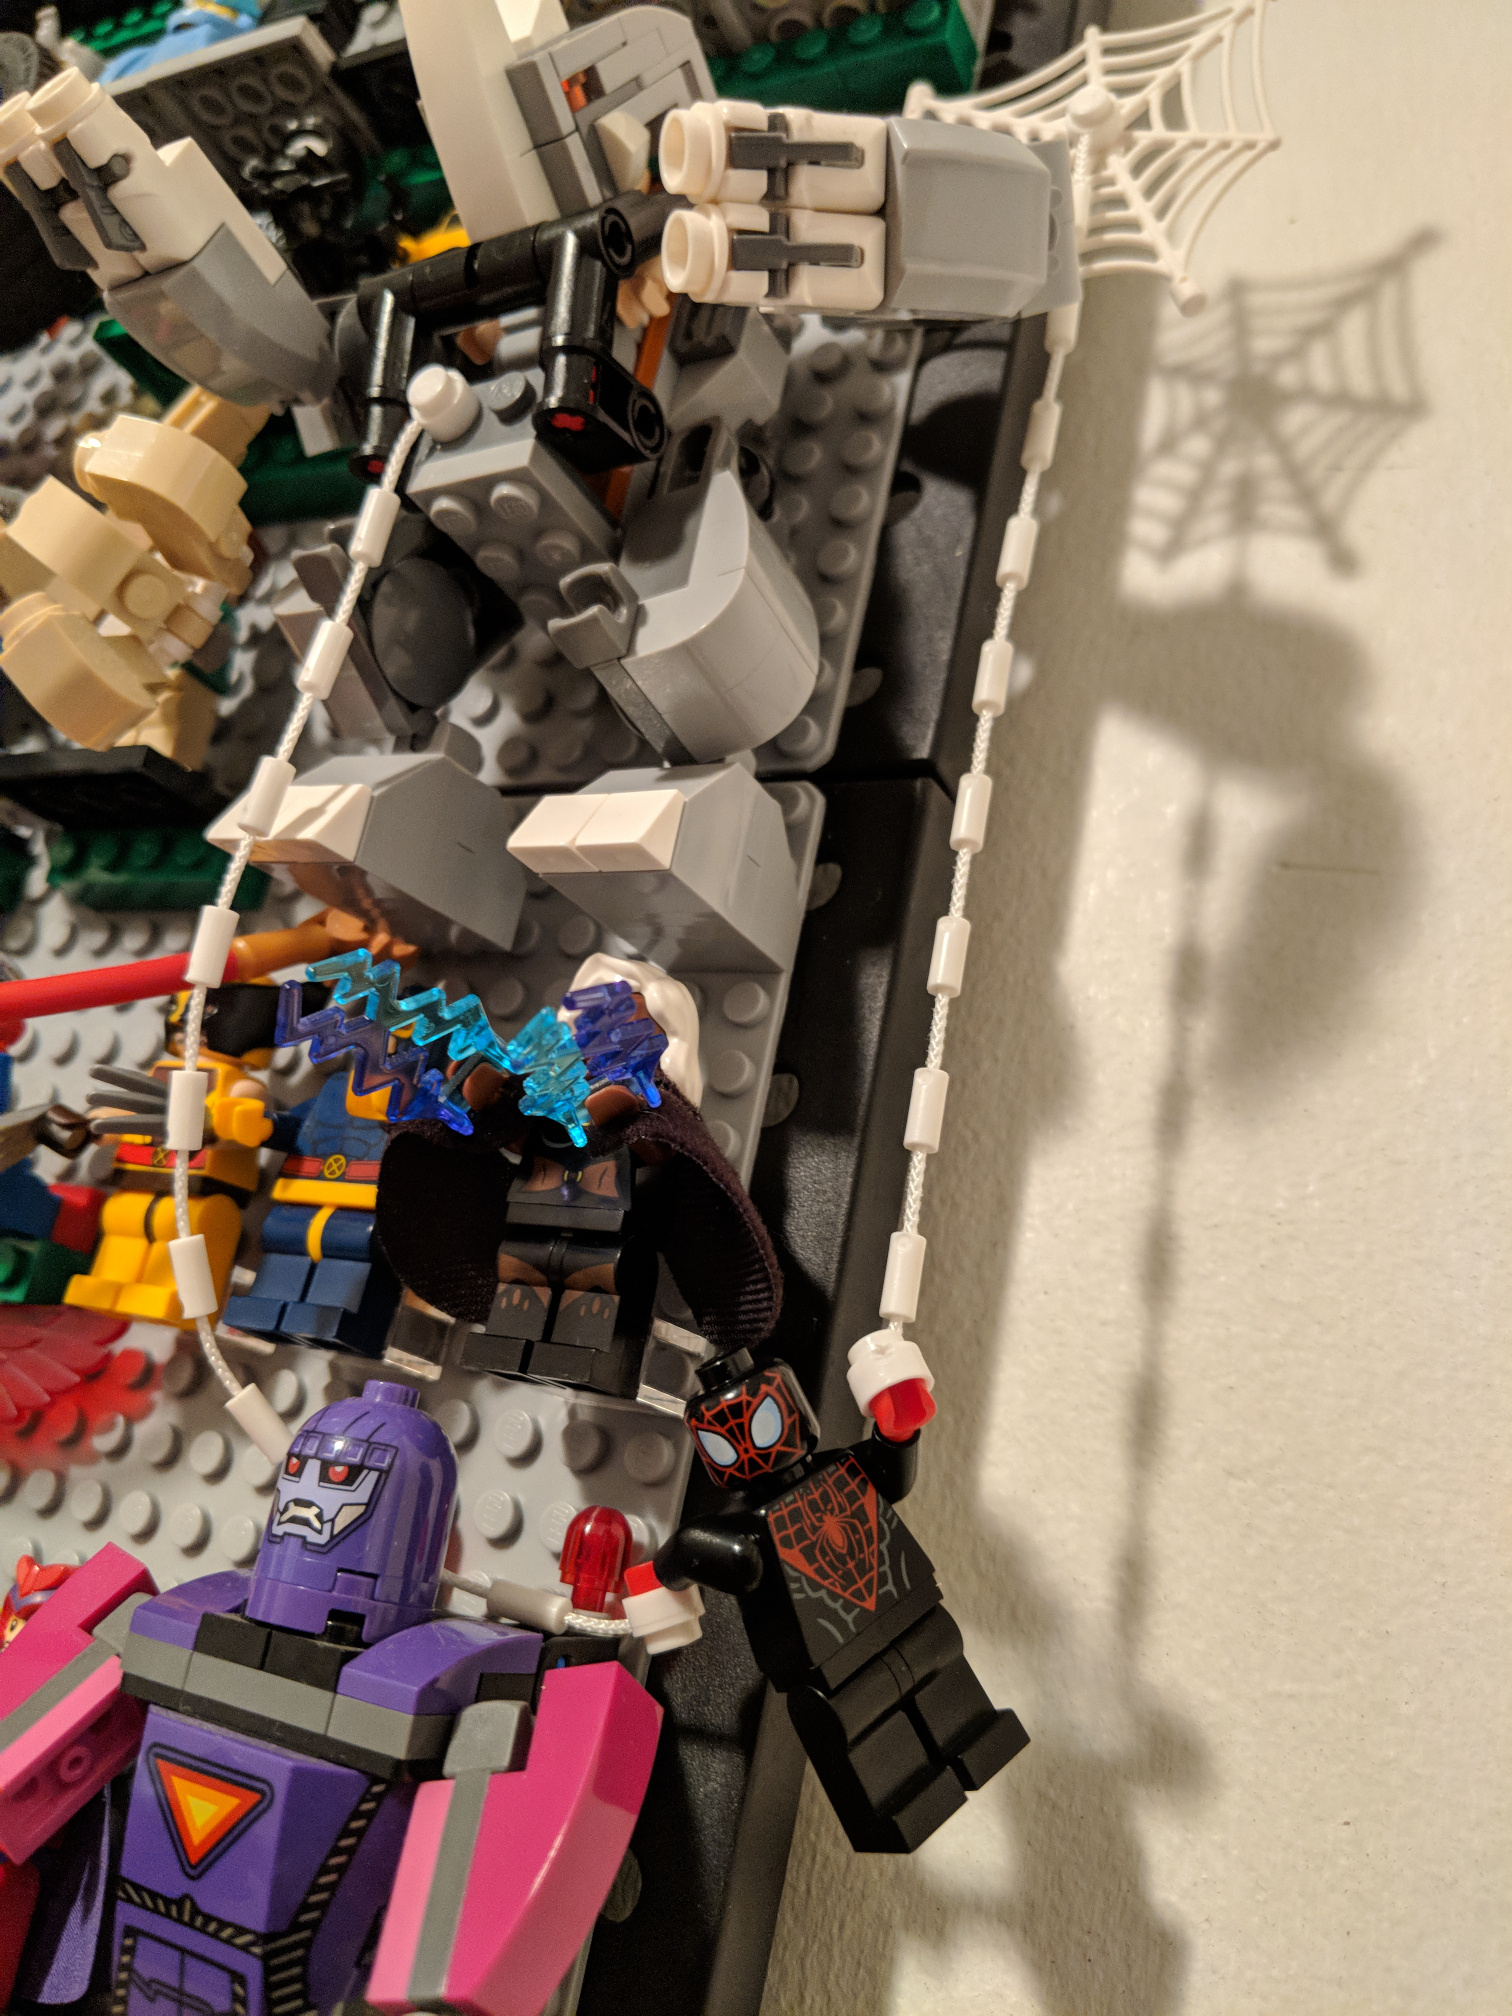
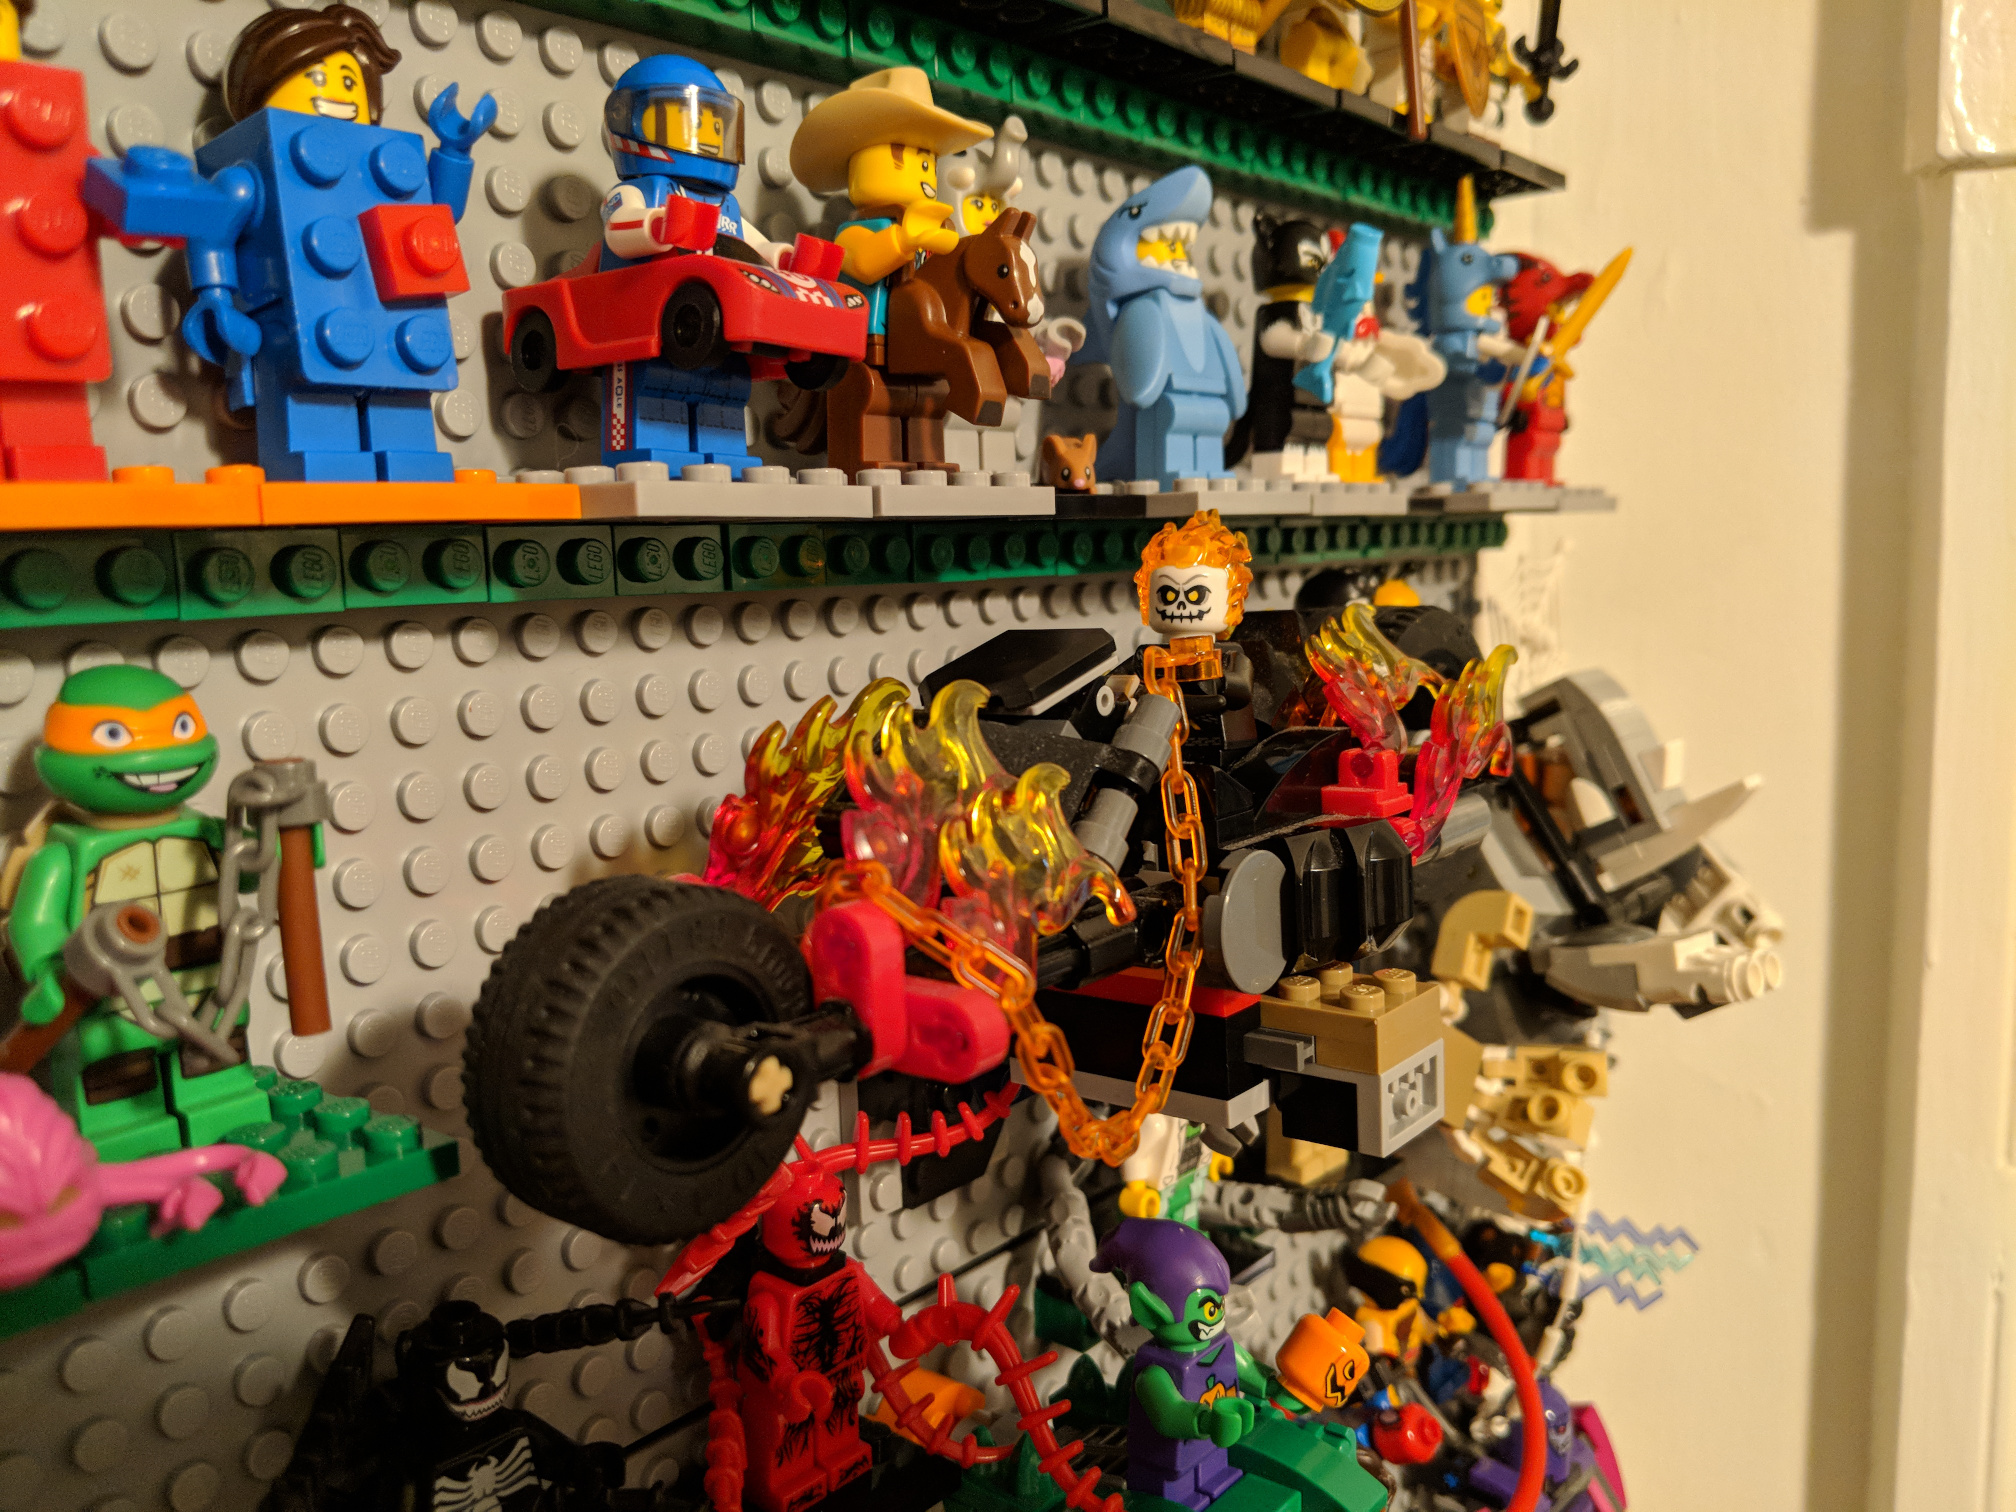
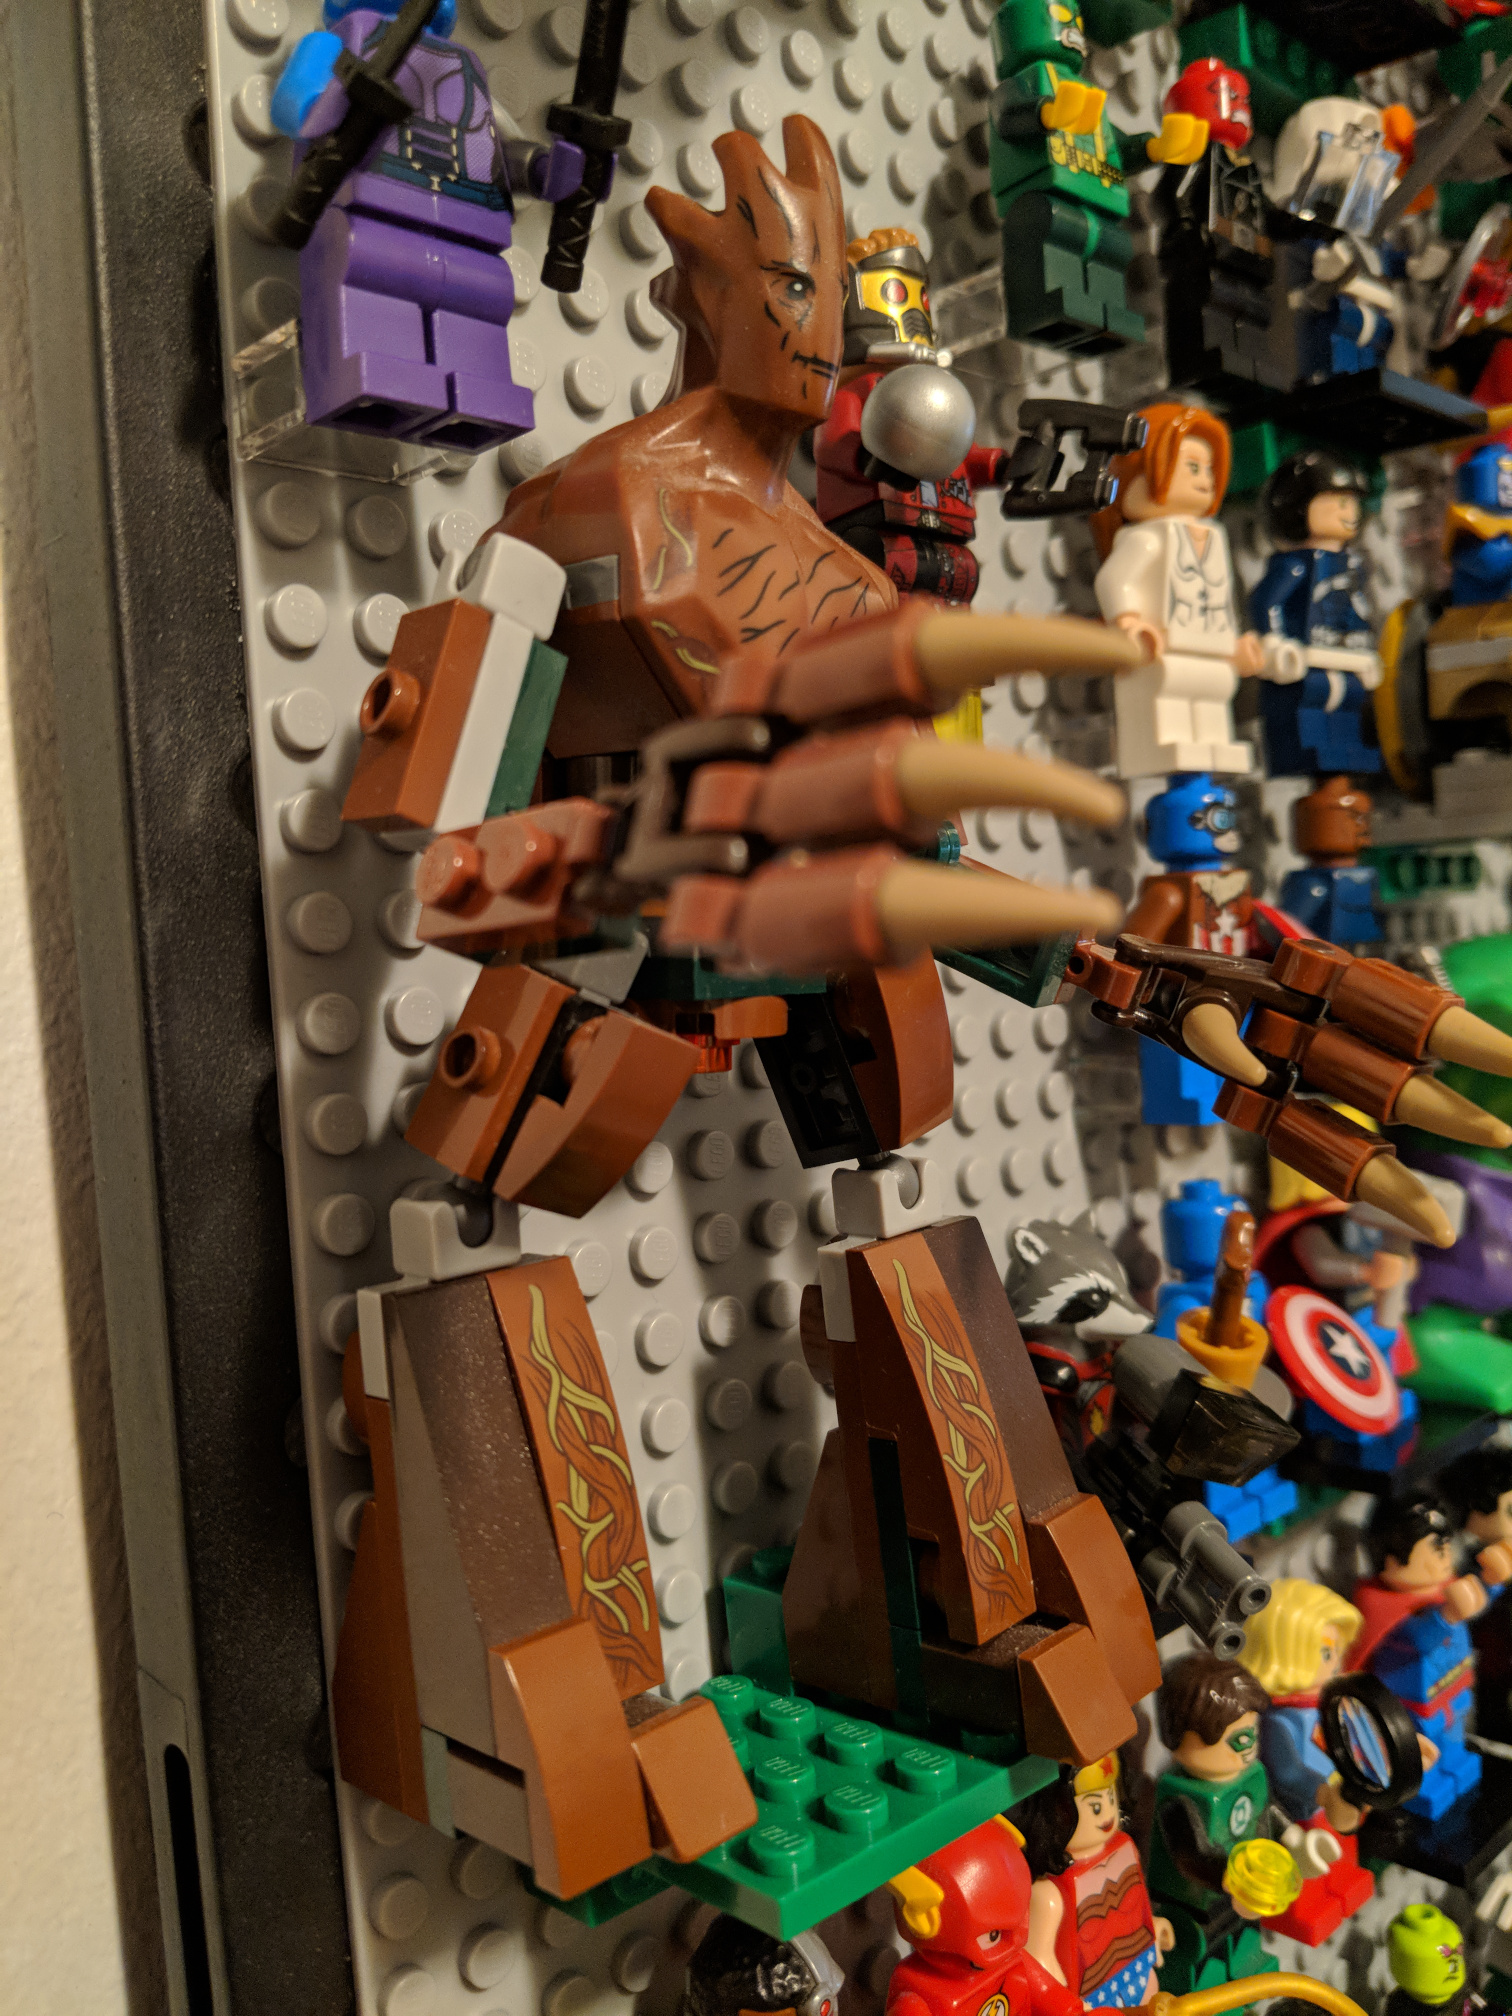
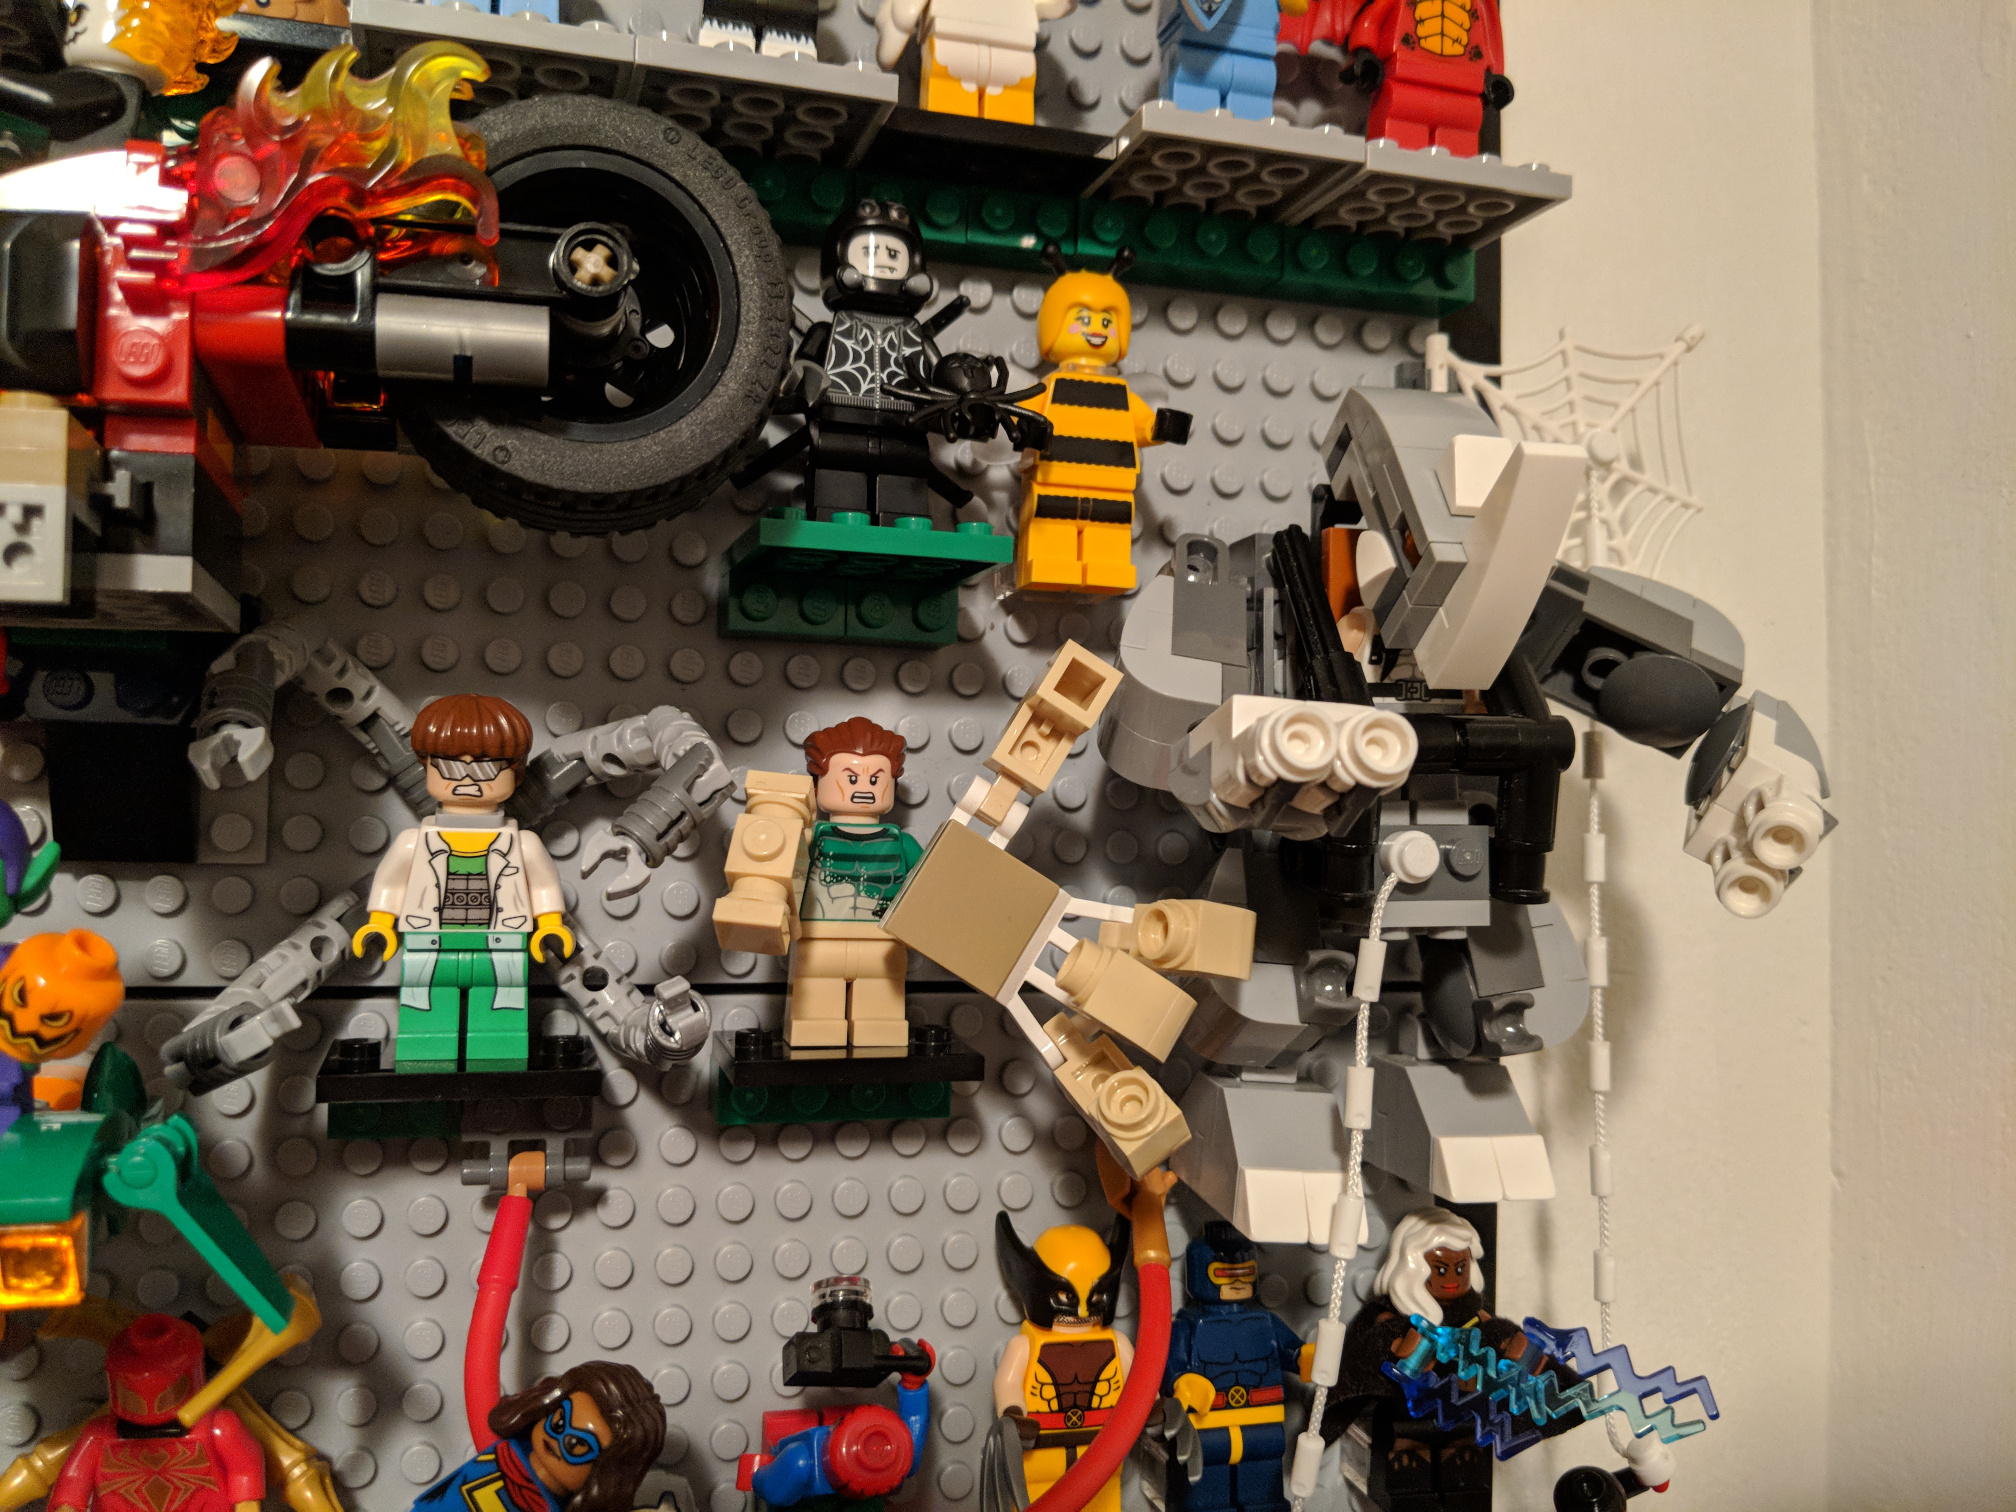
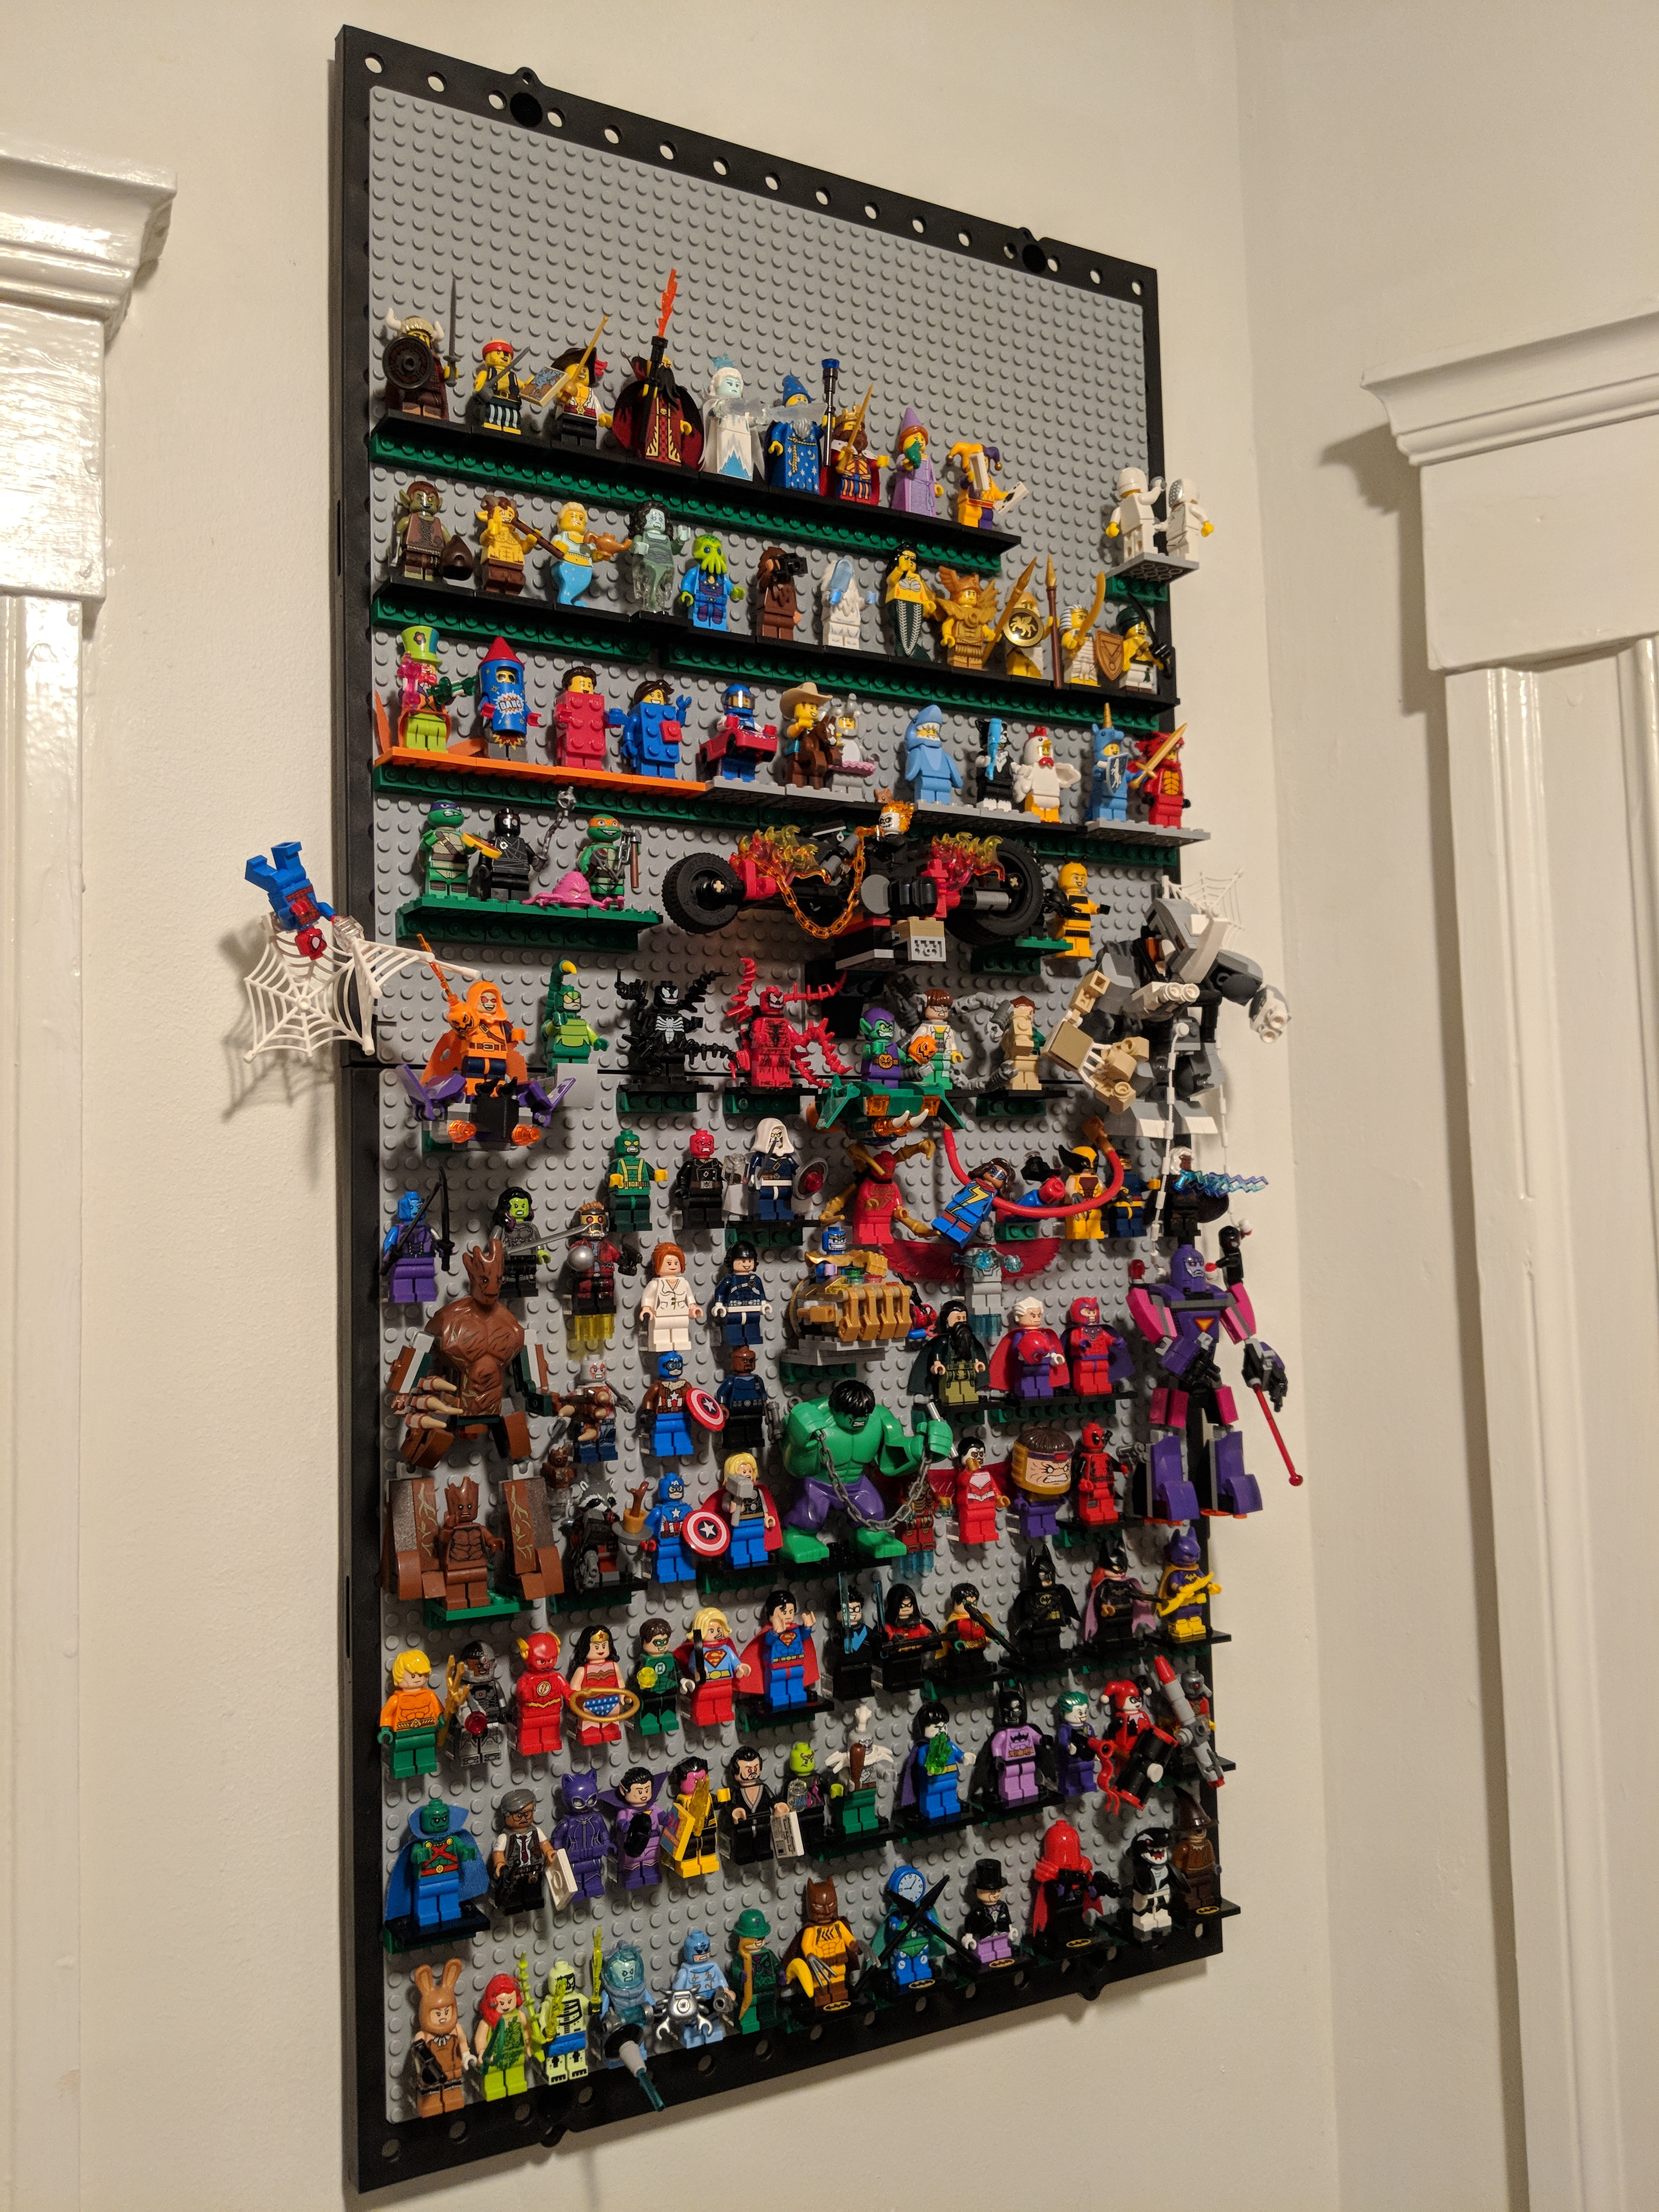
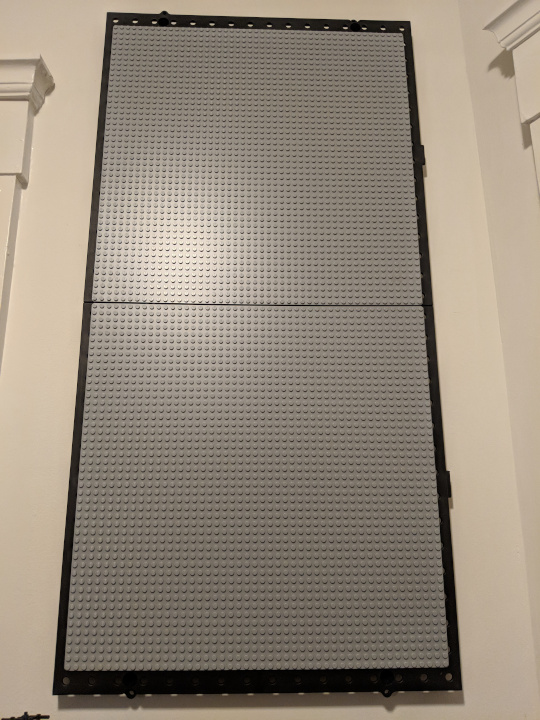
As I've greyed into my more thoughtful and mature years, I've refined my Lego palette to a small hoard of "adult-grade" sets and various iconic miniature toy persons, commonly known as "minifigures". These tiny totems, each imbued with a trapped soul of one of Lego's enemies, serve as both warnings to those who cross the Lego Corporation and fonts of joy for those that find themselves possessed by the collection of them. Of course, anyone who has discovered the joy of collecting knows the awful dark side of such obsession: display. Witness the glory:
In my original planning for this project, I came across a few interesting constraints:
- As a renter, I could not affix my display to a wall in a permanent or significantly damaging way.
- Drilling, or otherwise irreversibly modifying a Lego baseplate is not only illegal under international law, but deeply wrong. Also, I didn't want to risk cracking.
- I am a fickle beast and would likely decide to rearrange my display as my collection grew and changed.
Materials
15"x15" Grey Lego Baseplate (10701)
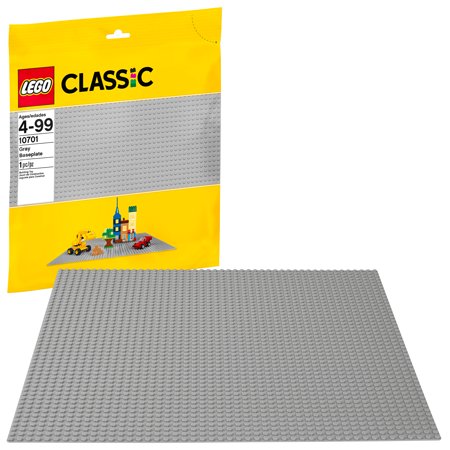
Sure, you could go with a cheaper, unofficial, knockoff baseplate, but that's like parking your Ferrari™ in an adobe hut instead of a premium, officially-licensed Ferrari™ brand tented garage. The official baseplates can be found for as low as $10 each if you're patient and wait for a sale. I was not patient, so this was the most expensive part of this project for me.
16"x16" Plastic Pegboard
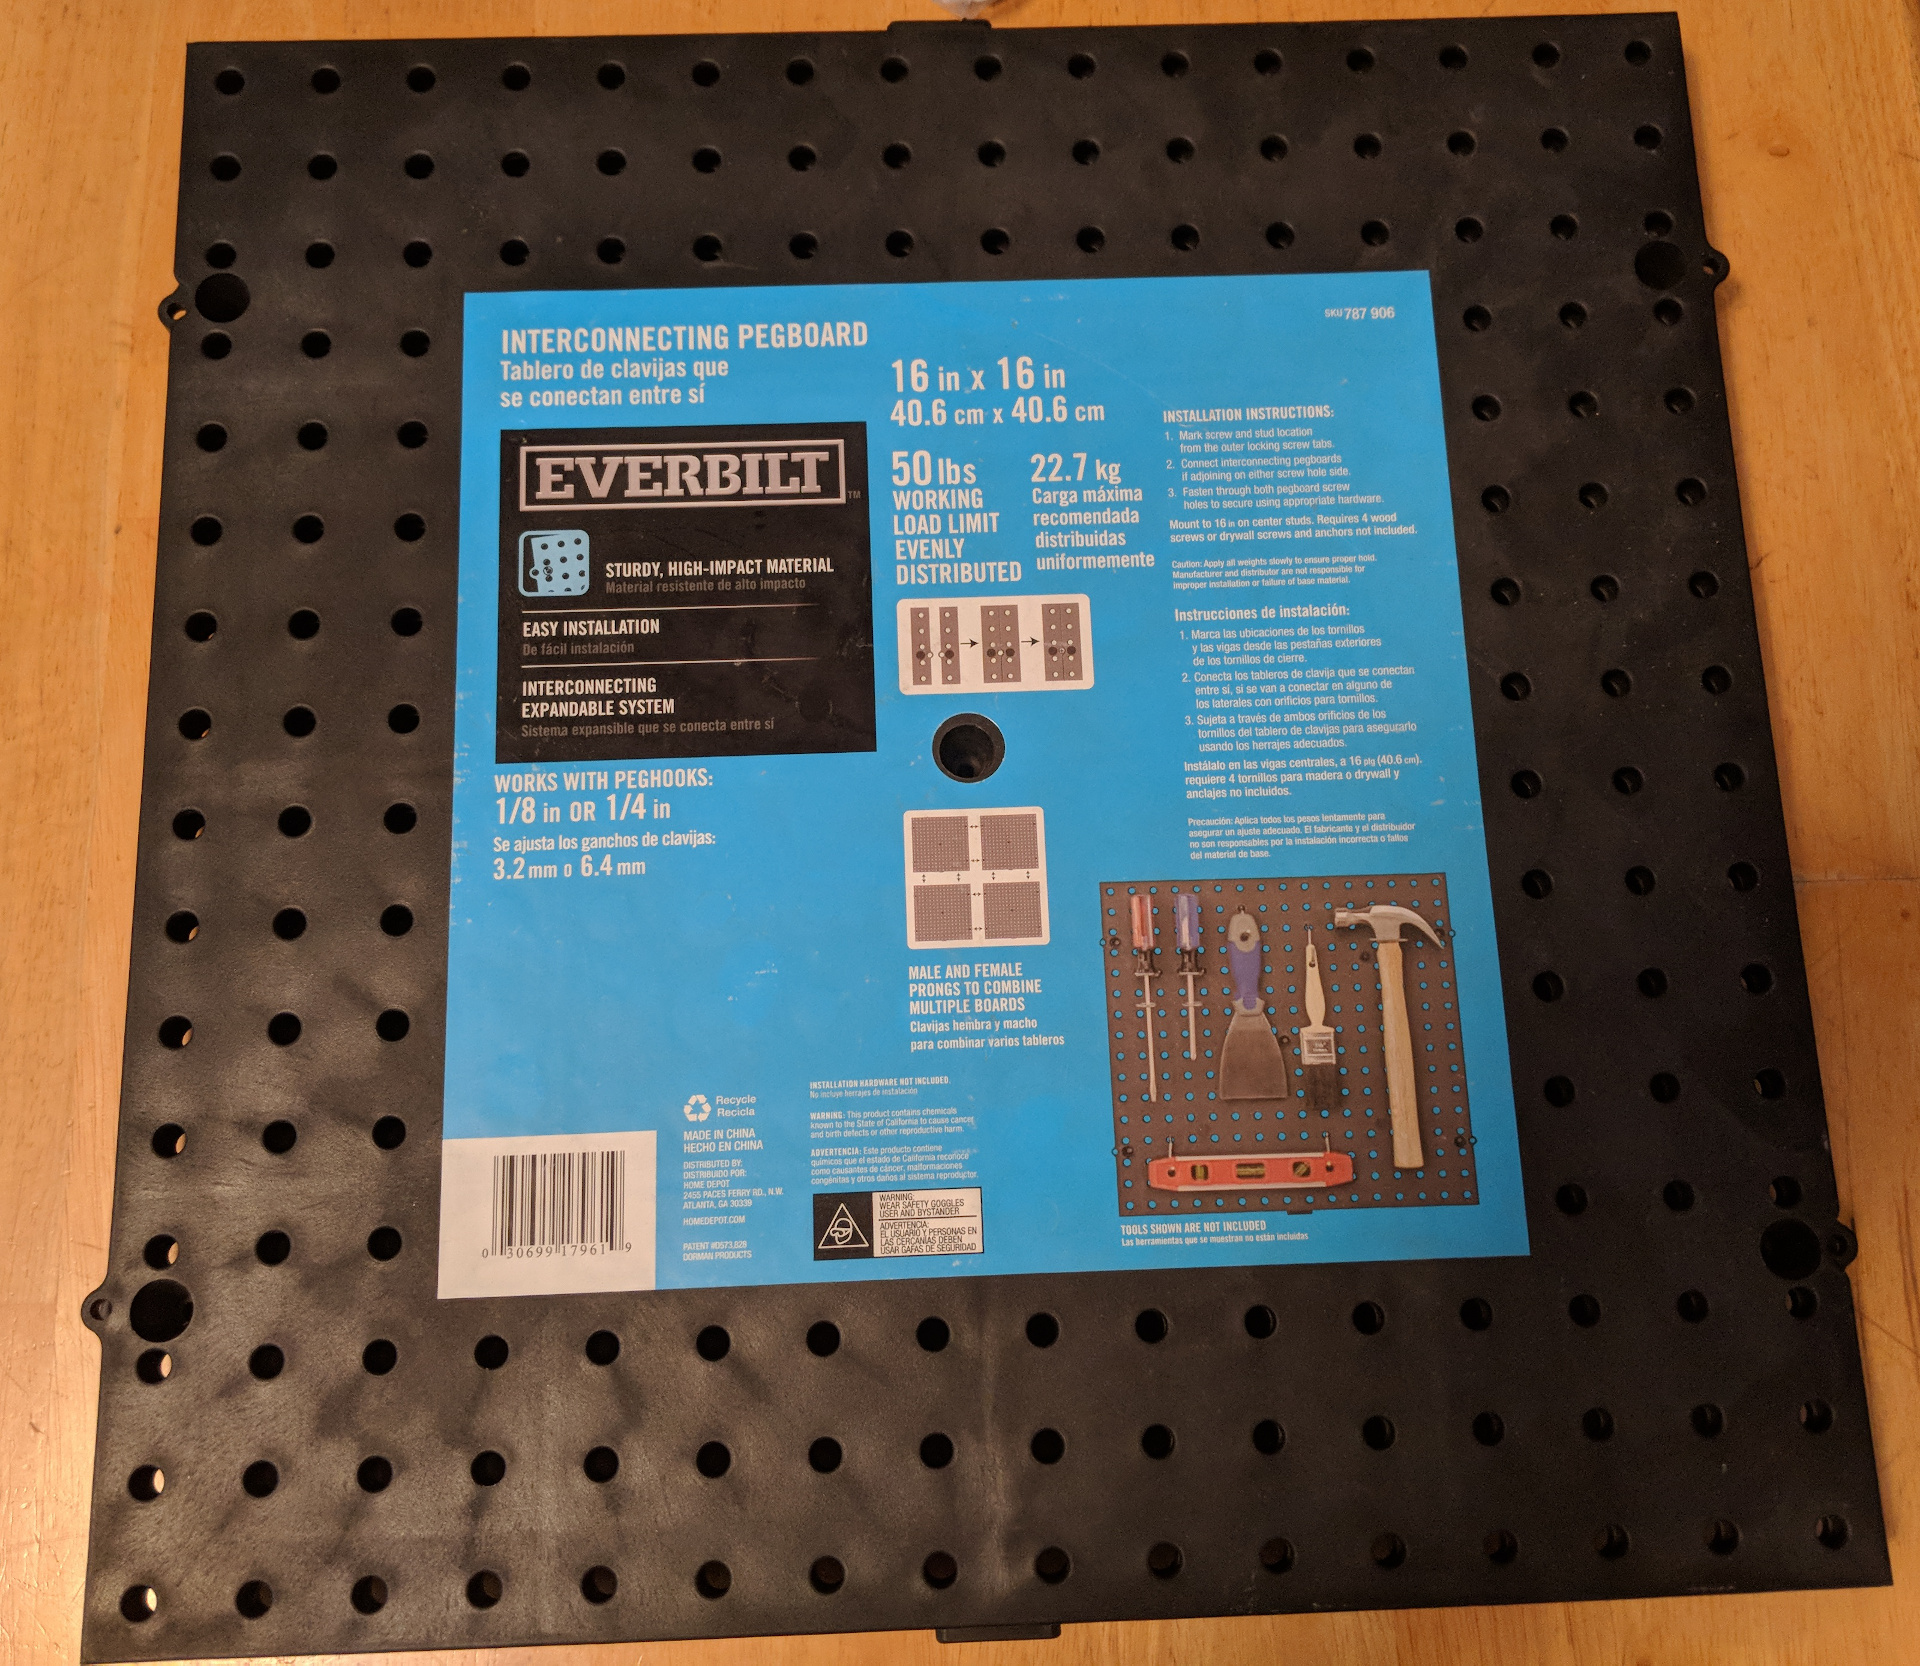
I found these at my local hardware store for about $6/each - they interlock, and are roughly the same size as the large Lego baseplates, and have accessible screw holes at their edges, making me wonder what they are for if not exactly this purpose.
Vinyl Adhesive Caulk (translucent)
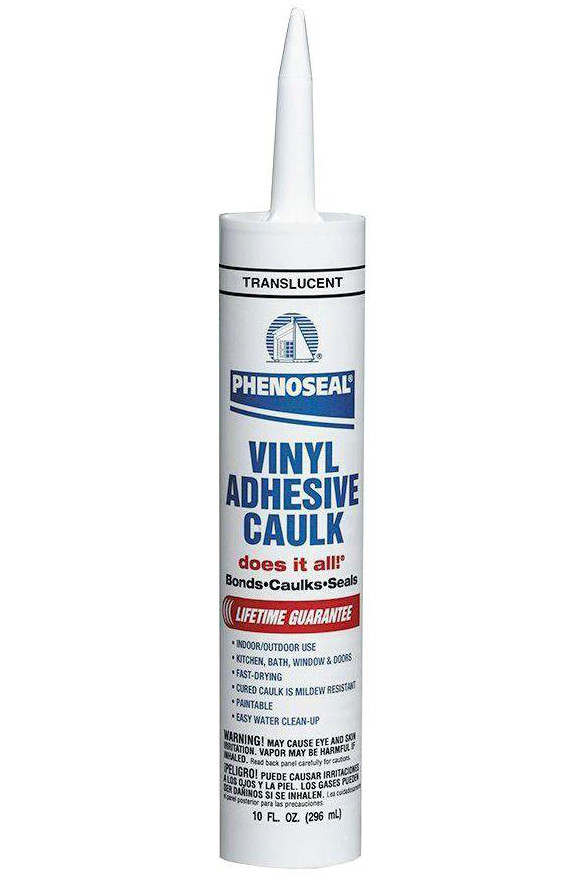
This stuff is serious. Wonderfully affordable, but also as messy as it is easy to work with, this glue has firmly held my baseplates to their pegboard mounts without even the smallest signs of failure after three moves and several years of service. It does take up to 2 weeks (!) to cure, but just go play video games or something. The best part about this that you can, with considerable effort, peel this off your baseplates if you decide you've made a horrible mistake. I have not actually tested this assertion, but it's how I manage to sleep at night, so we'll treat it as truth.
Screws
The fully minifig-laden plates can be heavy, but not so much that drywall screws won't hold everything up just fine.
Legos1
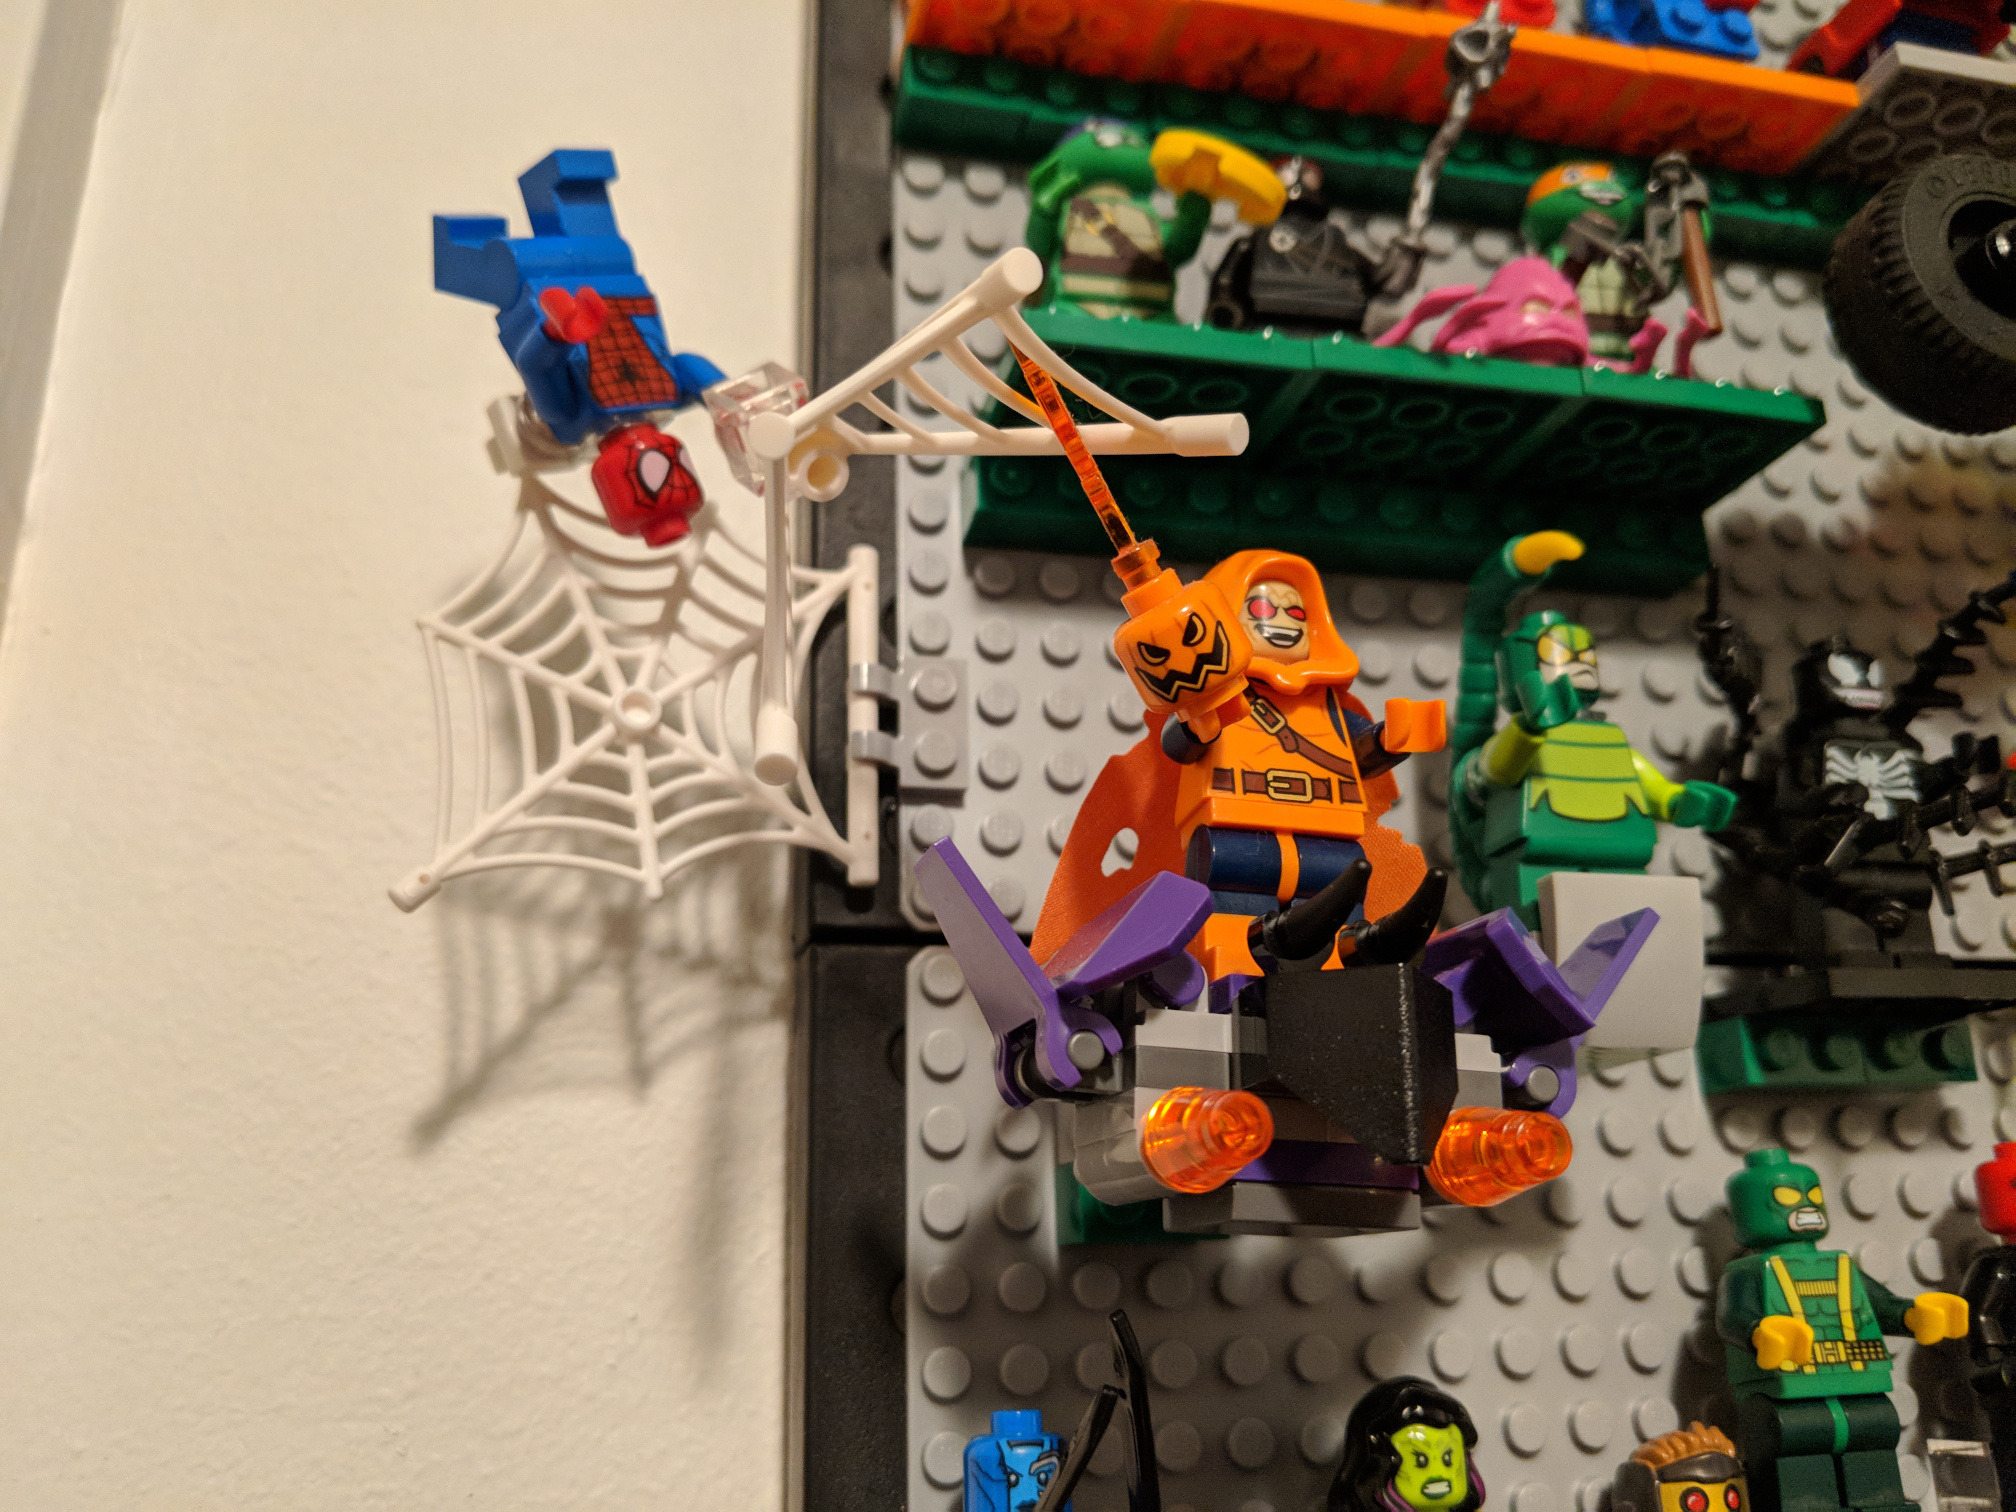
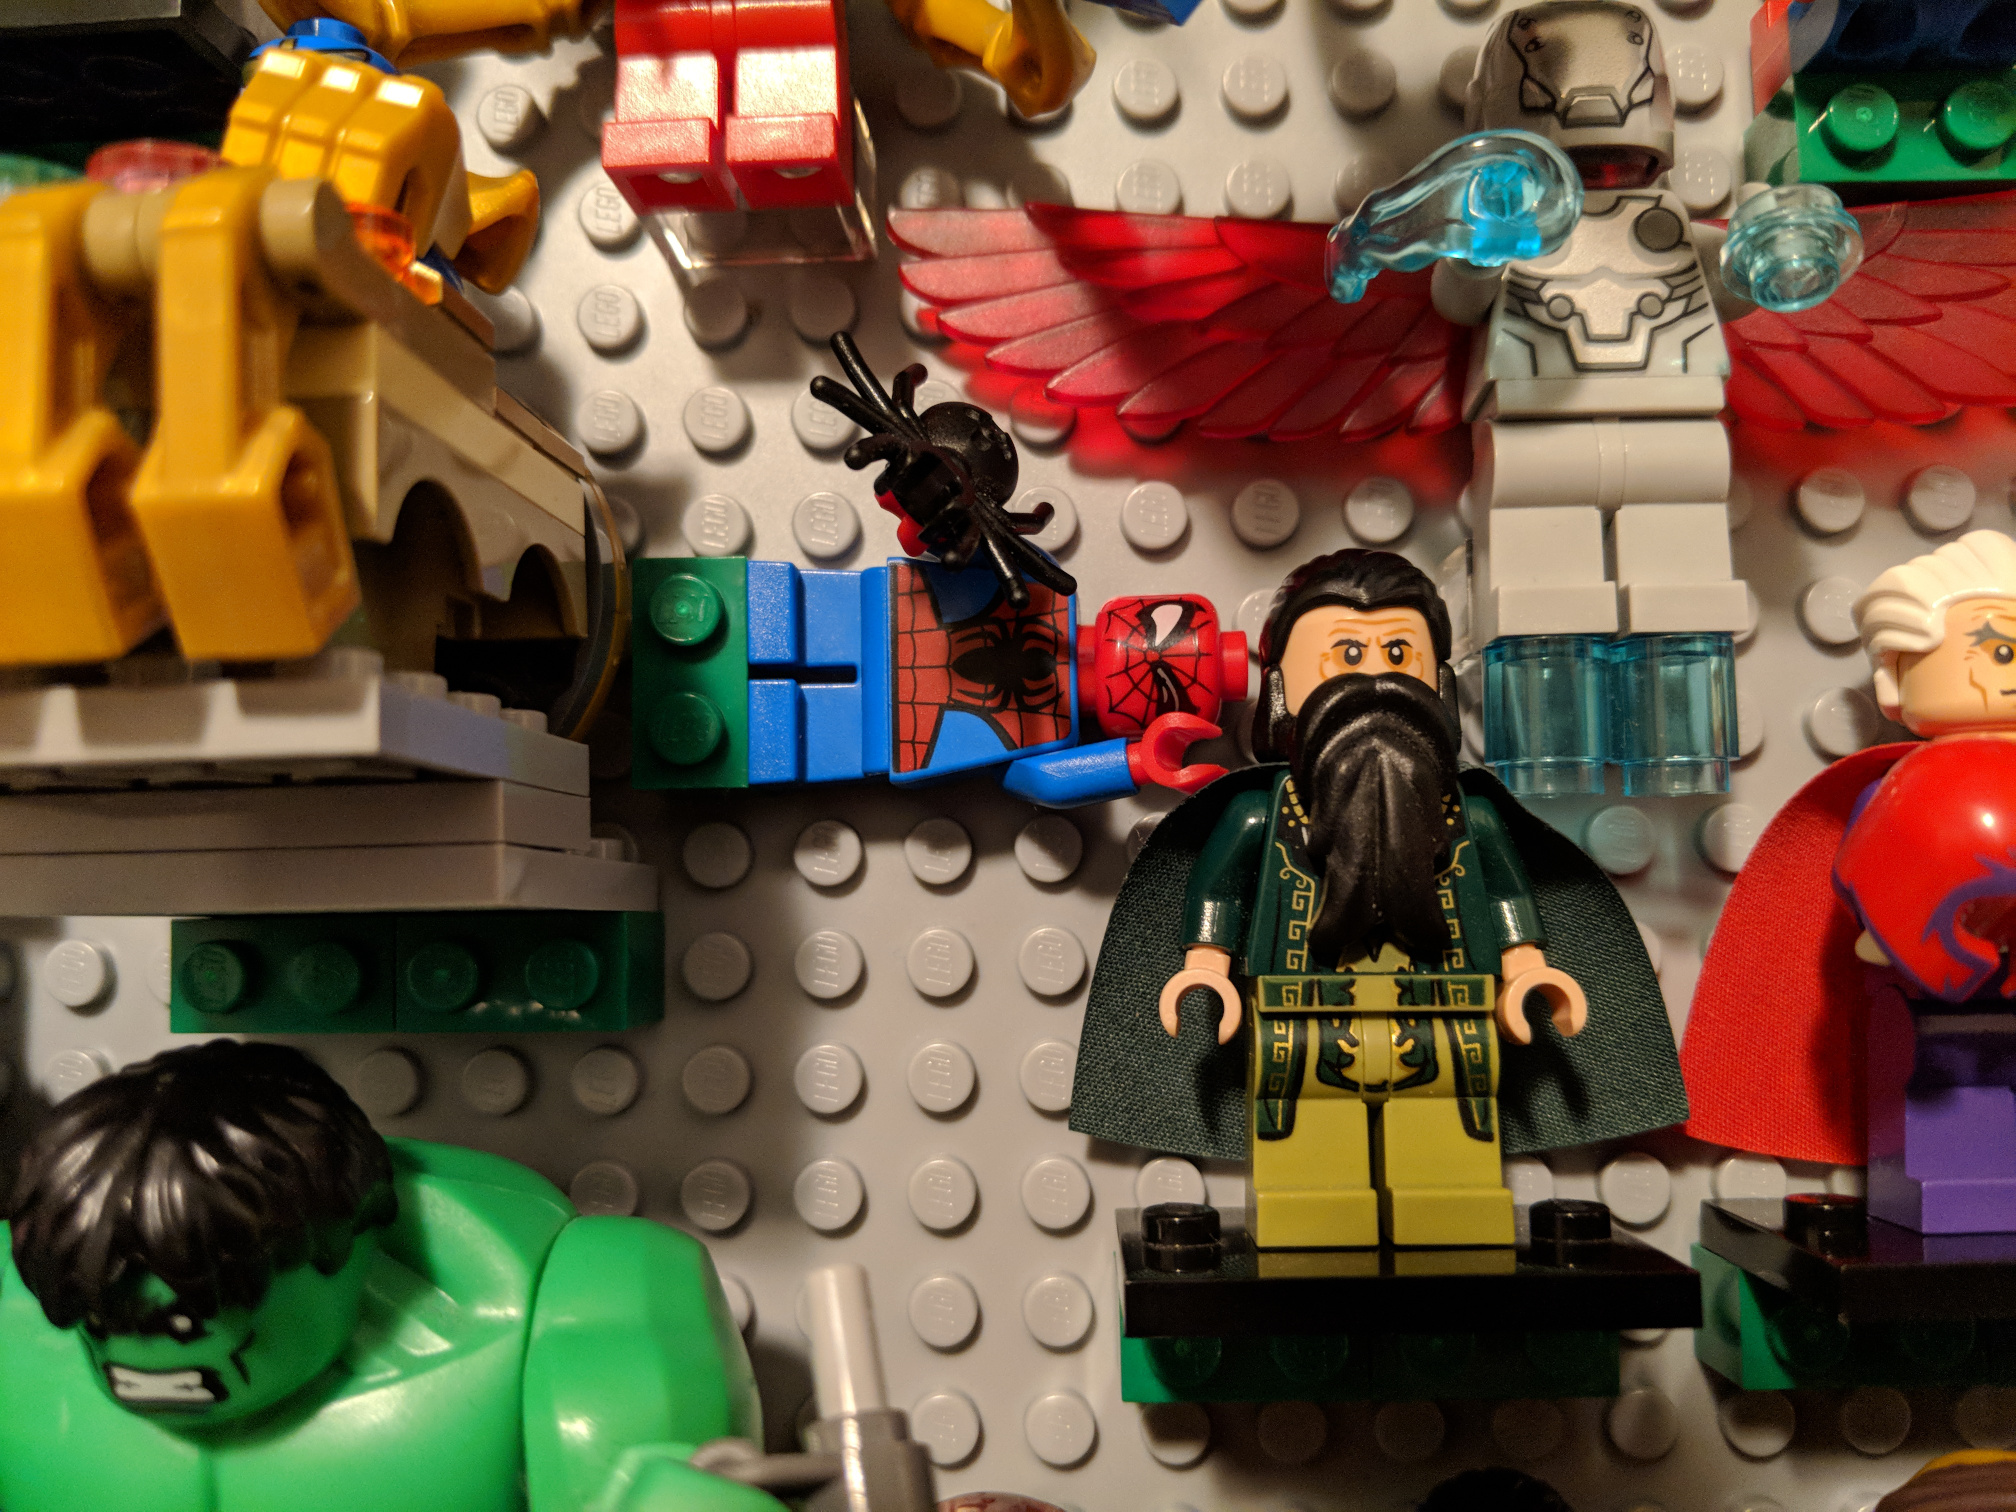
I mean, obviously, but as you're planning placement of minifigs, keep in mind that some demand extra consideration. Cloth capes need to billow, special body molds (fish/genie bodies) need different peg mounts. I found clear 1x2 bricks worked great for most minifigs (from baseboard to back of the legs), but didn't have enough, so settled on 1x2 bricks with side studs from my local Lego store's Pick A Brick.
Instructions
Step 1: Make a plan
Depending on your set up and desired layout, you may decide to place the plate on the pegboard differently. I locked mine close together and put the plates right at the edge for seamless alignment. On both sets of the finished product the alignment wasn't perfect enough to connect bricks between boards, but it looks good enough. Because I could only screw in one side of each board, I had to take advantage of the interlocking middle. As a result, the boards do bow out slightly in the middle where they are not attached to the wall.
Step 2: Apply and spread caulk
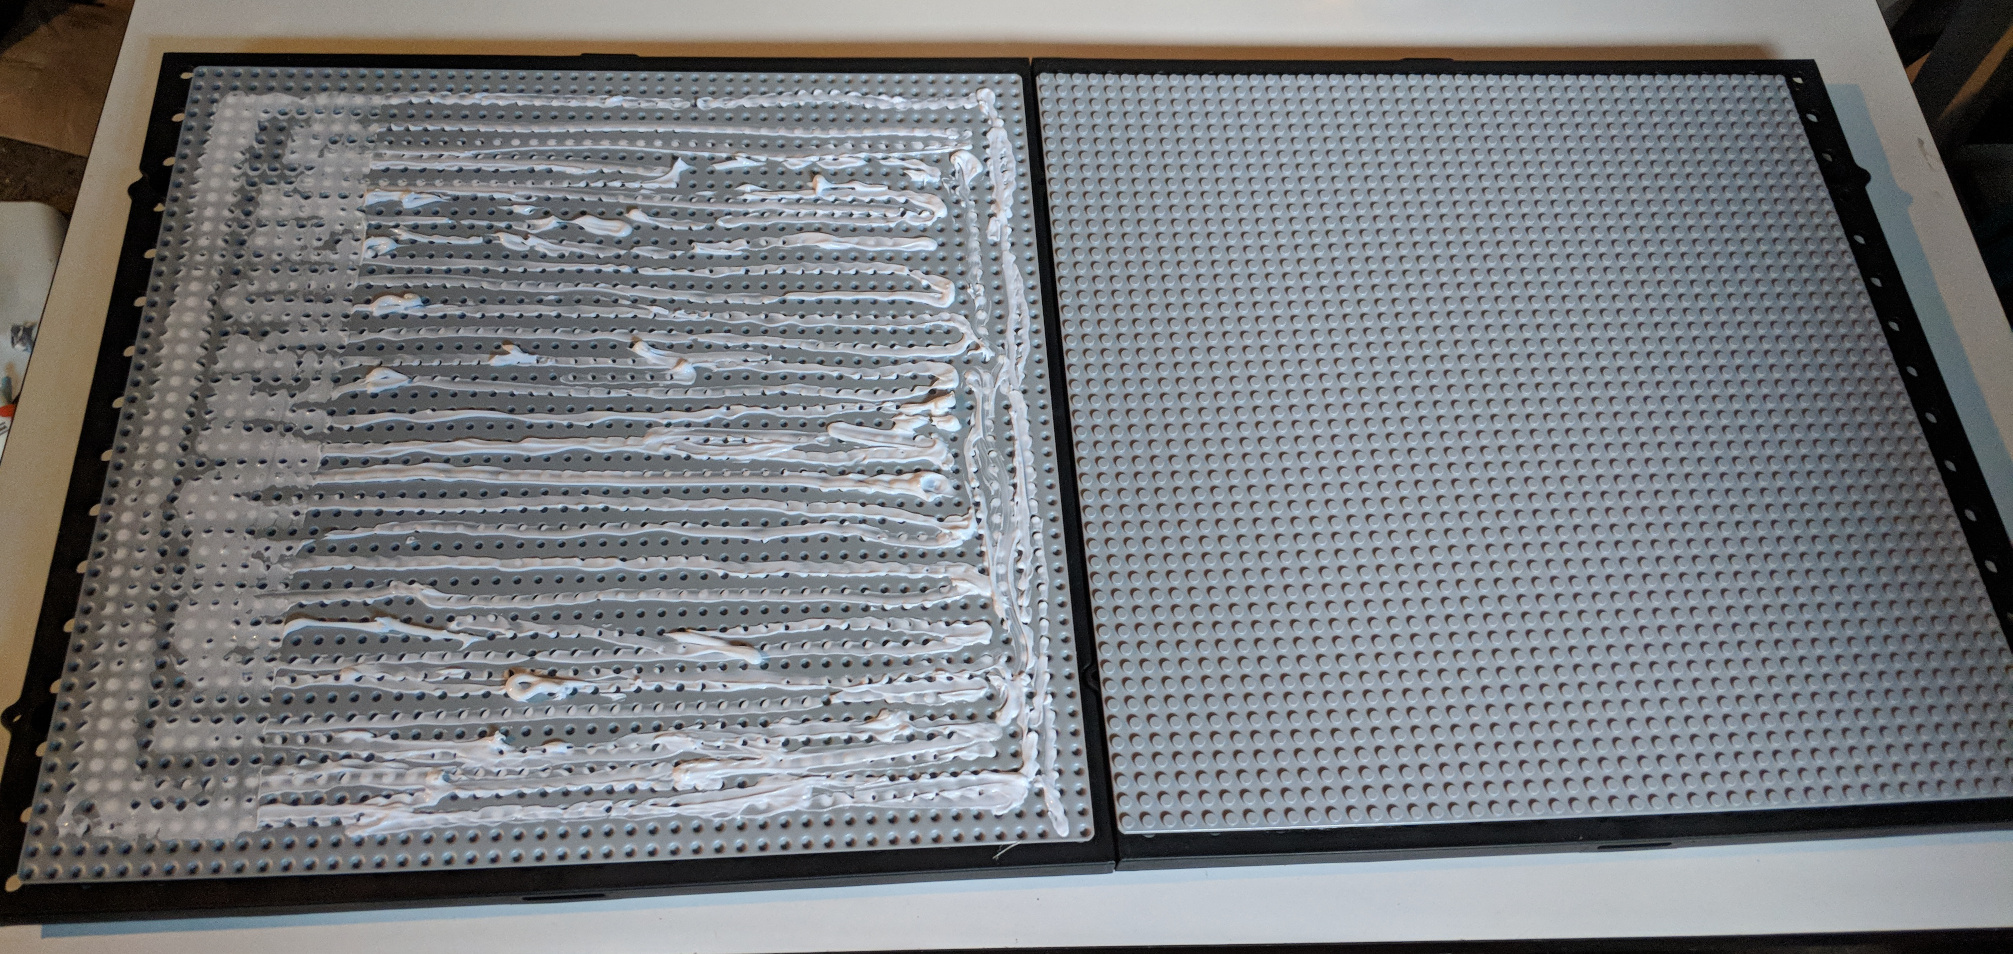
Be generous in application; one 10 oz tube should be juuuust enough to attach 4 baseplates, but if you use some of the caulk for other projects like I did, you'll run out. Consequently, I didn't get as much as I needed in some of the corners of my last plate and now it pulls a bit when I remove pieces from it. You don't need to go right up to the edge, but you'll want to get close. I used an old plastic card to evenly distribute the caulk across the plate.
Step 3: Weight and wait
Find flat location out of the way and flip the whole thing over, weighting the back of it. I put a cinderblock on board (to distribute the weight) lying across the back of each pegboard. Wait the requisite 14 days for the caulk to cure.
Step 4: Test and install
That's pretty much it - stick some Legos on the baseplate and see if everything feels secure as you take them off. If everything looks and feels good, you're good to mount!
-
the plural form has an "s"; I don't care what the Man says ↩