In the past few years, I've really enjoyed developing my electronics repair hobby. What started as simple clean up here and there has escalated to board repair, component replacement, and improvised upgrades. I even acquired a hot air rework station, which has been fantastic for some very specific tricky situations (usually with surface mounted components / diodes). In the past I'd sometimes find myself stymied by obstacles and unsure of how to go about debugging an issue or repairing damages. But, the Internet has a kind side, and the communities of like-minded tinkerers and repair-ists are generous with sharing knowledge (I'm a big fan of ThePostApocalypticInventor, OddTinkering, Tronicsfix, and in particular, StezStix, who has a cheeky humility that is terribly endearing).
That said, I haven't bothered to write about most of my repairs because they've been either basic and uninteresting, or otherwise well-documented on the world wide intertubes.
GB Smart 32M

As best as I can determine, the GB Smart 32M is a budget-minded, barebones Gameboy flashcart mass-produced in China. It seems to be best known as the common bootleg distribution of the excellent homebrew program LSDJ. And, as this article linked by the LSDJ website points out, "...these cartridges are usually very low quality".
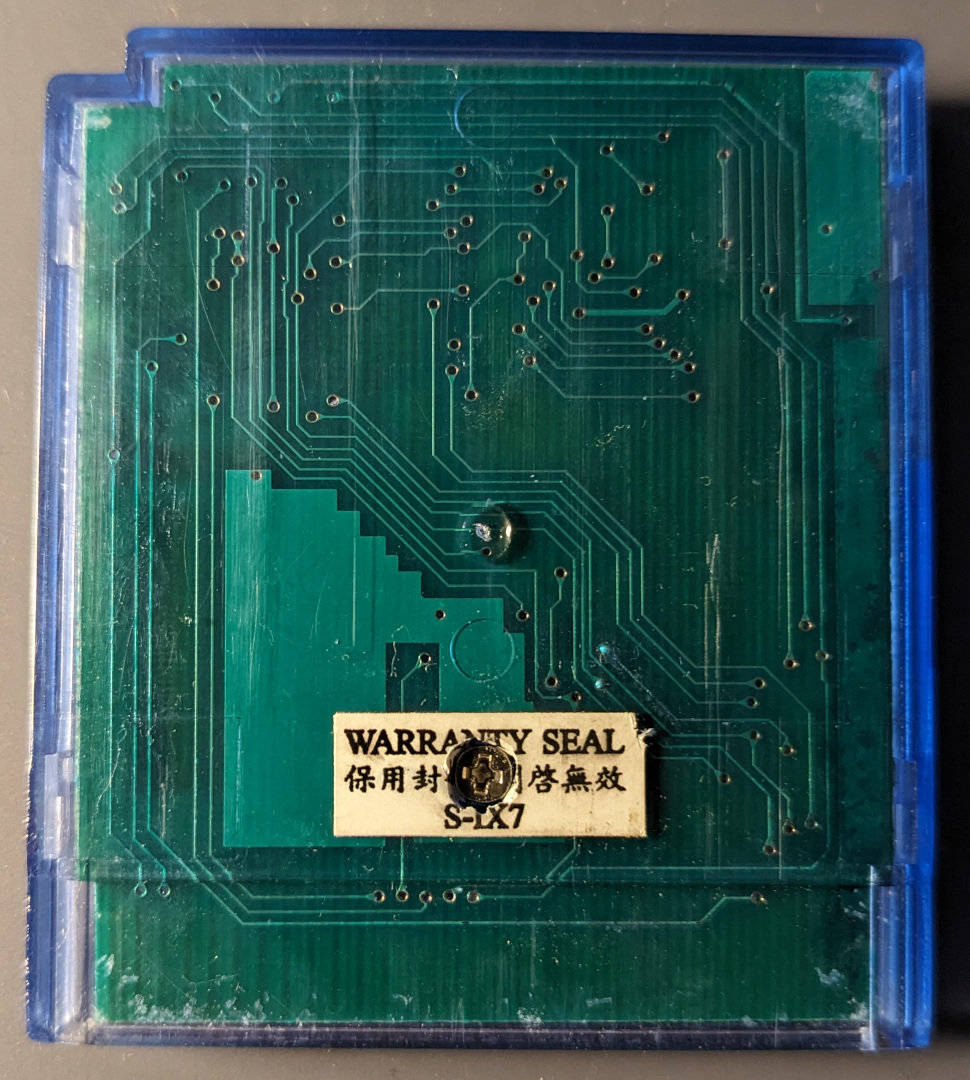
This $5 thrift store purchase did not disappoint in that regard as, while it functioned appropriately upon powering on, even a casual glance at the cart revealed significant corrosion materials on the pin interface that would not only inevitably fail in the near future, but which would also be an unwelcome contact with any console. With no screws visible, I initially tried to pry open the cart, assuming it utilized internal plastic clips often used in form-minded devices. When that did not work, I explored the "Warranty Seal" on the back; with the critical screw revealed, my journey finally began.
The Problem
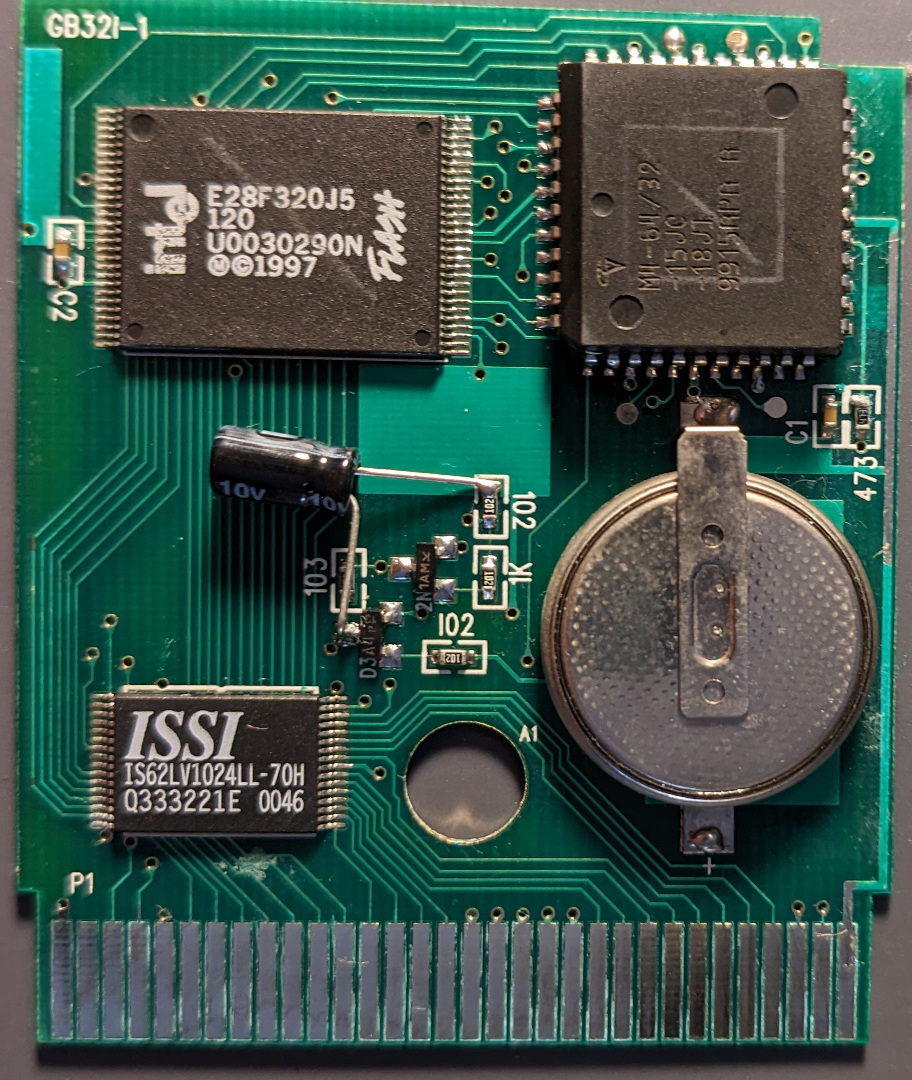
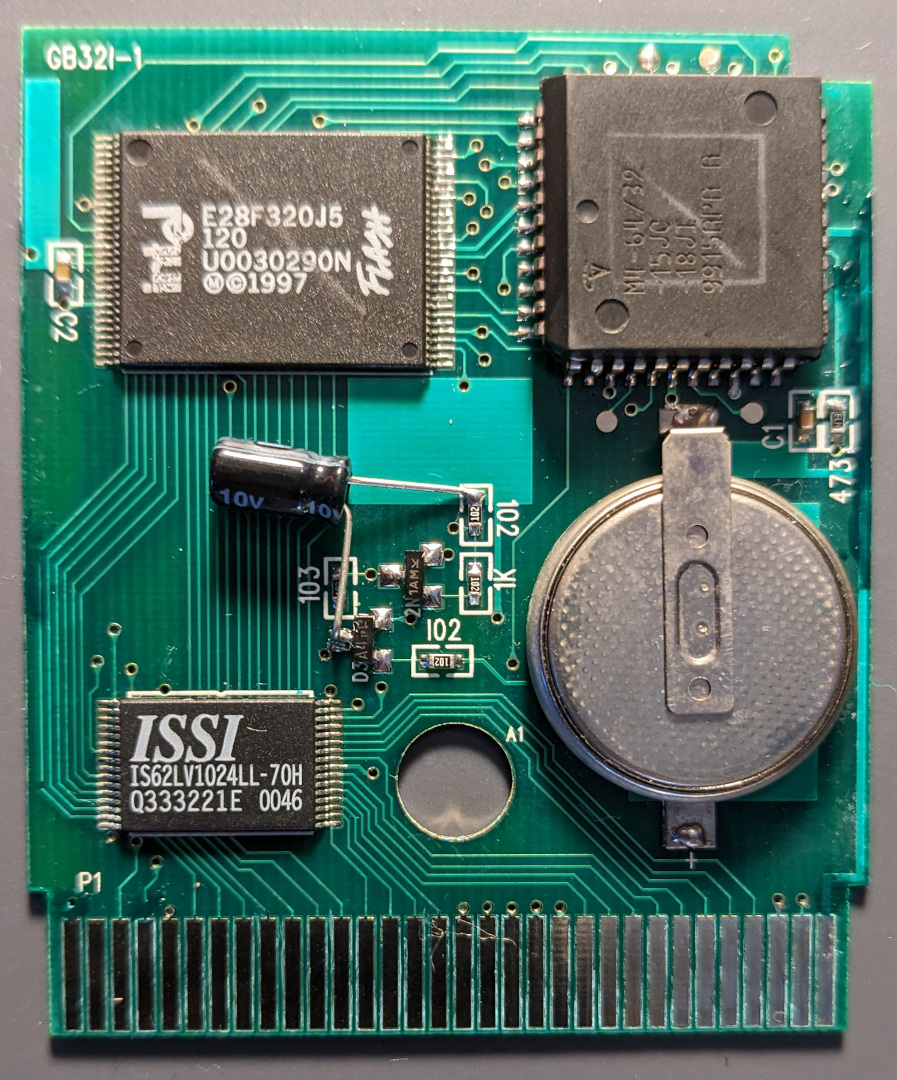
Once the board had been removed, I gave it a quick rinse with 99% isopropyl alcohol and stuck it under the digital video microscope I have on hand. It became clear very quickly that either the cart had experienced extensive liquid exposure or the materials used in the PCB were breaking down. Aided by the microscopic view and a small pick, I probed and removed corroded materials from the board (it turned out nearly every pin interface pad was lined with corrosion). Exploring the board further, I discovered many of the traces had lost their masking and on the back of the board, one trace and via in particular had nearly completely corroded away (though miraculously still had continuity). Further examination revealed many places on the PCB where the factory masking was delaminating from the copper beneath. It was pervasive enough that I began to suspect a defect in the materials rather than water damage.
The Solution
I began work on the board by lightly scraping off the loose masking. Much of it came off all too readily with a wipe of isopropyl-soaked cloth, but using my pick, slight pressure would peel away the remaining problematic areas, where the properly adhered sections remained:
For the heavily corroded trace, I applied some flux and re-soldered the connection to prevent further corrosion (and retested continuity). If the trace had lost continuity entirely (or if it does in the future), I probably would have bridged the circuit with a small length of wire or copper tape.
With everything wiped down and cleaned up, I used a small paintbrush to apply a fresh coat of "Mechanic" brand solder masking on the newly exposed copper and left it under a UV light for a couple minutes to cure.
| Before masking (front) | After masking (front) |
|---|---|
Note the exposed traces at the bottom corners and right and left of the board.
|
|
| Before masking (back) | After masking (back) |
|---|---|
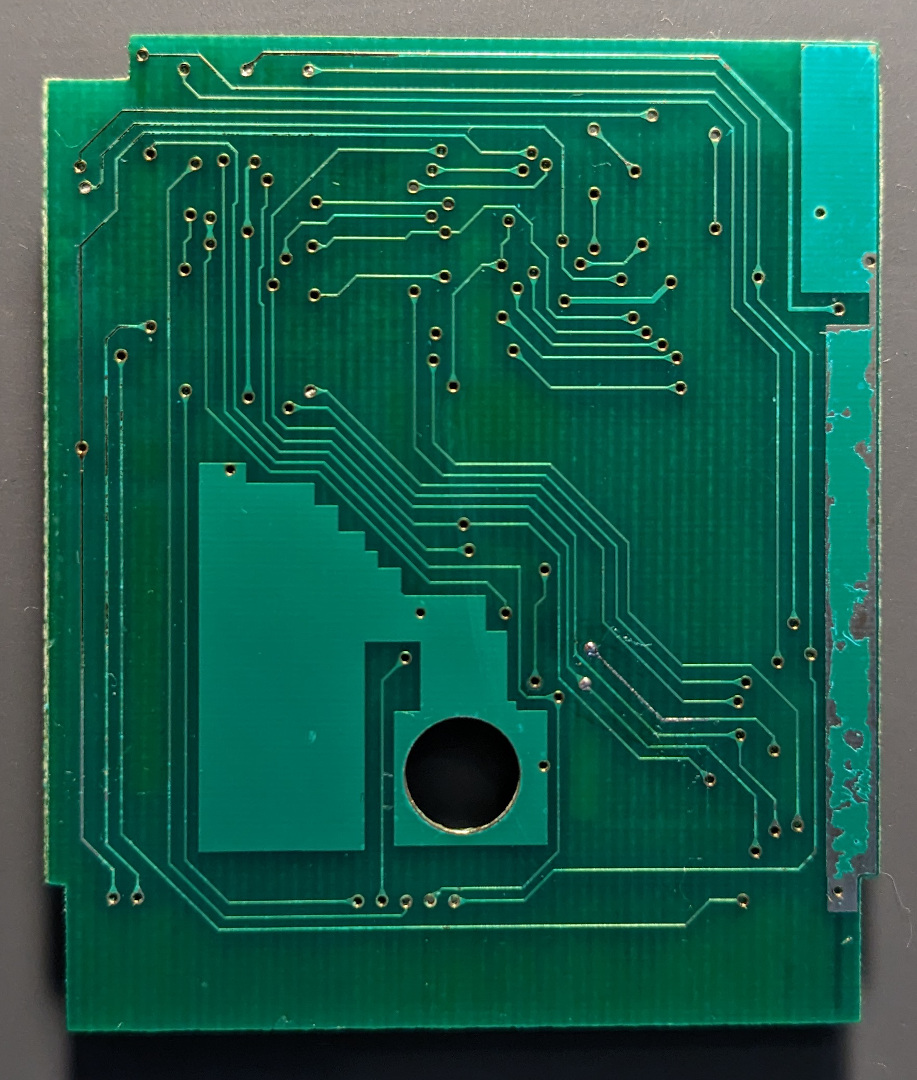
On this side, we again have exposure on the left and right of the board. The corroded trace is soldered to the right of the screw mount hole.
|
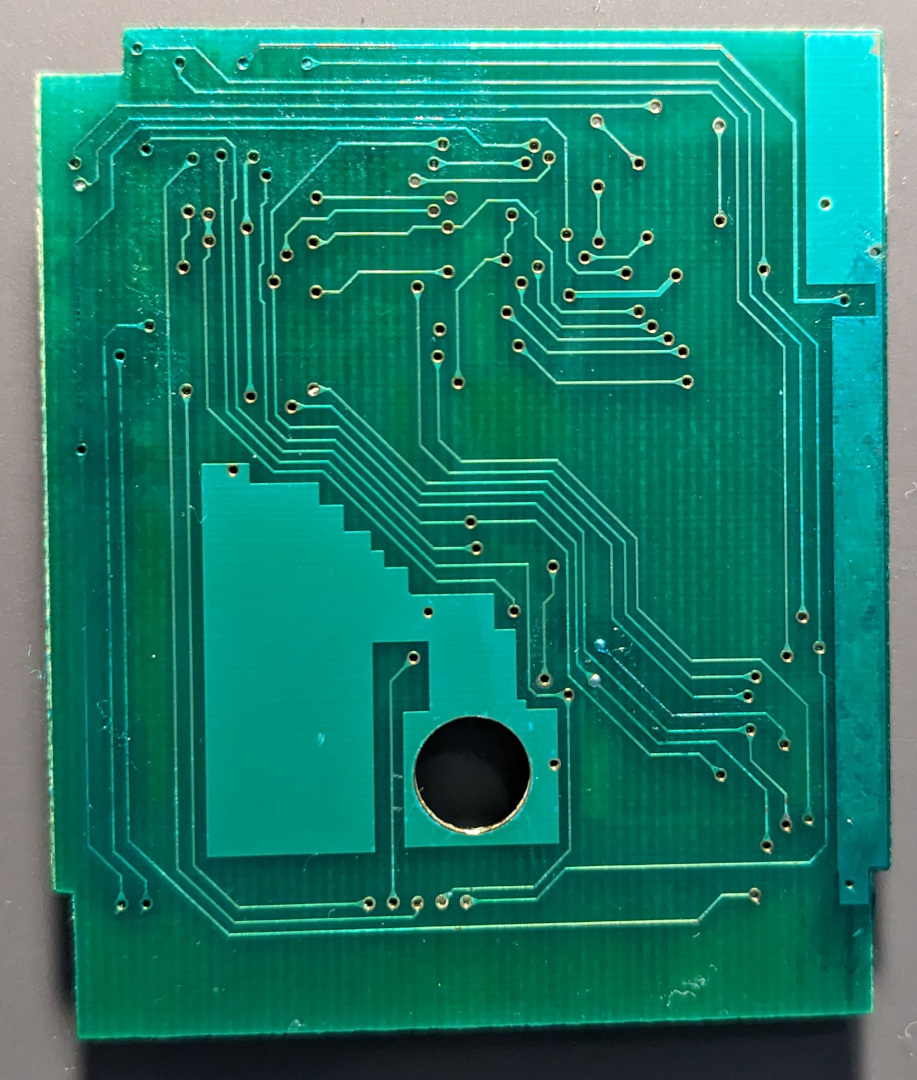
Re-masking the exposed copper helps prevent future corrosion.
|
The results are a bit underwhelming, but I'm now more willing to insert this sketchy bootleg confidence-diminishing cartridge into my game systems without worry that I'll end up with corrosive materials transmitted to the console pins.
While this whole endeavor could be viewed (rightfully so) as a warning as to the poor quality and longevity of these cheap bootleg carts, it's still worth noting that I've also seen the issues documented here (albeit to a lesser degree) in official cartridges I've picked up over the years. That said, oftentimes a cart that has trouble booting only needs a little attention to the board before it's back up and running perfectly.